|
The file (design) we want to work with has been digitized outside-of-Toolbox and then Imported into Toolbox. We have seen the Toolbox "Import" done in other examples and will not get into that, here.
This example will not discuss the digitizing of the example's "designs". If you are new to such: There are many options for you - including services "via the Web" one-time charge or "free" applications. As is usual with Web applications/use: Be careful/cautious when dealing with "Web-companies" and try to deal with a trusted source. Another option for digitizing is to use an application that YOU own -- such as BERNINA V8 Software. For this example, I digitized one design, using three approaches:
- Digitize the original 10"-wide design.
- Modify the original 10"-wide design to be a 2 1/2" wide design - and, digitize the 2 1/2"-wide design.
- "Break" the 2 1/2"-wide design into three separate parts (in my case: "Top", "Middle" and "Bottom" non-text parts of the design and, then, digitize those three parts.
We then used Toolbox to:
|
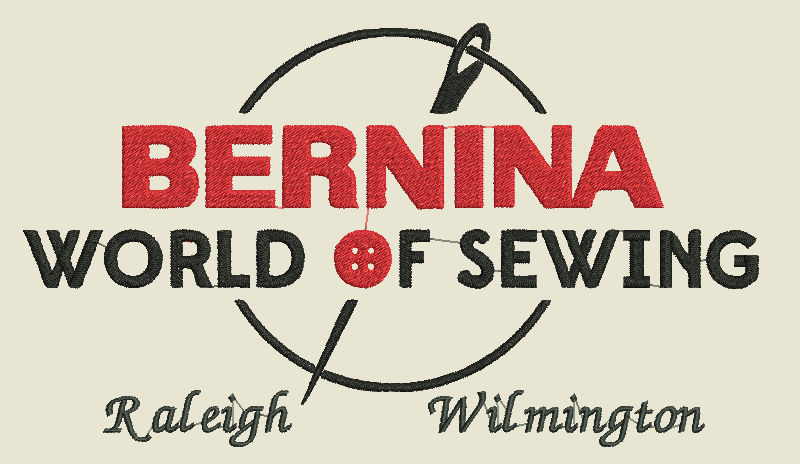
Here is the 10"-wide design used for this example -
Pre-Digitized; in JPG format (click on the following to see in a larger-sized image).

|
What We Did
|
|
This example: First Part - Working with Colors
To start, let's "work a bit" within the designs; beginning with the digitized full-size design.
First: Let's see what we might do with Colors. (Yes, we know the visual display of the colors does not actually affect what is done on the stitched-design; what color thread the embroidery-machine-user chooses at stitch-out time is the deciding factor). However, we can get a "preview' of the planned/desired colors while in ToolBox and, possibly choose to do something about the stitches themselves. The then-passed-design (in EXP format) onto the embroidery machine and user will contain information to make stitching-decisions easier. At least, that is the general idea.... Remember, I am a "webmaster" and by no means an embroidery expert!
- Select the design to be used for this example.
- See the colors currently "used" within the chosen design -
and, which stiches are using that color.
Become familiar with the colors and the overall design.
- See if one or more colors, if changed, would fit a modified design.
- Use "Undo" if wished/needed.
- Decide, if the file was modified as desired, whether to Export the file to a PC/Computer/USB Stick.
The exported file will be in EXP format and will be accompanied by information about your chosen colors/stitches. Of course, the actual machine/person at stitched-out time an ignore/override the EXP "information".
Also: The exported EXP could, when it is brought into the embroidery machine, be modified there. Depending up on the embroidery machine: A number of changes could be easily made to the (using the embroidery machine) before stitch-time. The following-shown example(s) ignore this fact.
- Return to Toolbox (the currently-worked on design will be saved and will replace the same-named file within Toolbox.
(Clicking on any of the following images will show that image in large-size).
|
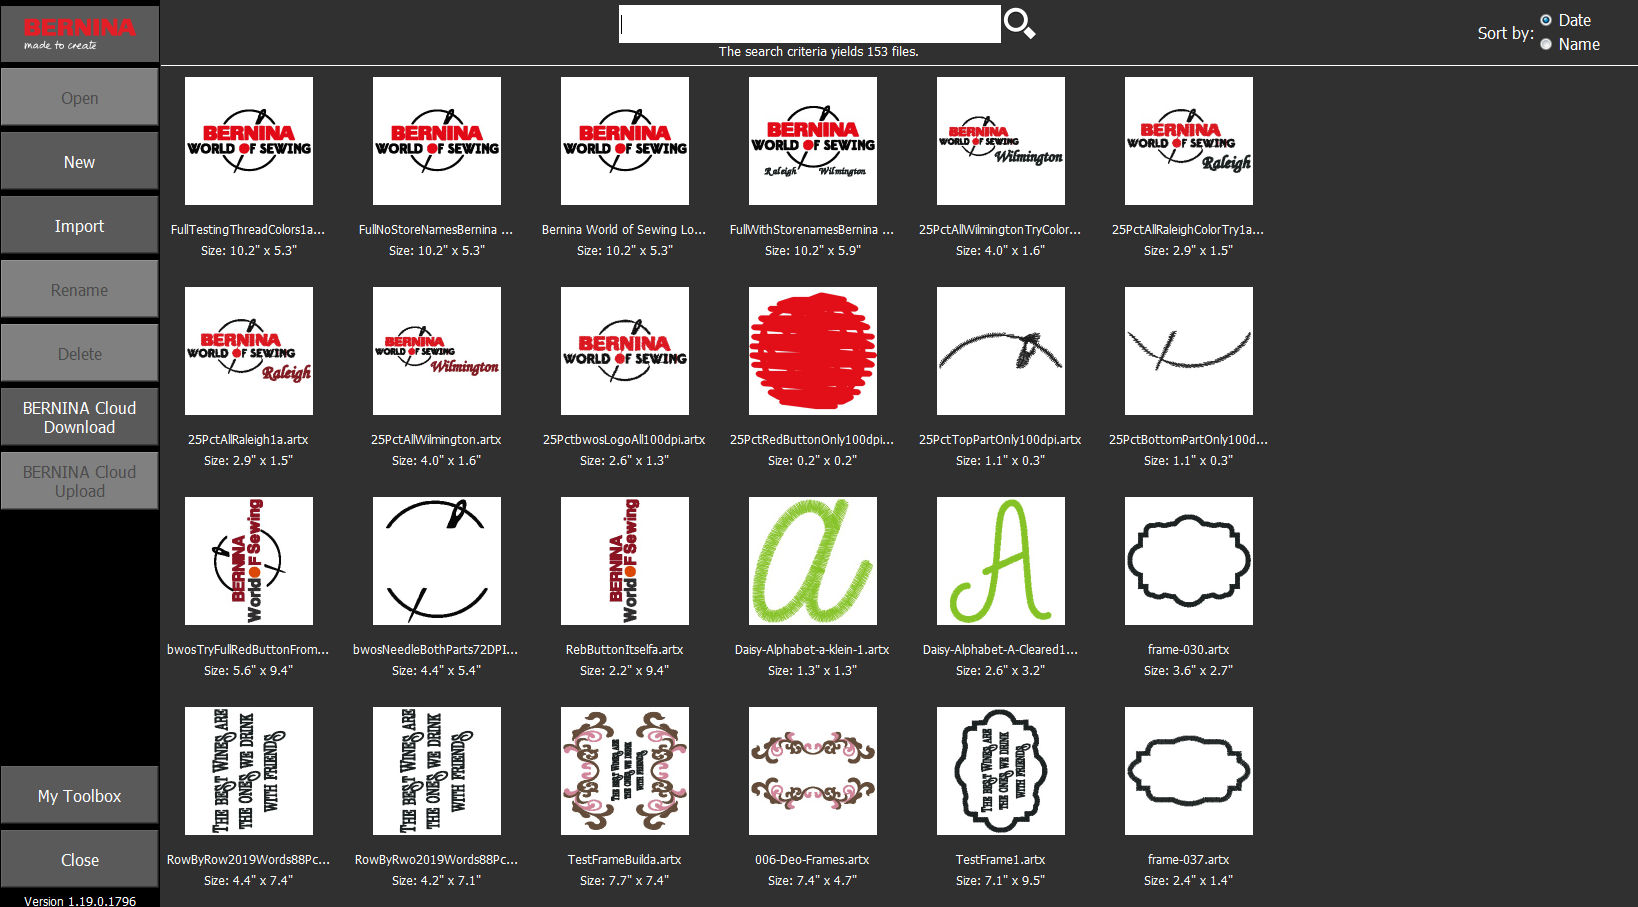
Toolbox getting started. The most-recently-used files are shown at the top-left (by default).
|

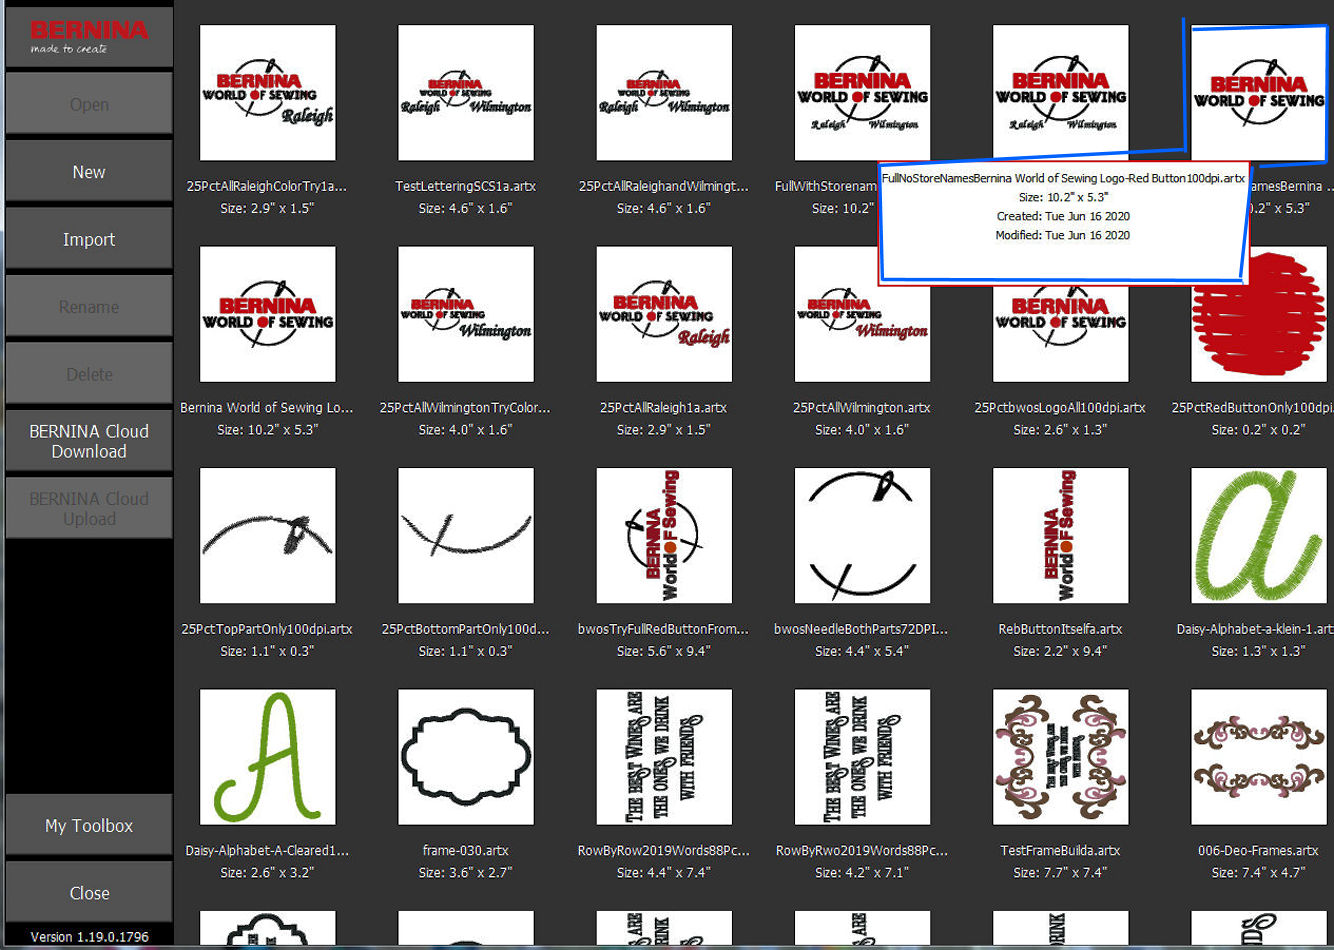
Check the design description to confirm that it is the file you are looking for.... This one is 10.2" x 5.3". We use it!
|

Decide if you want to use a different filename. Not a bad idea.... However, in my case I save most "critical" original files on a PC/computer or USB stick. That is my choice... You, certainly, have your own approach for "file management". The filename you specify/use here comes into play when you (after modification/etc. within the next Toolbox steps) are finished and you return to this Toolbox panel. The file that you are working on in subsequent edit/etc. steps WILL be saved "here" and the "original" tile/design that you start-out-with here WILL be changed. OK! Makes sense....
|
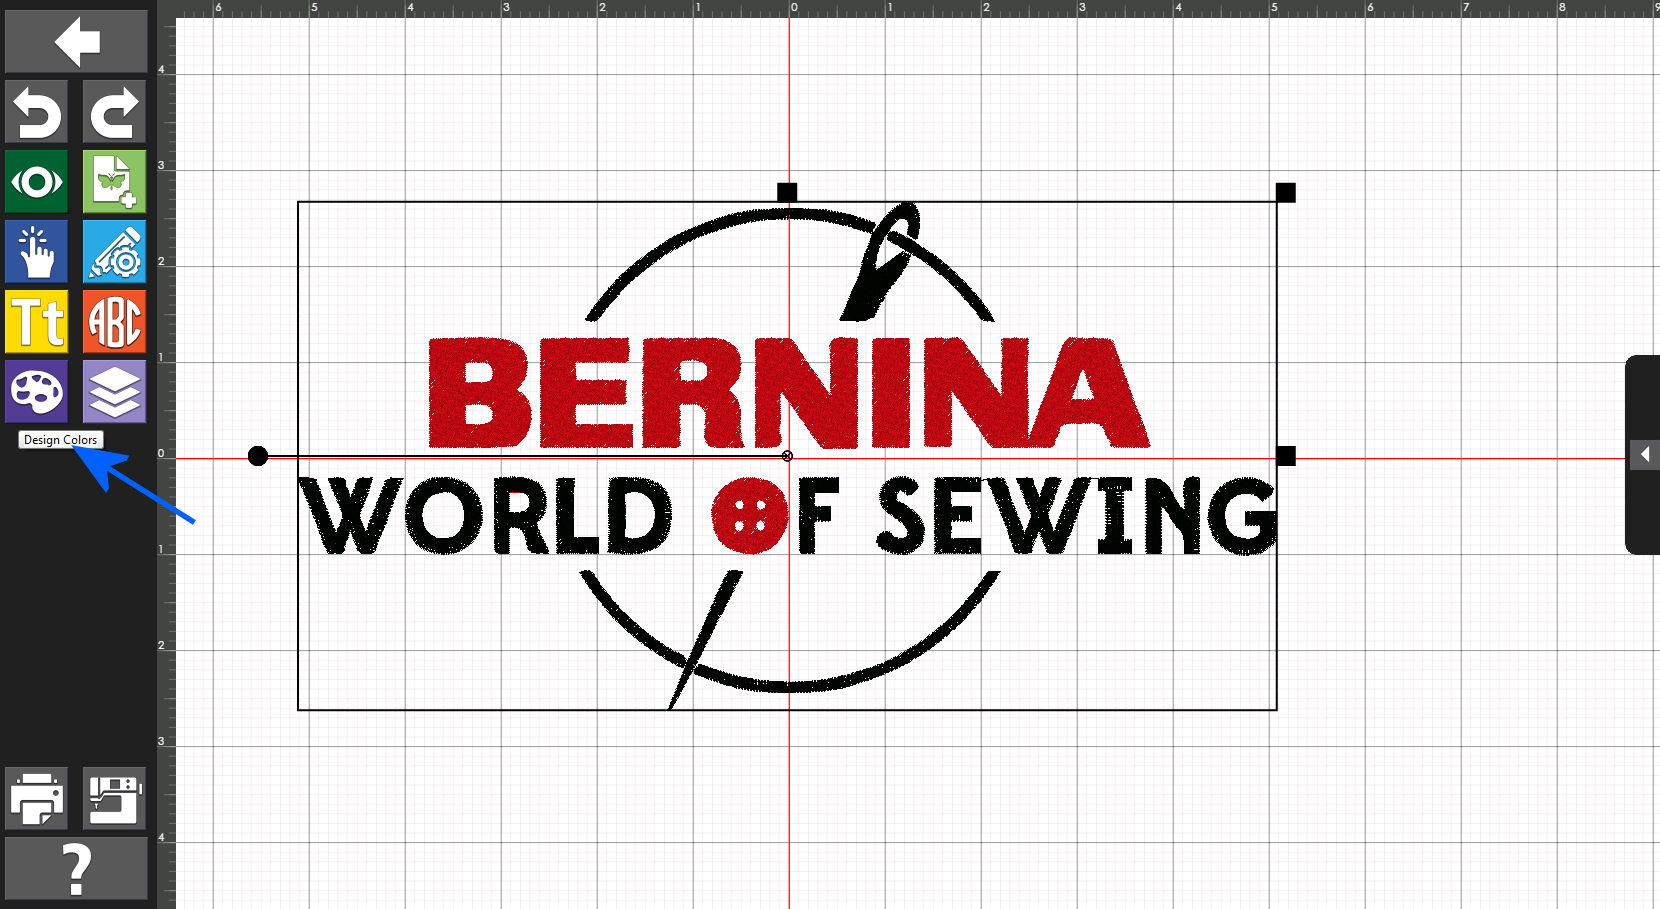
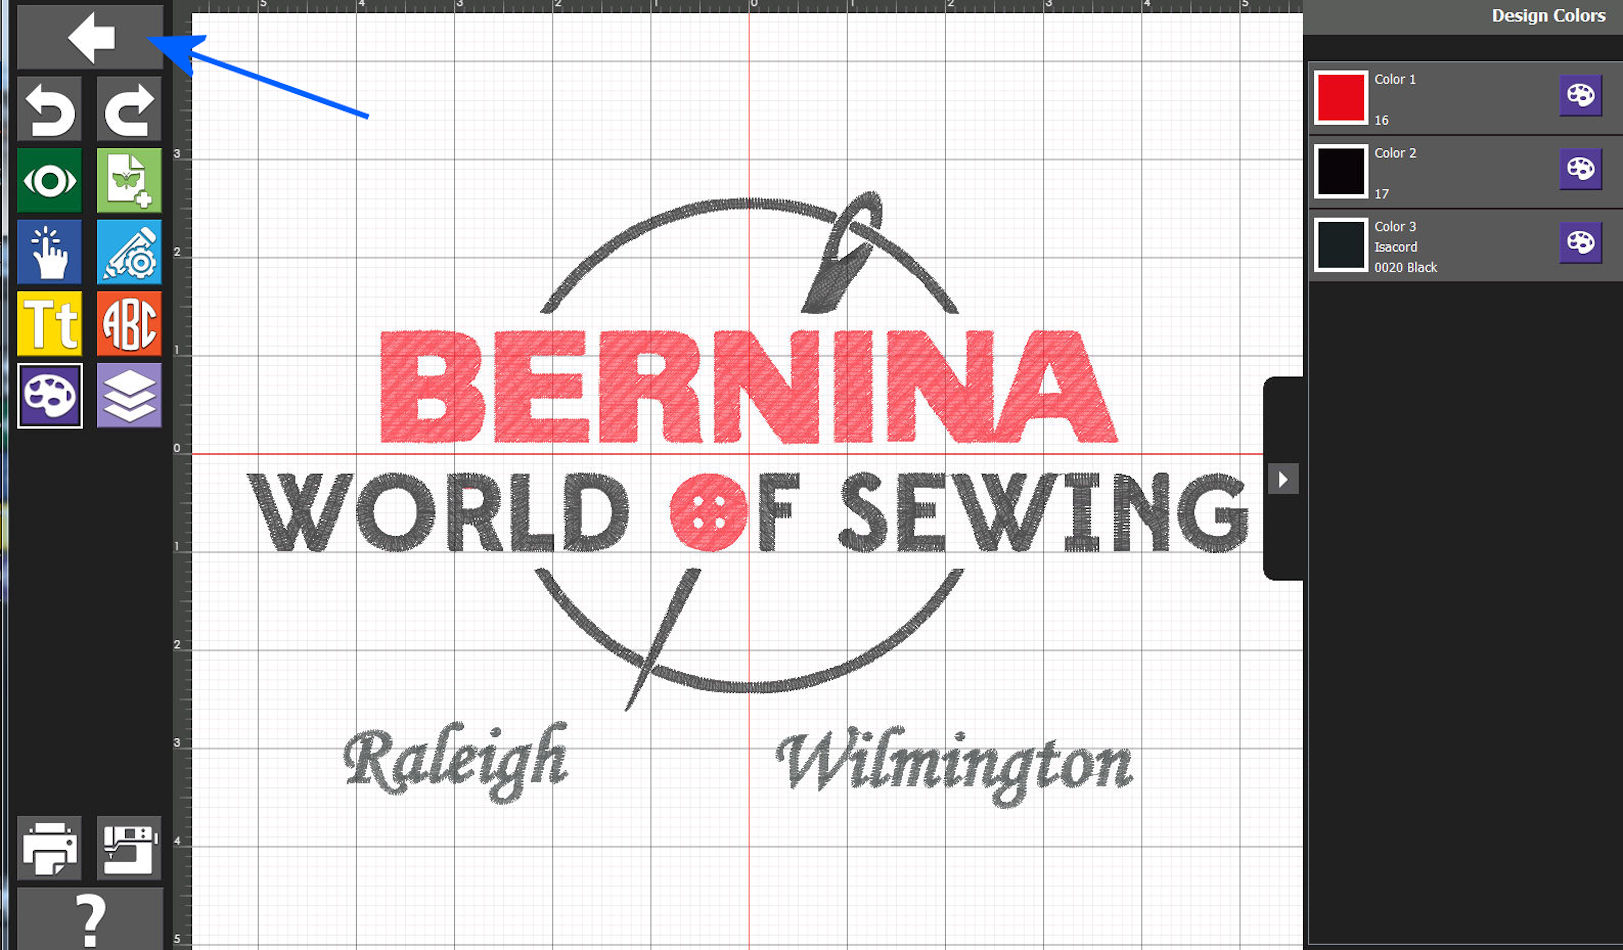
The design is presented and we can now use Toolbox to view/modify the file/design. For this example, we are going to look-at / modify colors and we click on that option.
|
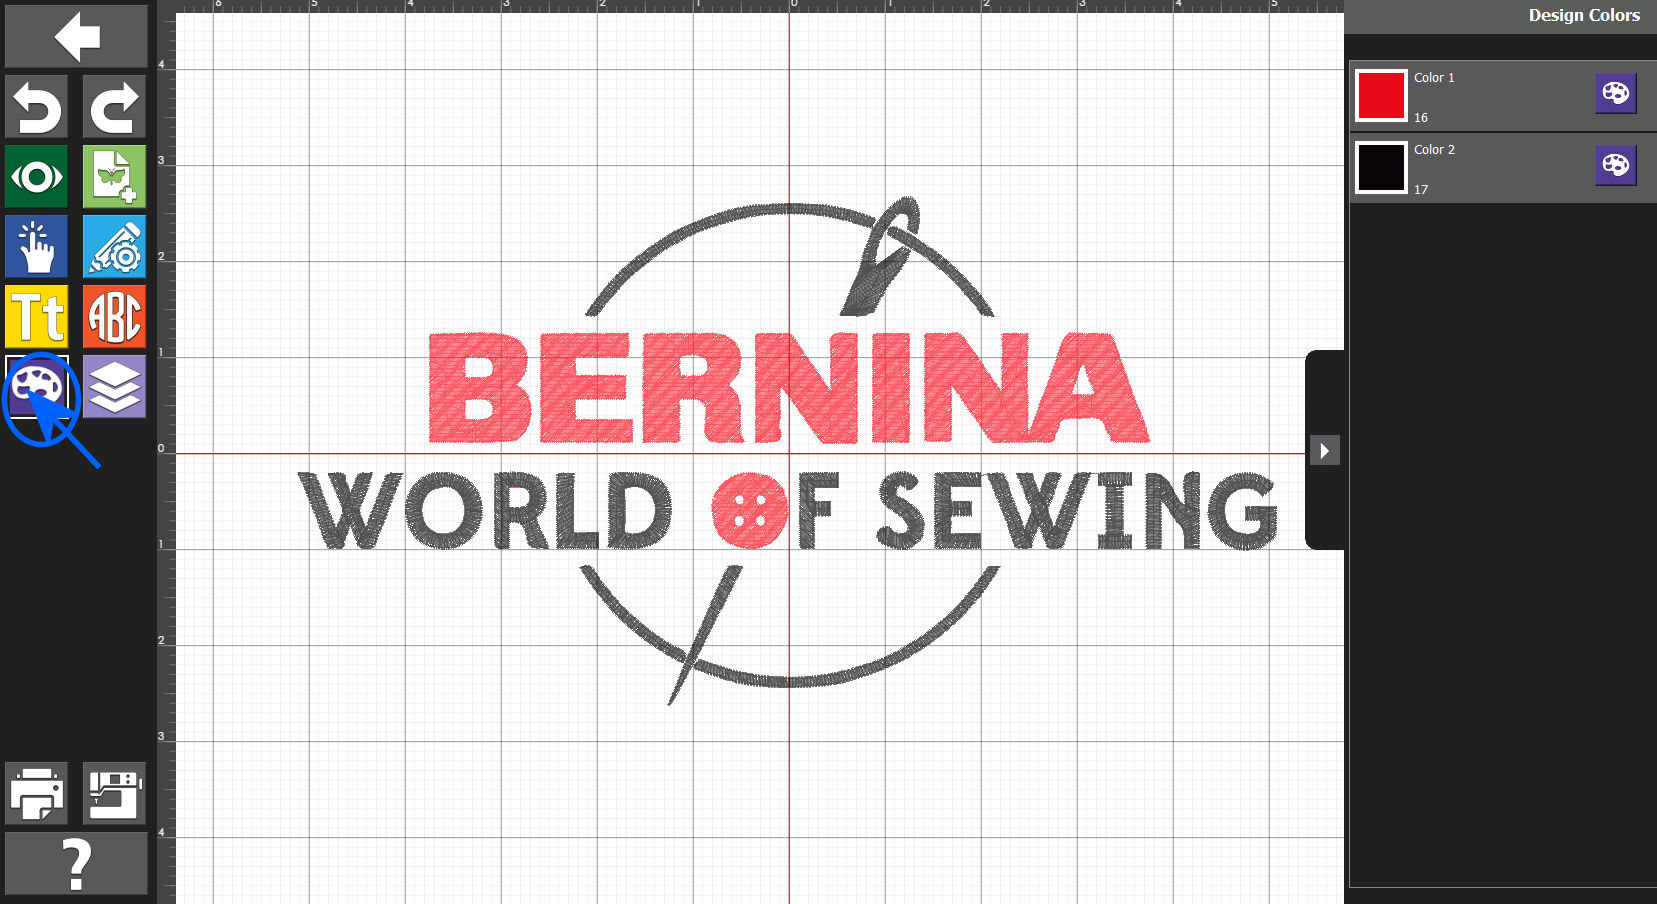
Just two Colors used. Reminder... The colors are "just" for design info. At stitch time? Actual stitched design will be whatever the machine/"operator" uses at stitch-time. The "info" within the (in our example Toolbox-exported EXP) is just "guidance".
|

Clicking on the top first-shown color brings to the forefront that color and the stitches to be used.
|

Clicking on the next-shown color, once again brings to the forefront that color and the stitches to be used.
|
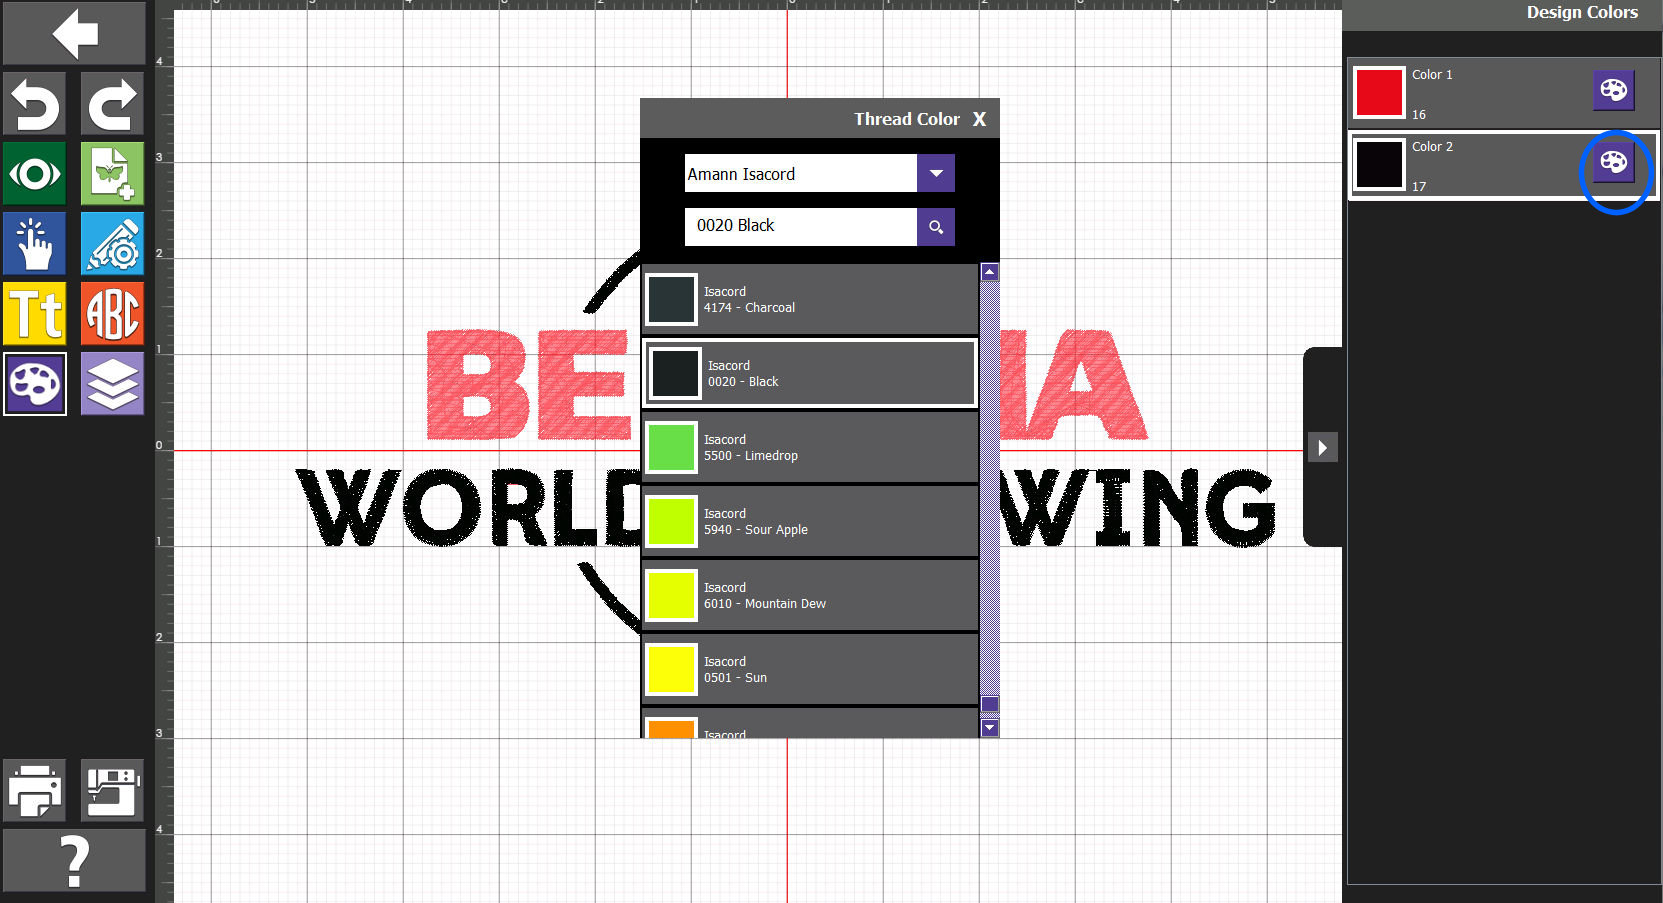
Clicking on the art-palette for a color shows a panel where a color can be selected which would replace the current color (for all the stitches used for that color). Scrolling shown the many color options available.
|
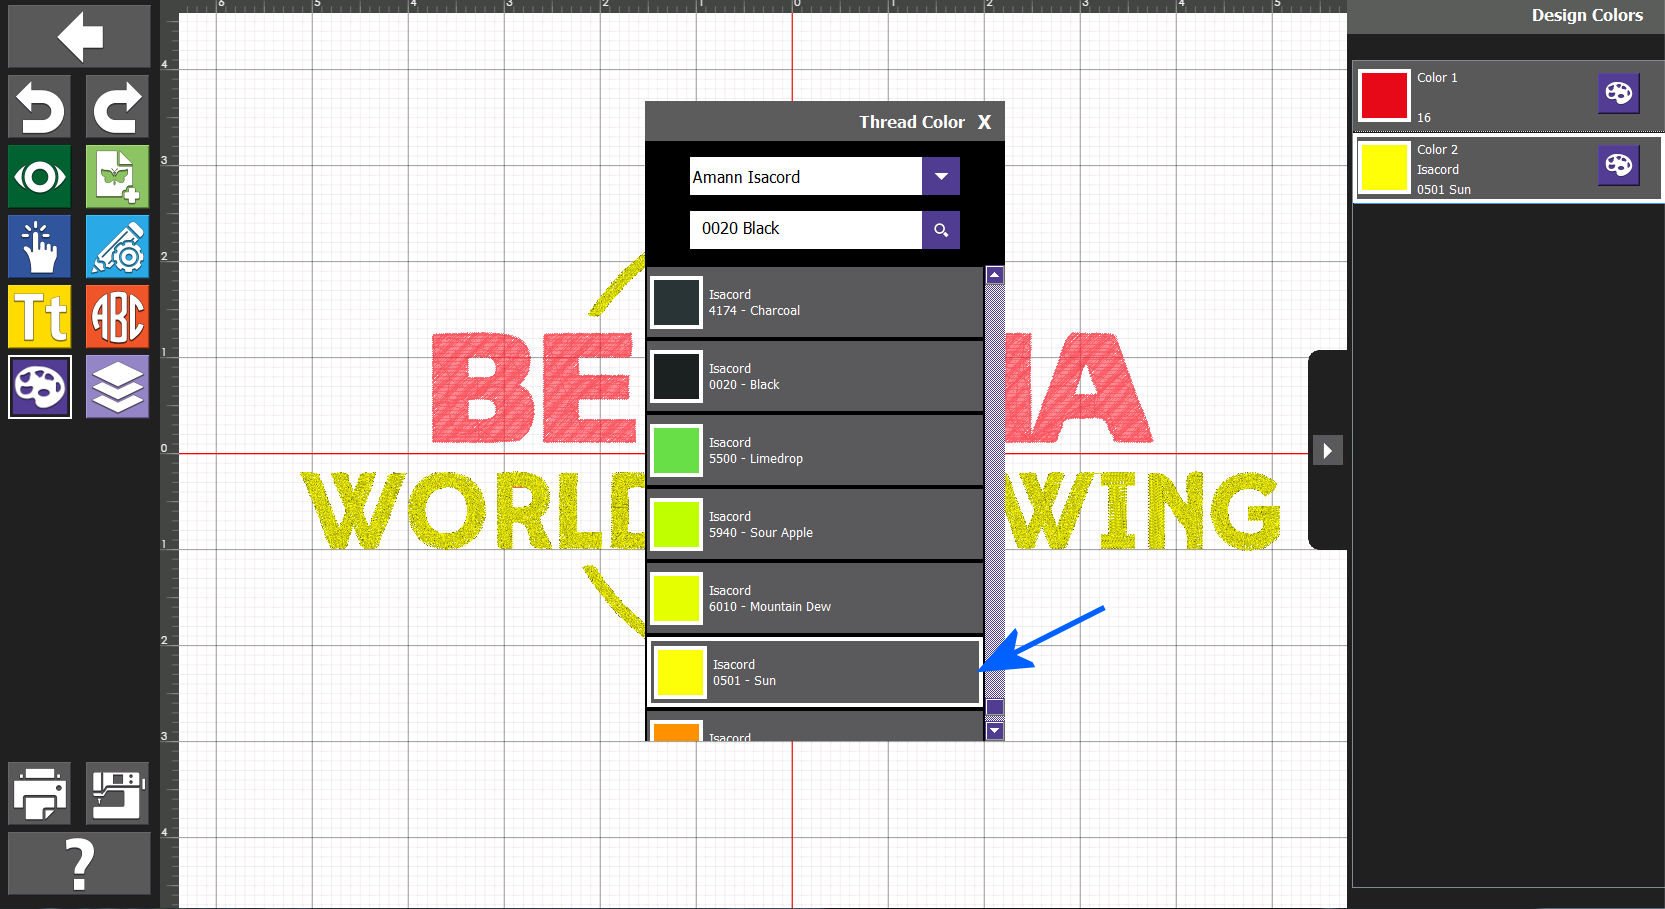
After scrolling around a bit, we decide to see what a Yellow could look like (in this example: The Yellow threads/stitches are below the panel).
|
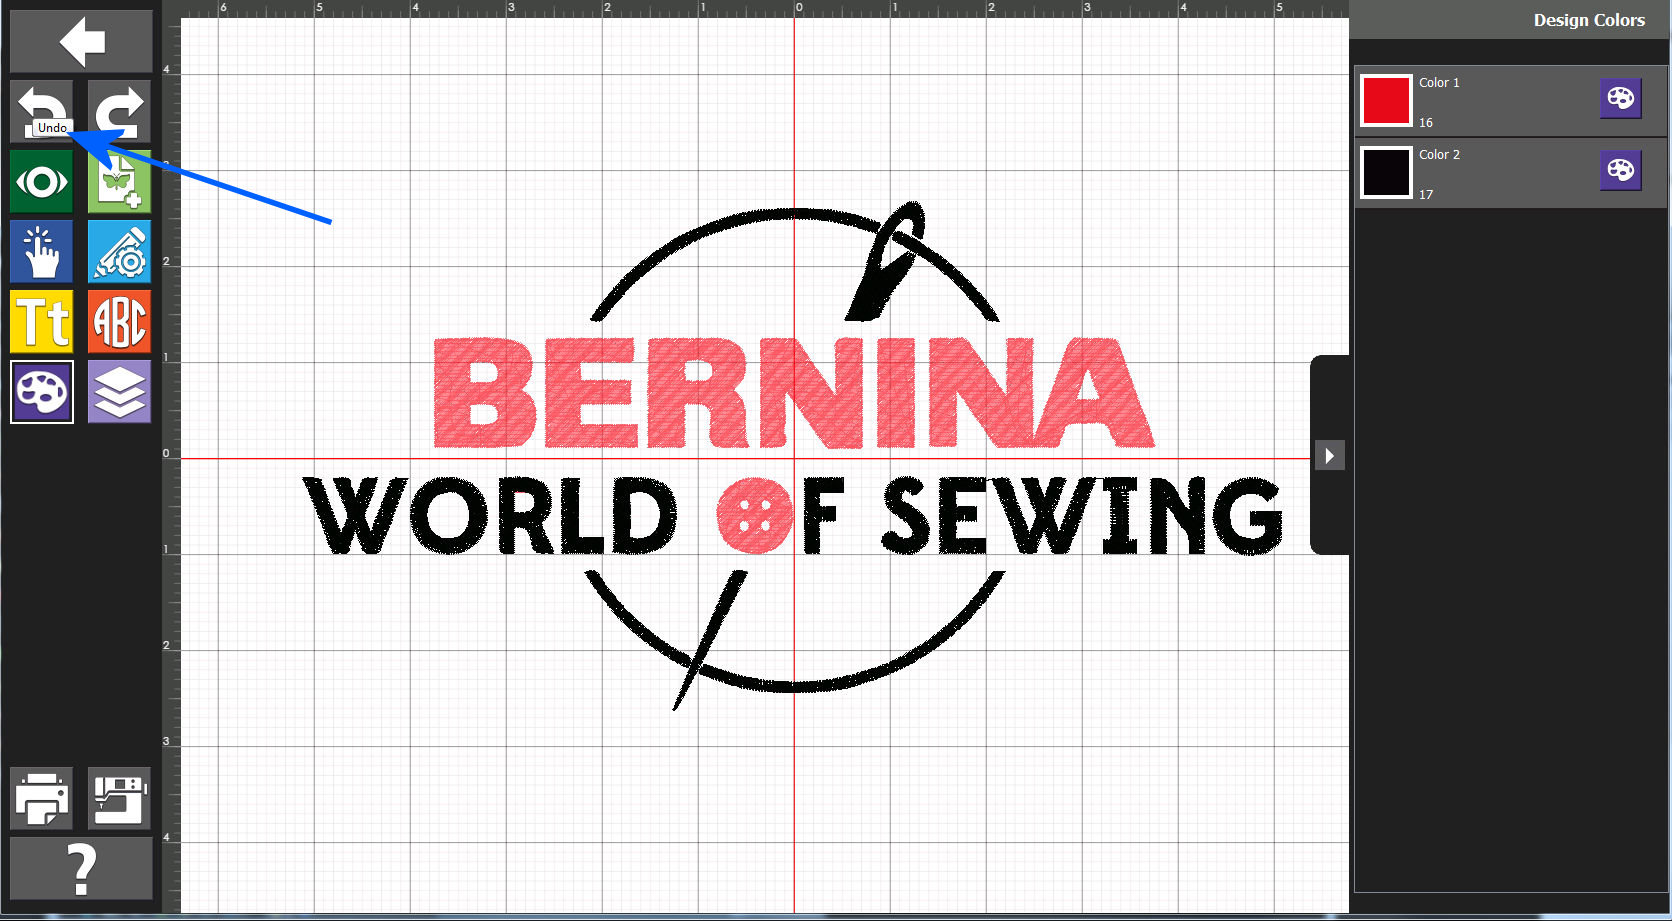
We opted to not use the Yellow - so, we "Undo" - and the previous operation is cancelled.
Actually, we "Undo" everything (for this example) before returning ("exiting") this manipulation process. In this example, I did not (at start-time of this process) use a different name for the process -- so, returning will "replace" that which I started with... however, as I used "Undo" -- nothing, actually HAD been changed.
|
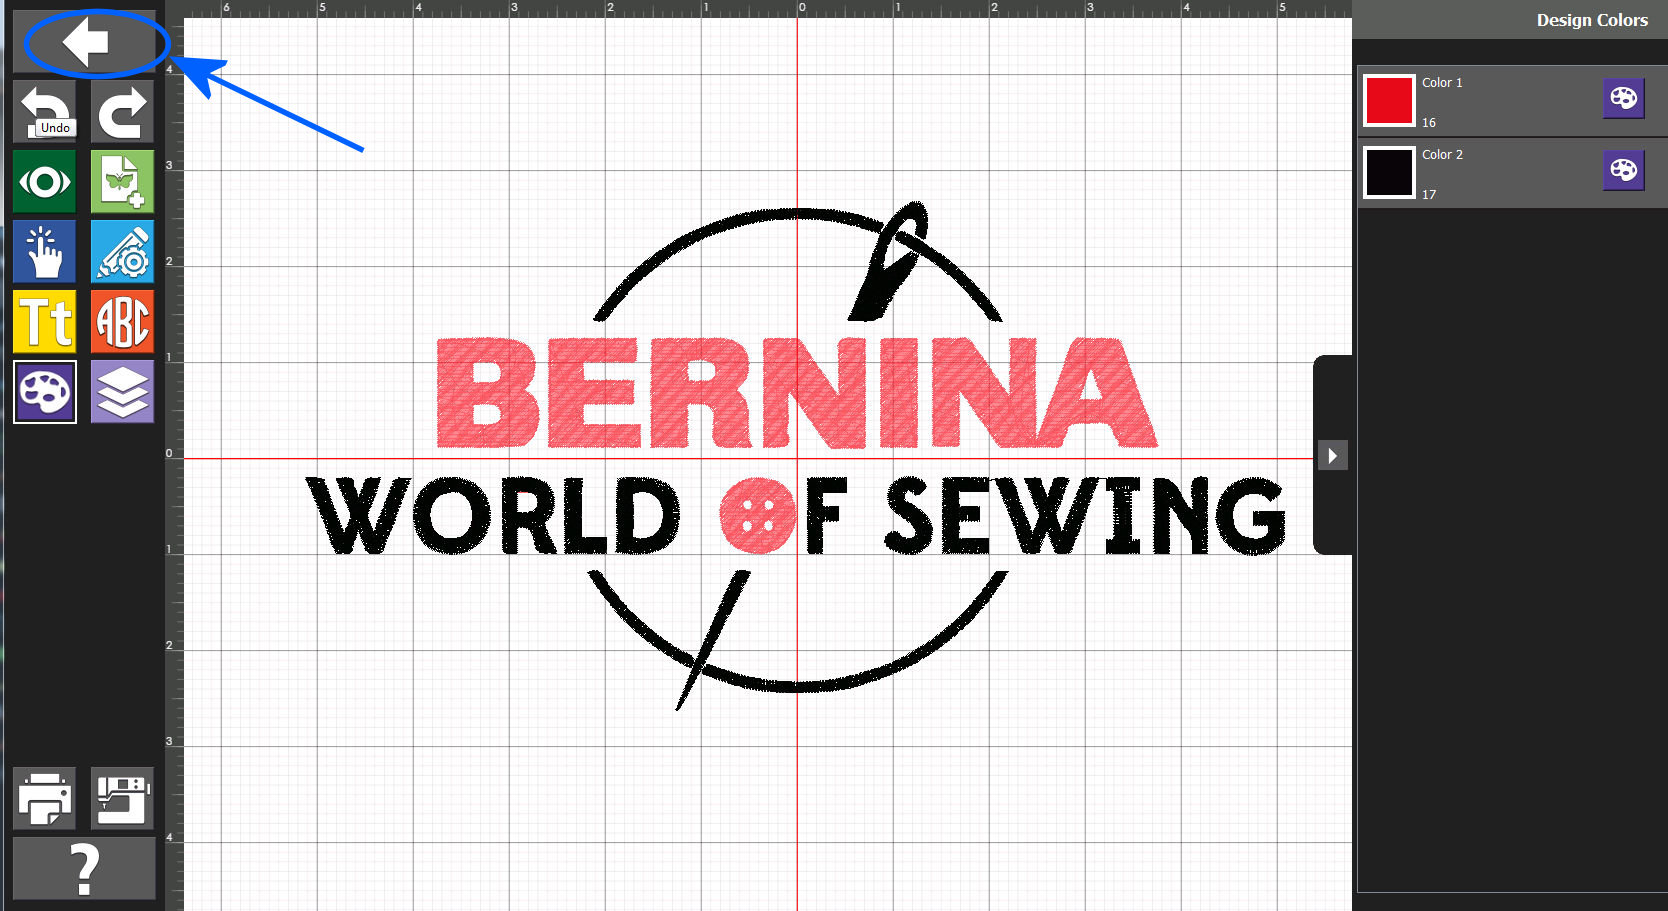
Clicking on the Return arrow will bring us back to the main Toolbox panel.
|
|
|
This example: Second Part - Adding Some Text to the Digitized/Entire Design
(Clicking on any of the following images will show that image in large-size).
|
Check the design description to confirm that it is the file you are looking for.... We are still working with the 10.2" x 5.3" version. We use it!
|
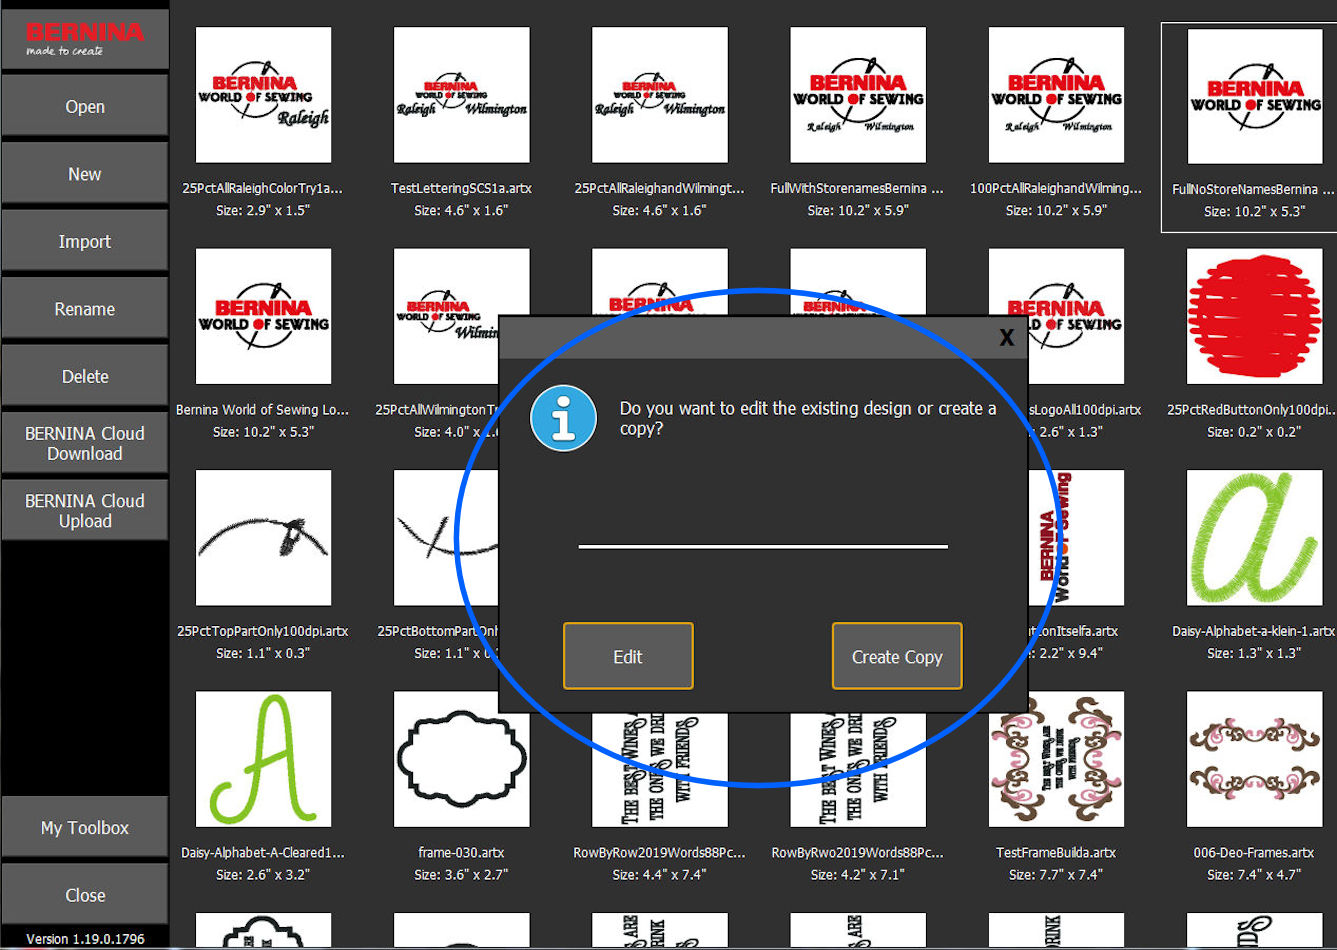
We will use a different name: We want to "save" the original version.
|
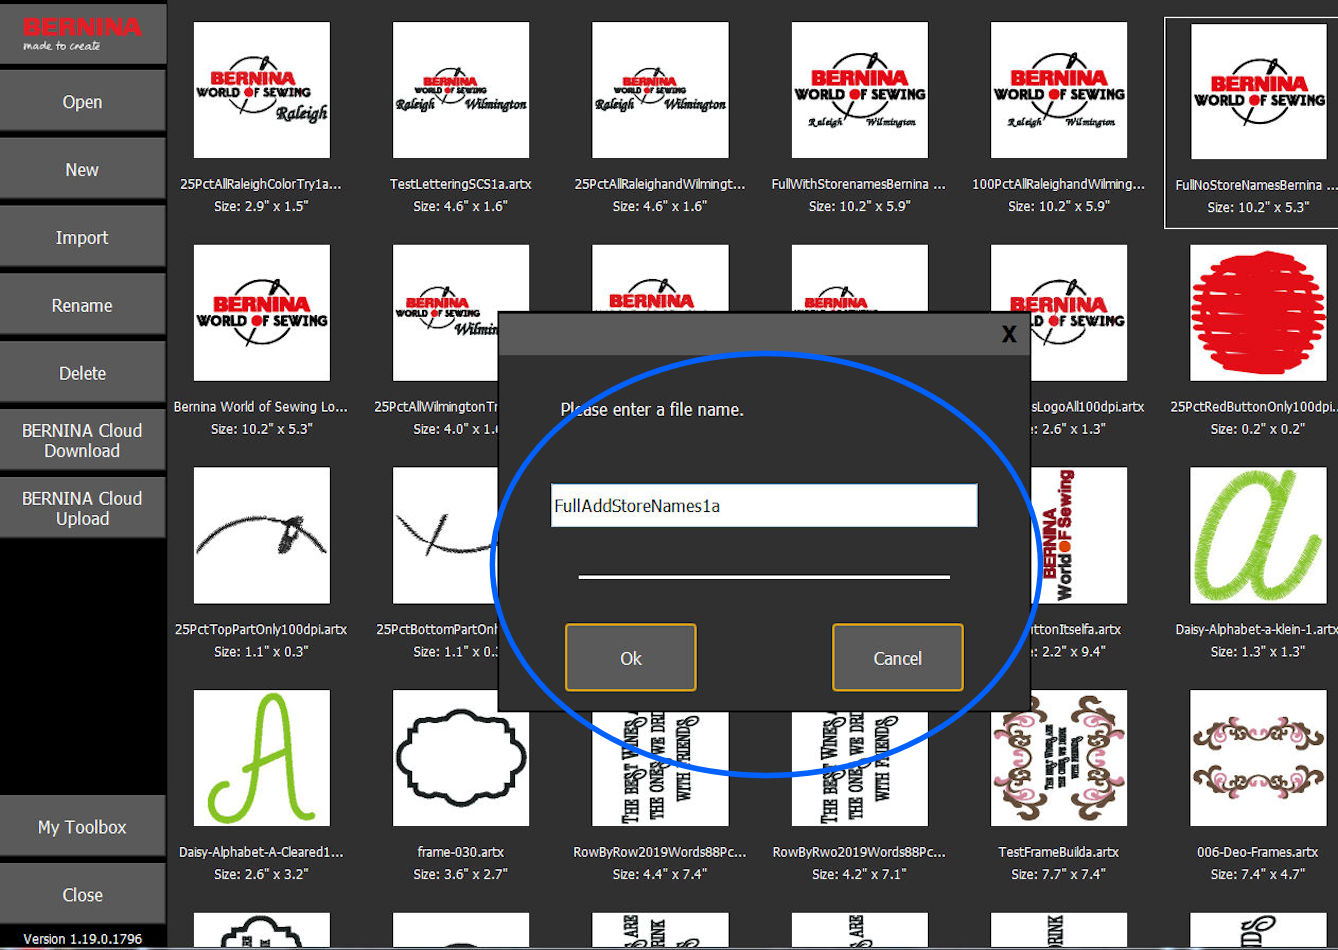
We give it a "meaningful" name that we can refer to later.
|
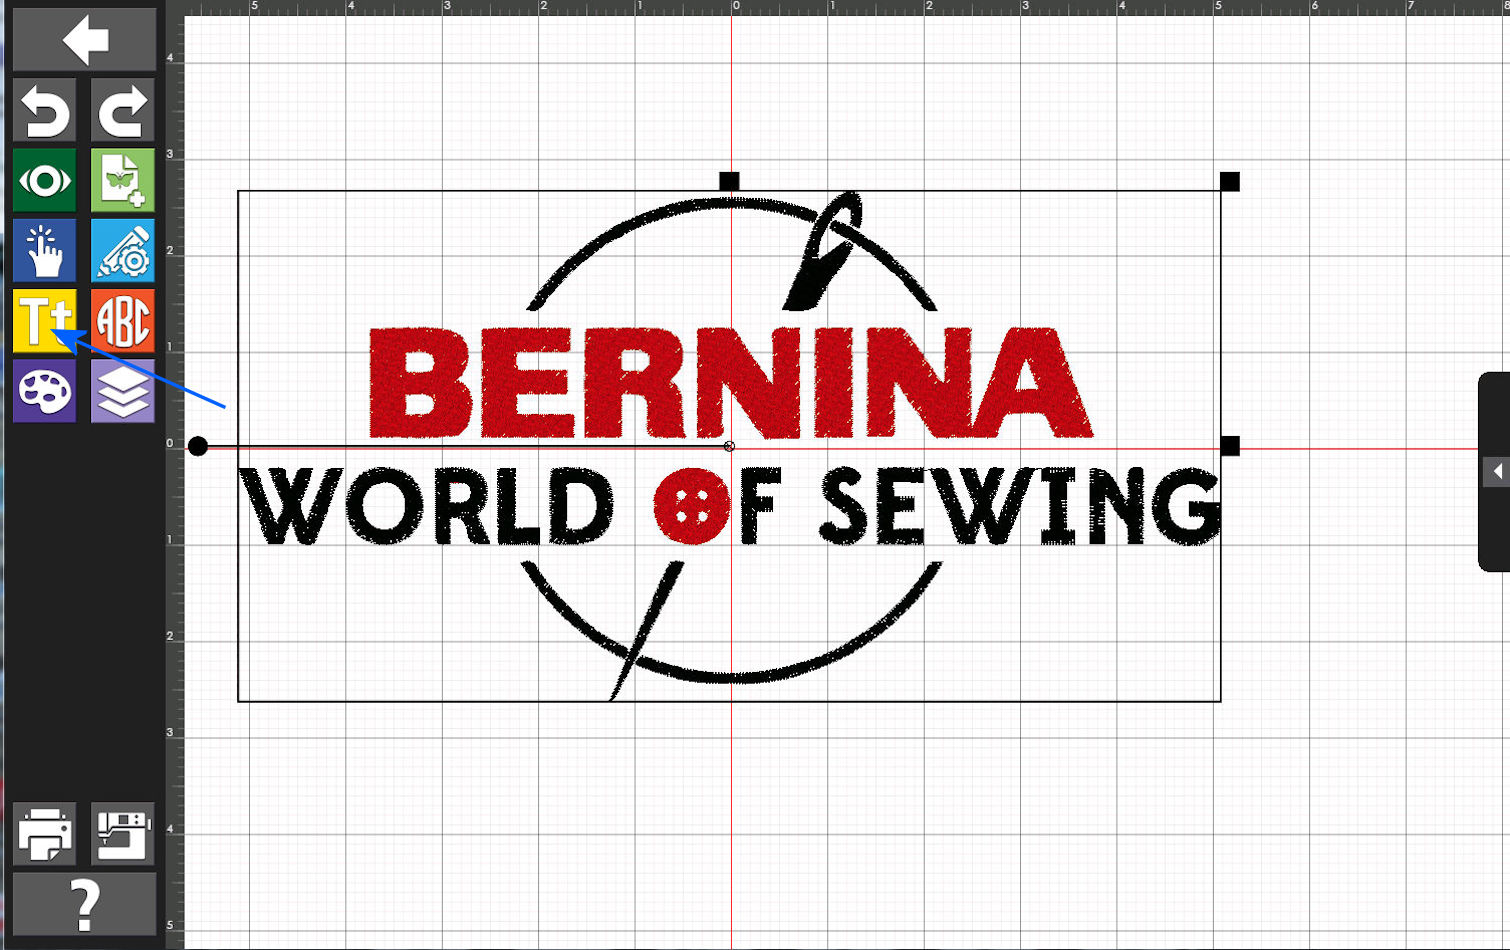
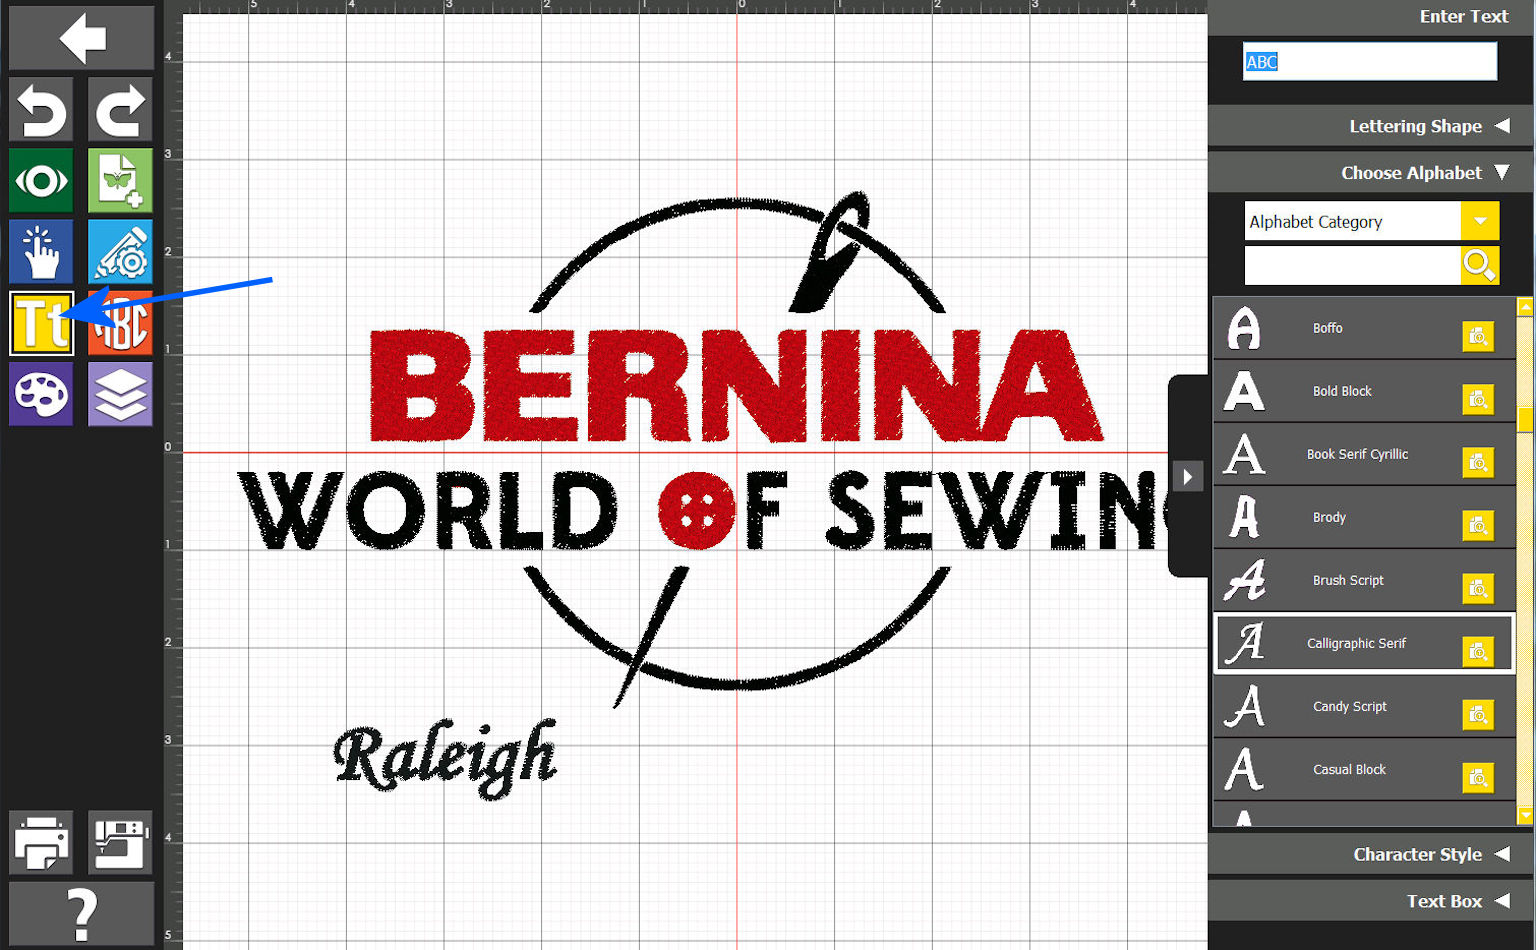
Once loaded, for this part of the example, we want to use the Text feature of Toolbox.
|
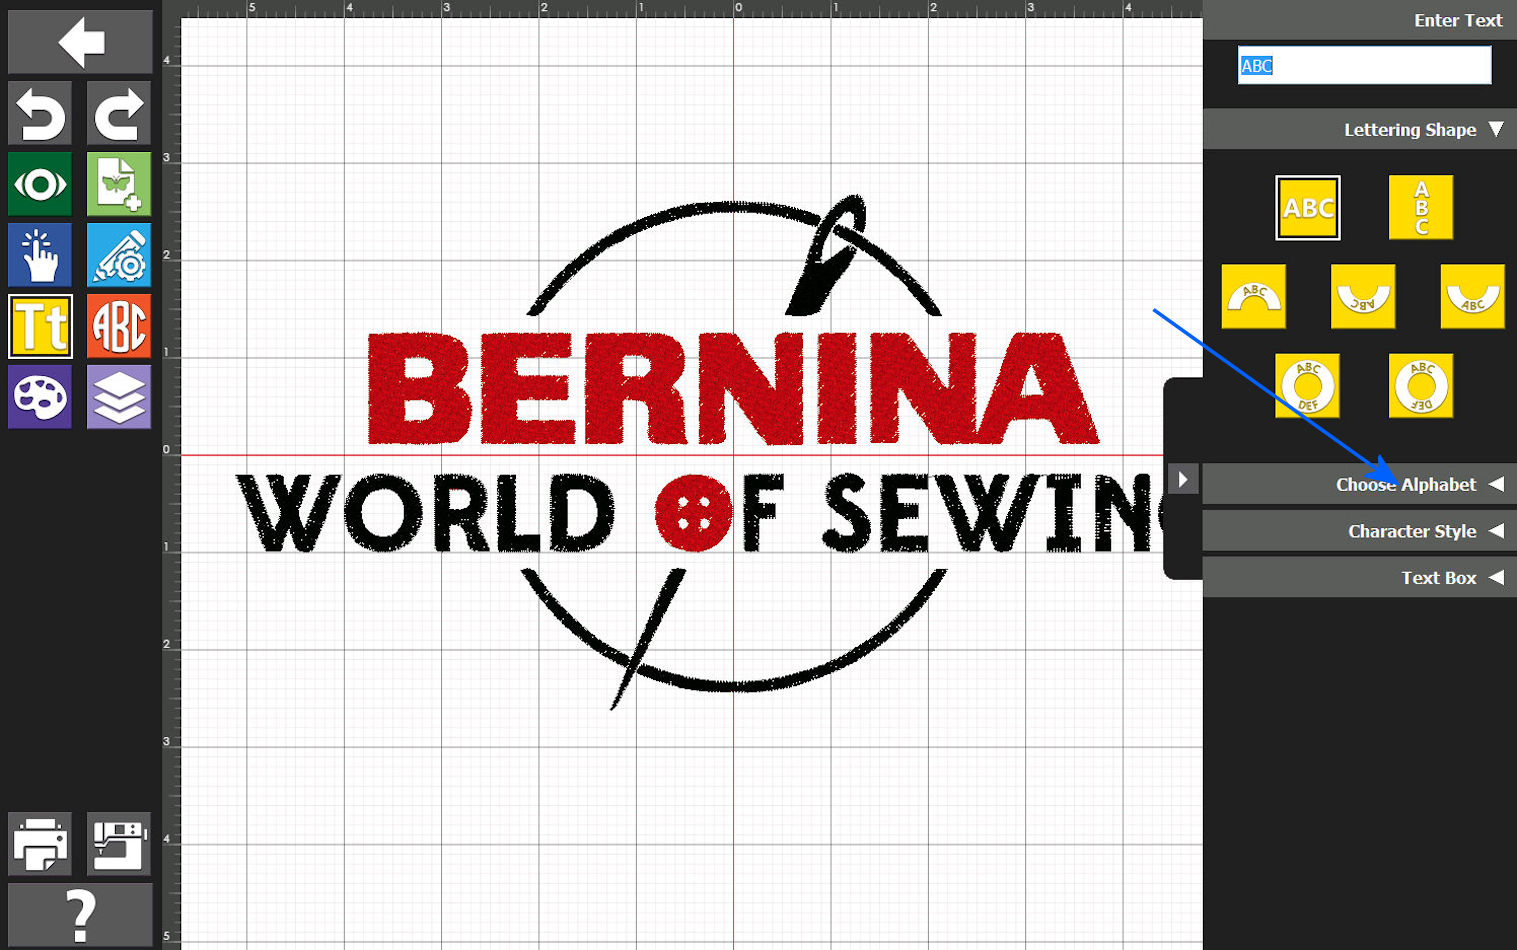
We start by finding an Alphabet we wish to use. (Note the "ABC" box shown at the top. This is where we will be entering our desired text).
|
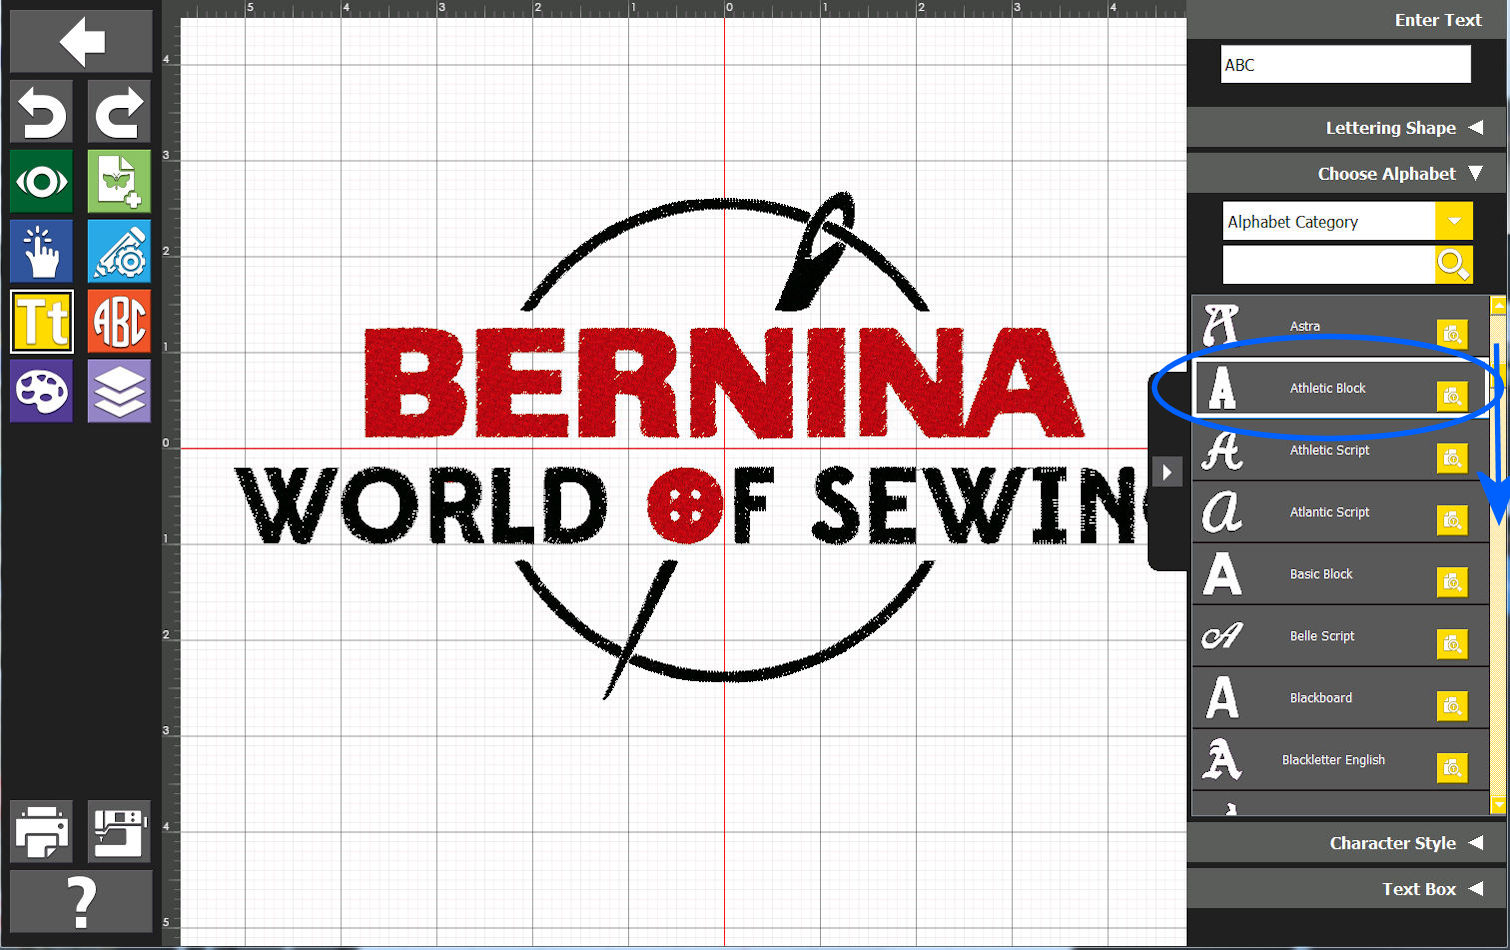
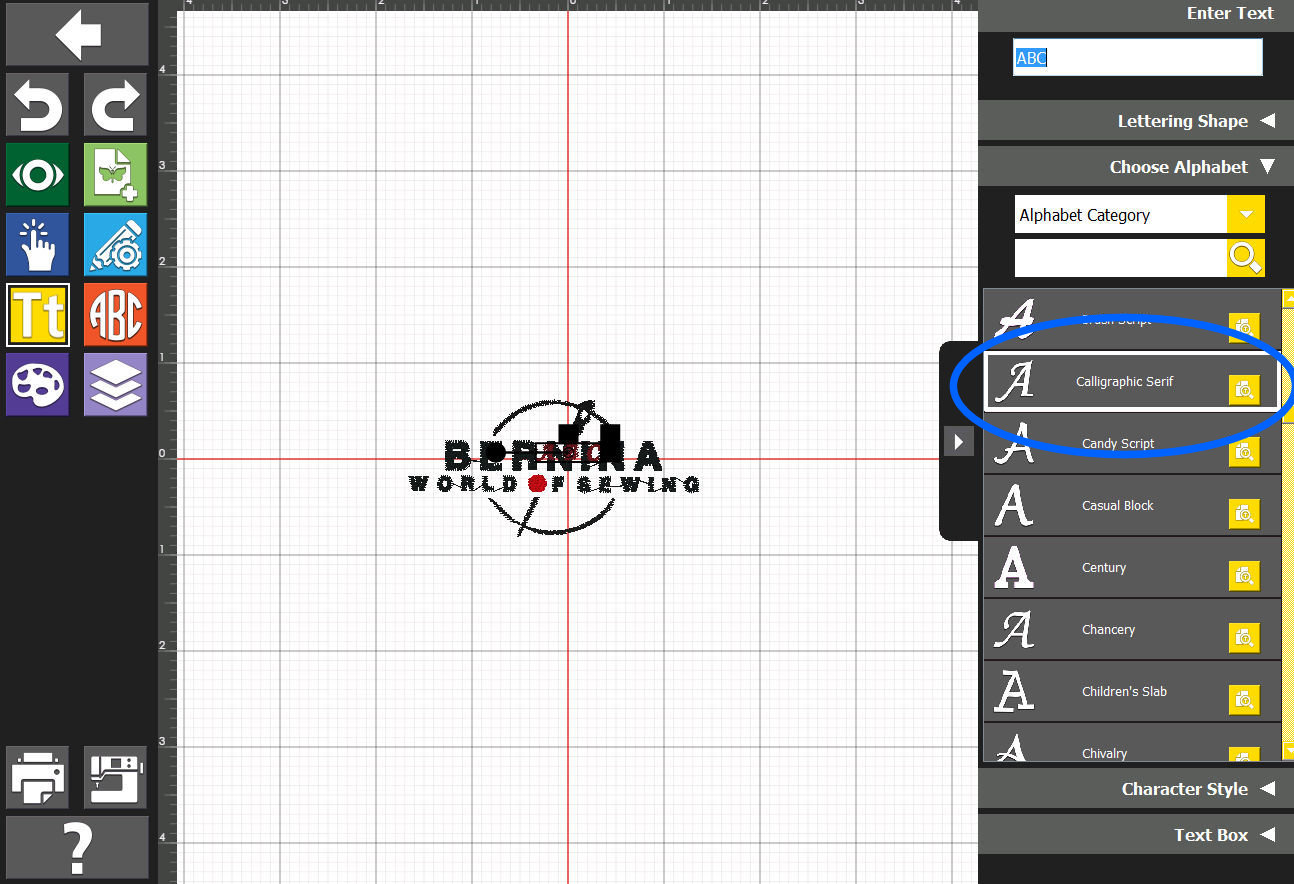
We are offered an Alphabet - but, we are going to scroll down for an Alphabet that serves our purpose. We are looking for a more-cursive Alphabet for this part of this Toolbox example. So: Scroll down!
|
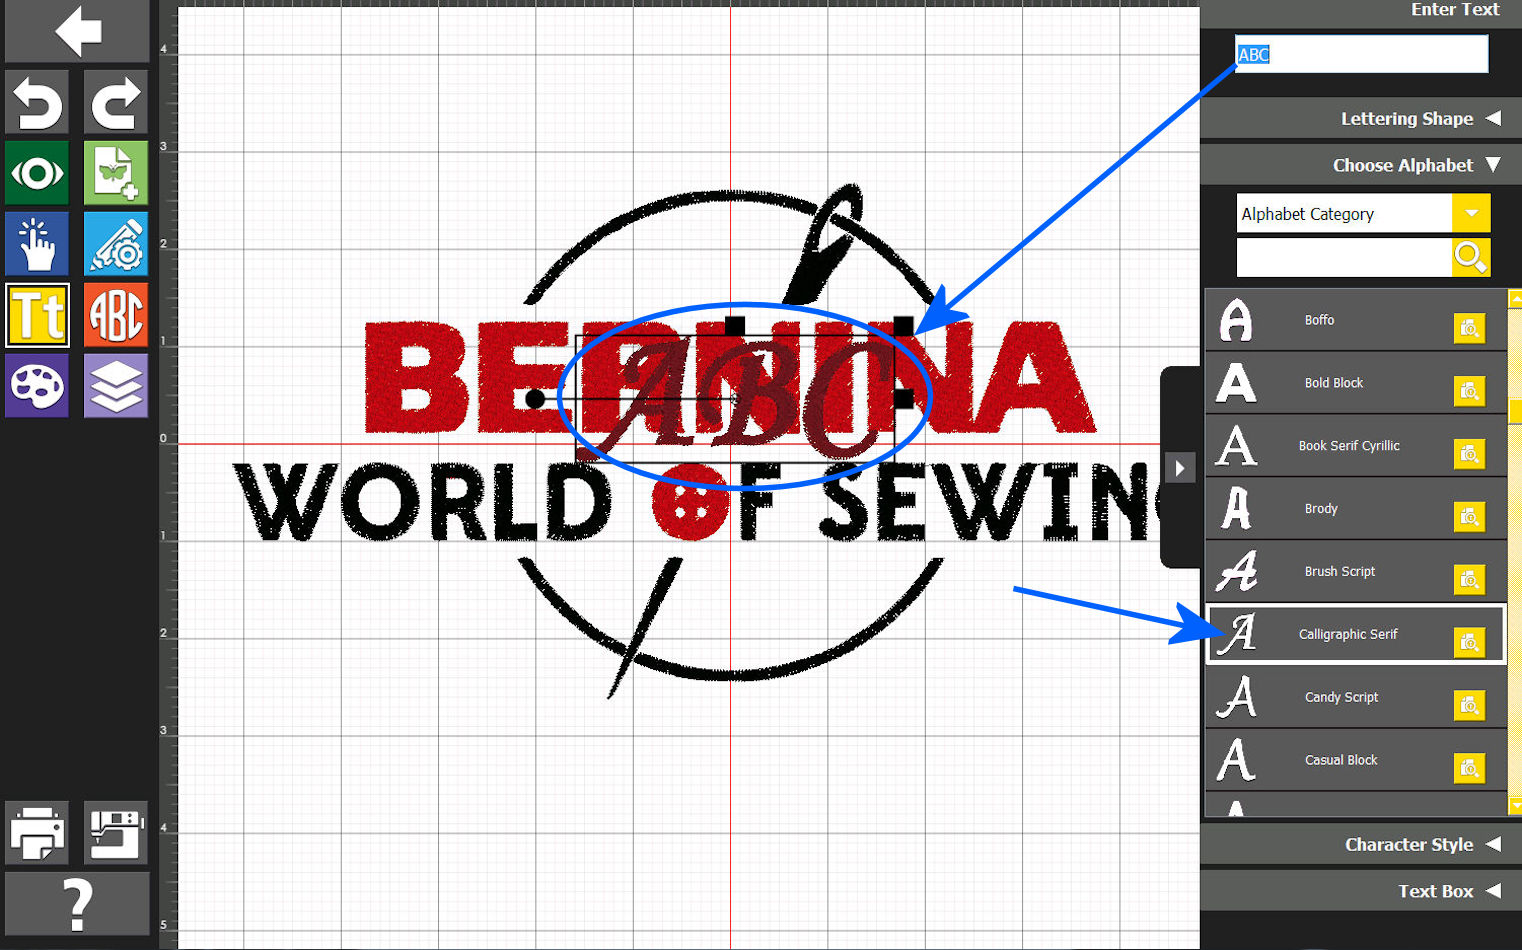
We find one that looks good for us. When we click there, the Toolbox shows the text from the "top box" area on our design.
|
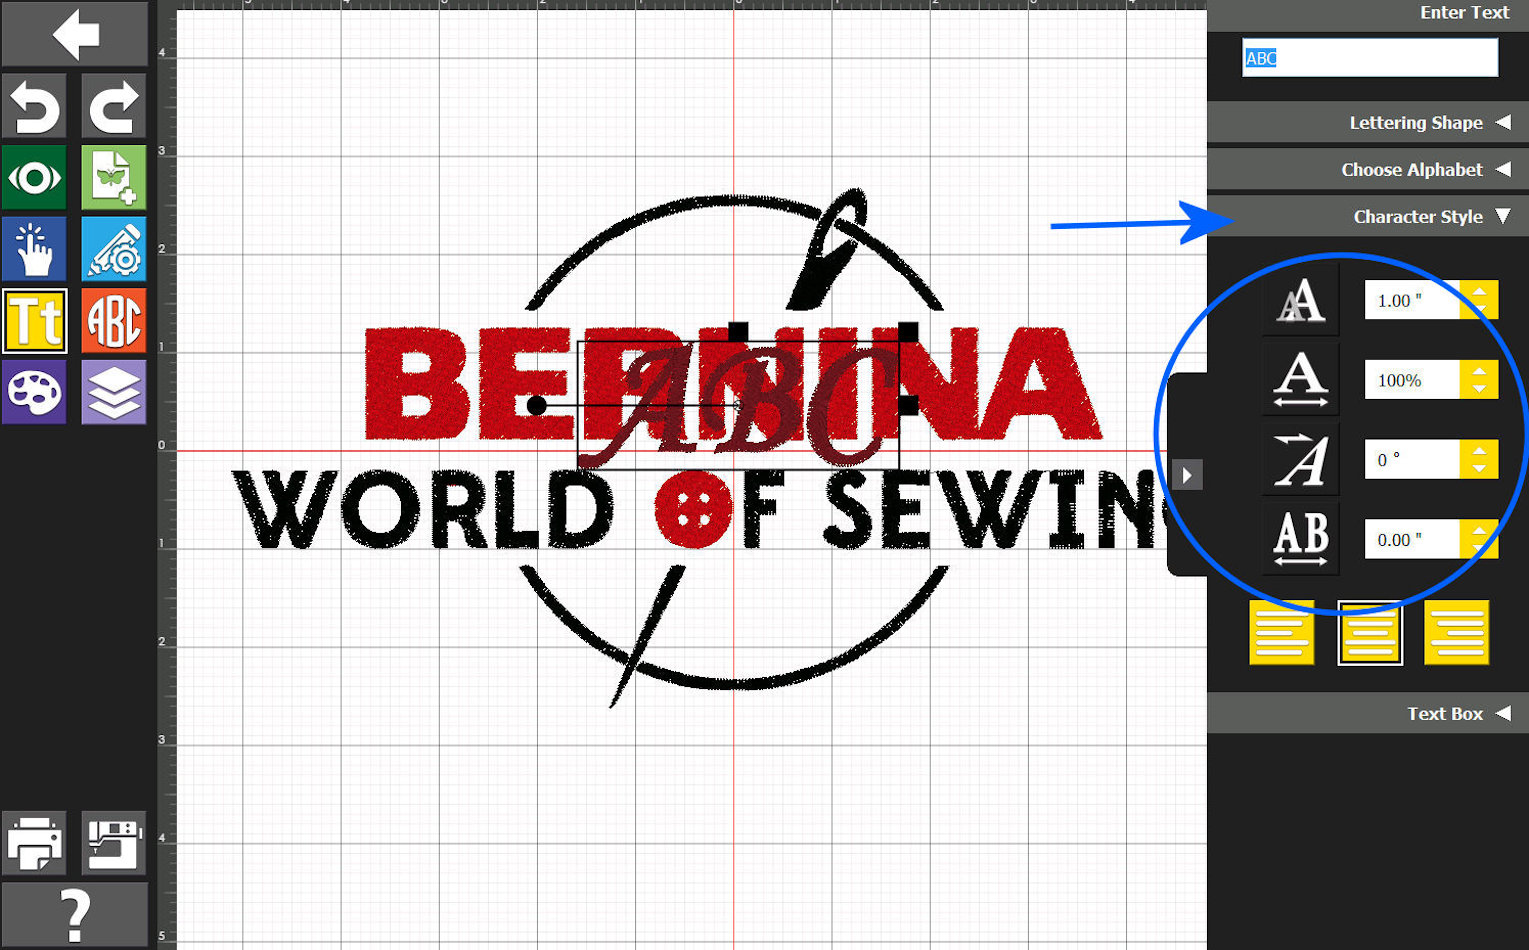
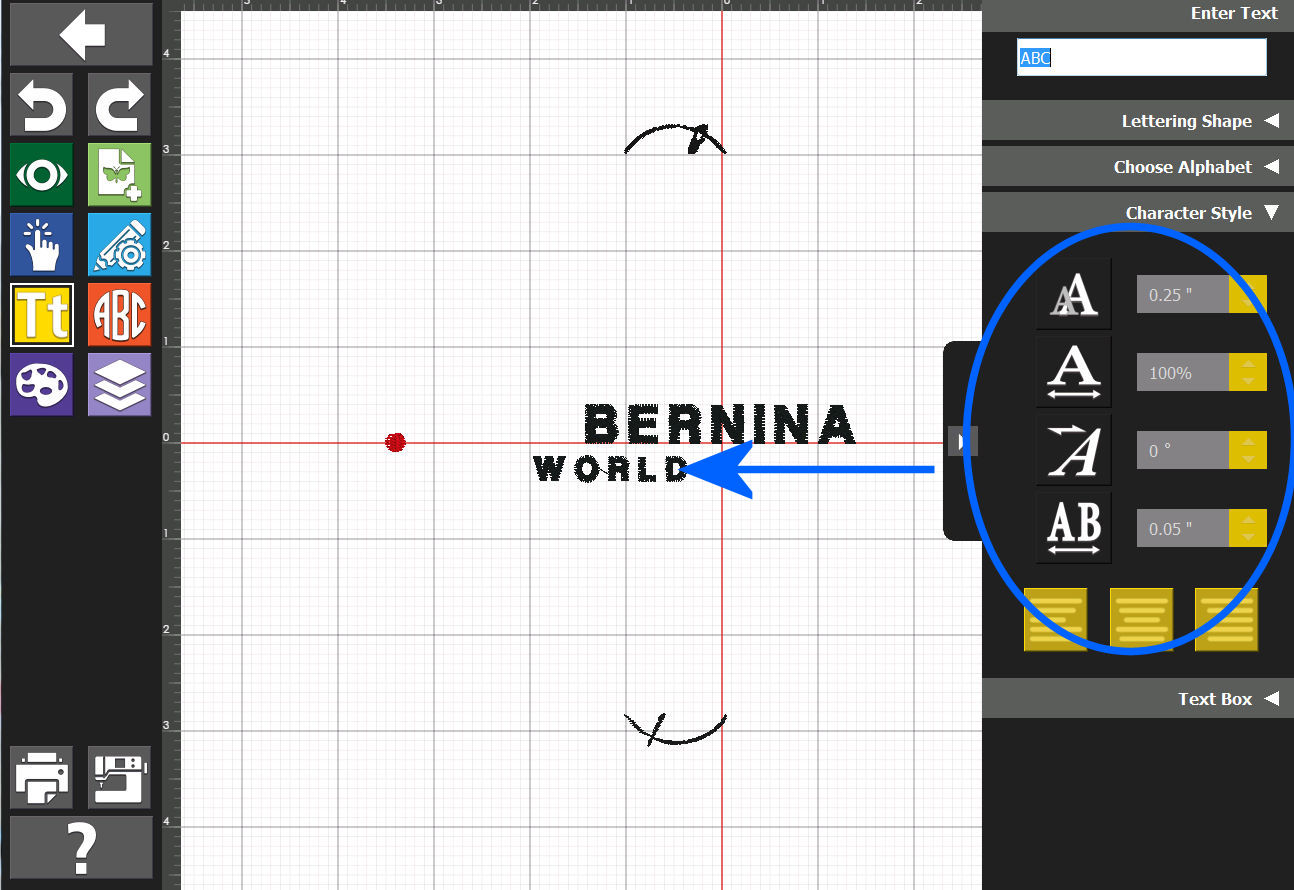
Alphabet looks good for now -- so, we see about the individual character's style. We will pay attention primarily to the top box (character height) - 1" as shown and the bottom box (character spacing) 0.00" spacing between letters that are entered into the "Enter Text' box shown at the top of the panel.
|
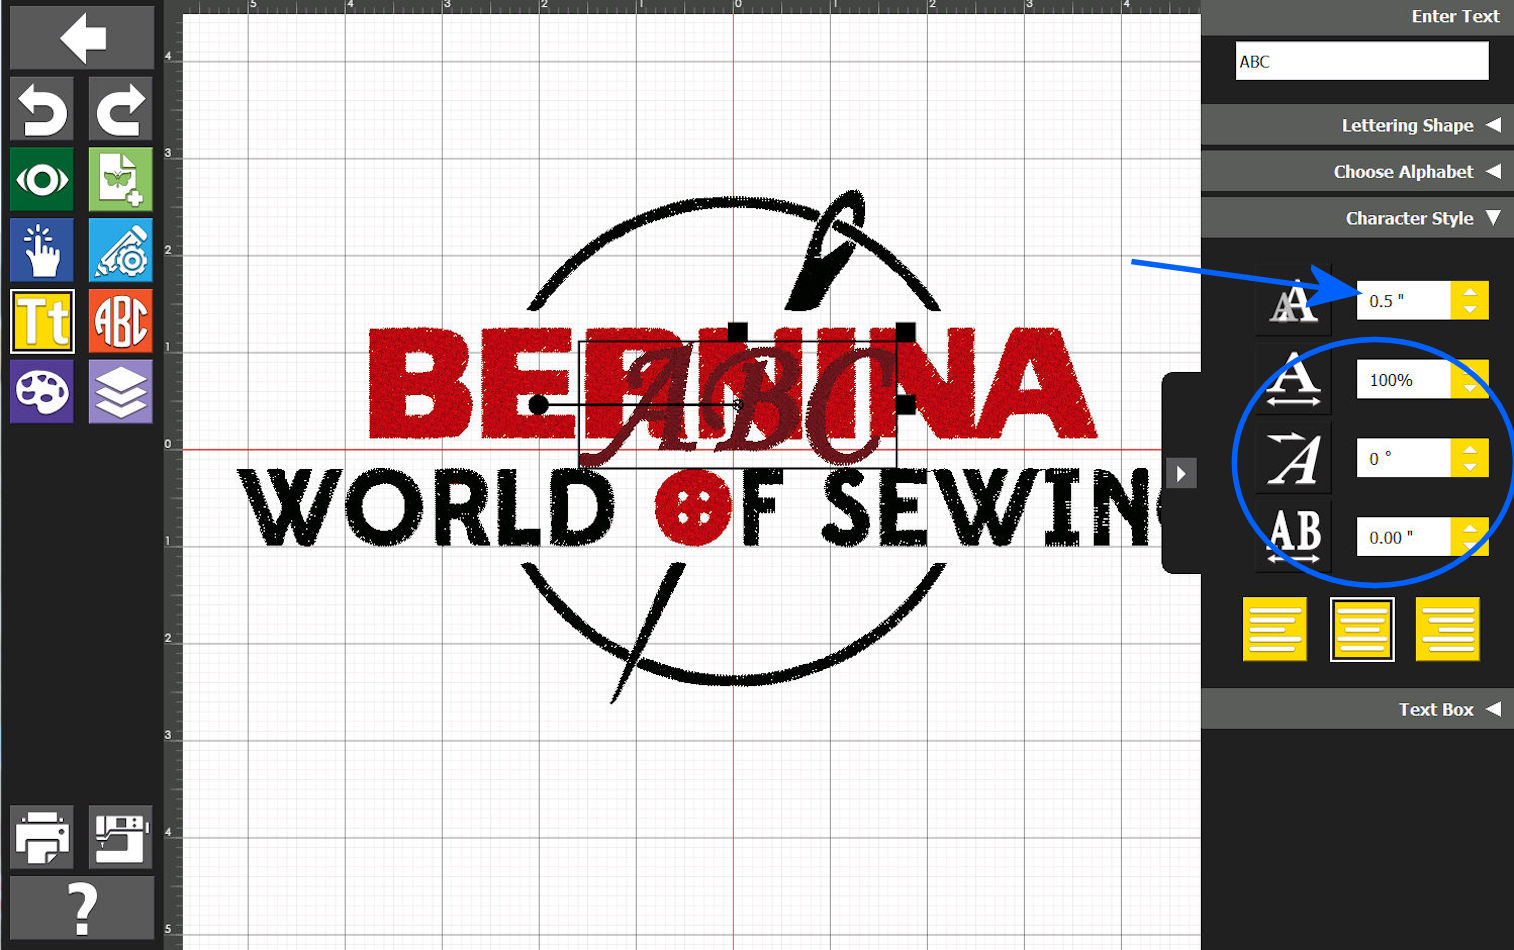
For character height: We opt to enter 0.5". Why? The JPG we started with was 100% size and we actually measured the already-within-the-JPG letters (the JPG, remember, was converted to embroidery EXP format), deciding that 1/2" high was a good match for our Toolbox-entered characters. We decided to - for now - leave the other Character Style boxes as they are shown. Later on, we chose to "spread the letters" a bit and we did modify the bottom-shown 0.00" value (that is the space between Toolbox-used letters of what we enter).
|
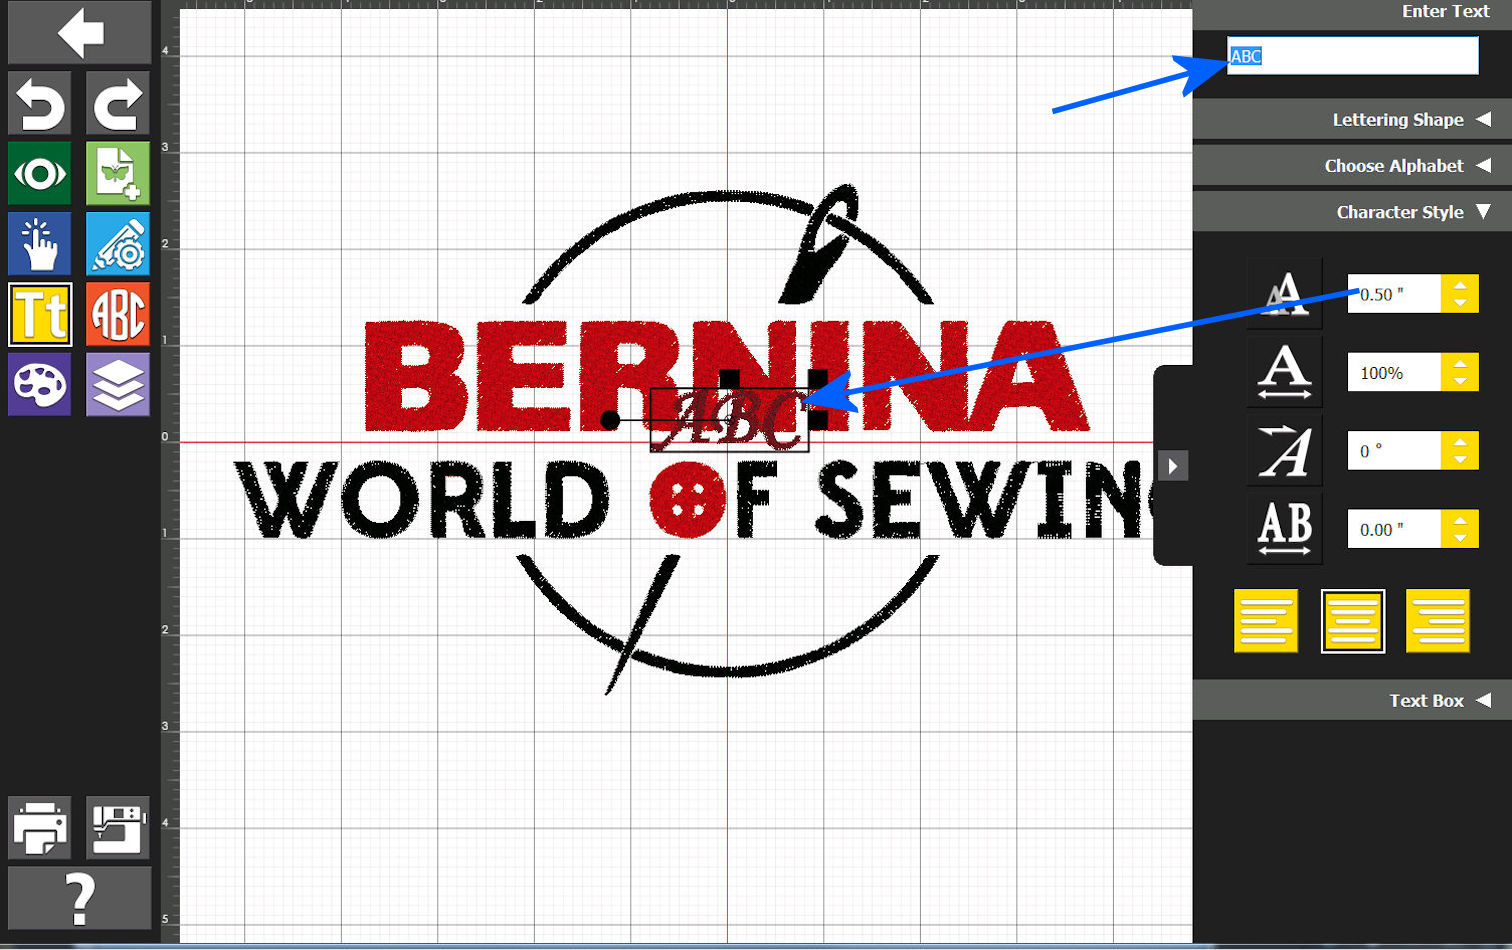
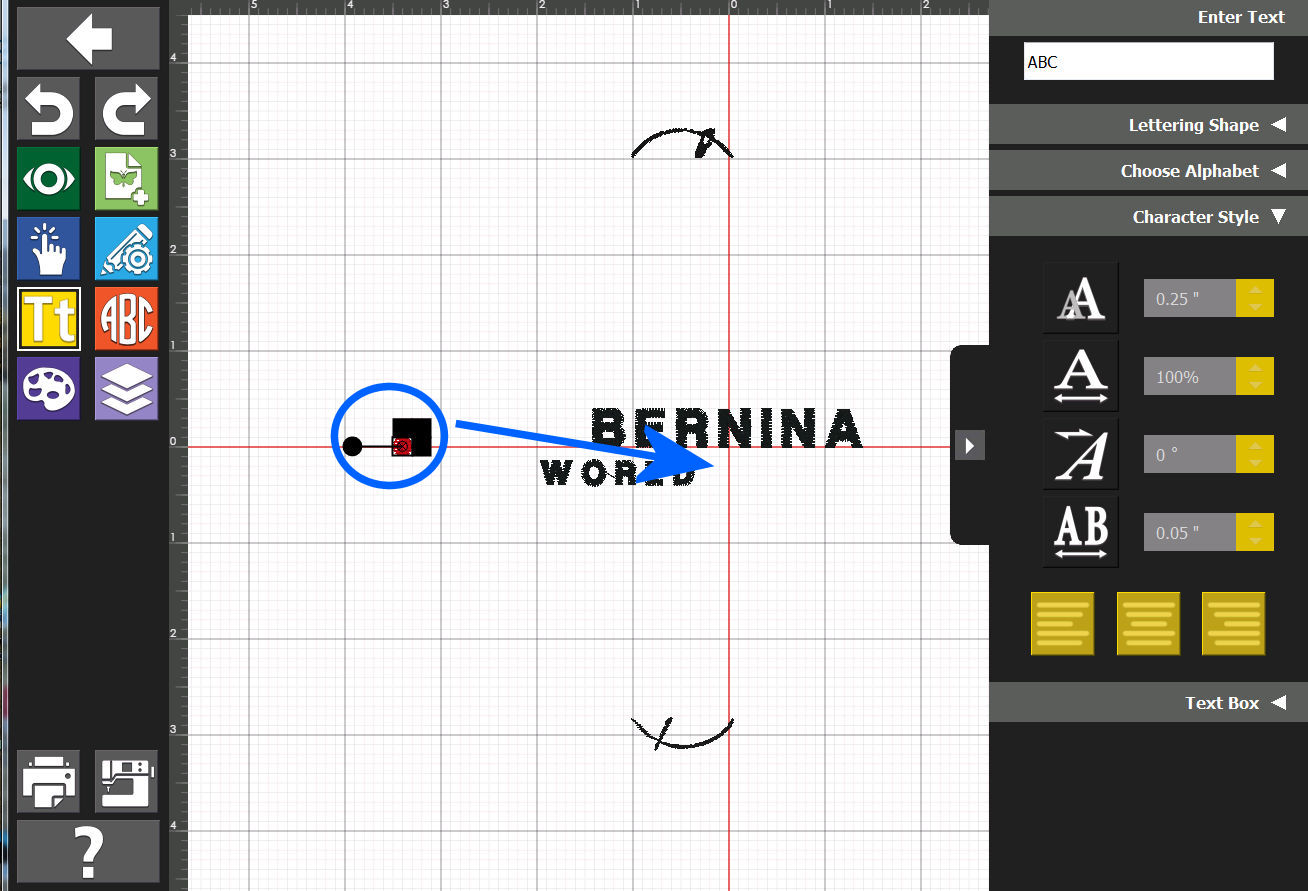
We entered our desired letters into the "Enter Text" field and Toolbox modified (see the next-shown image) the previous "ABC" with our entered-letters -- and:
|
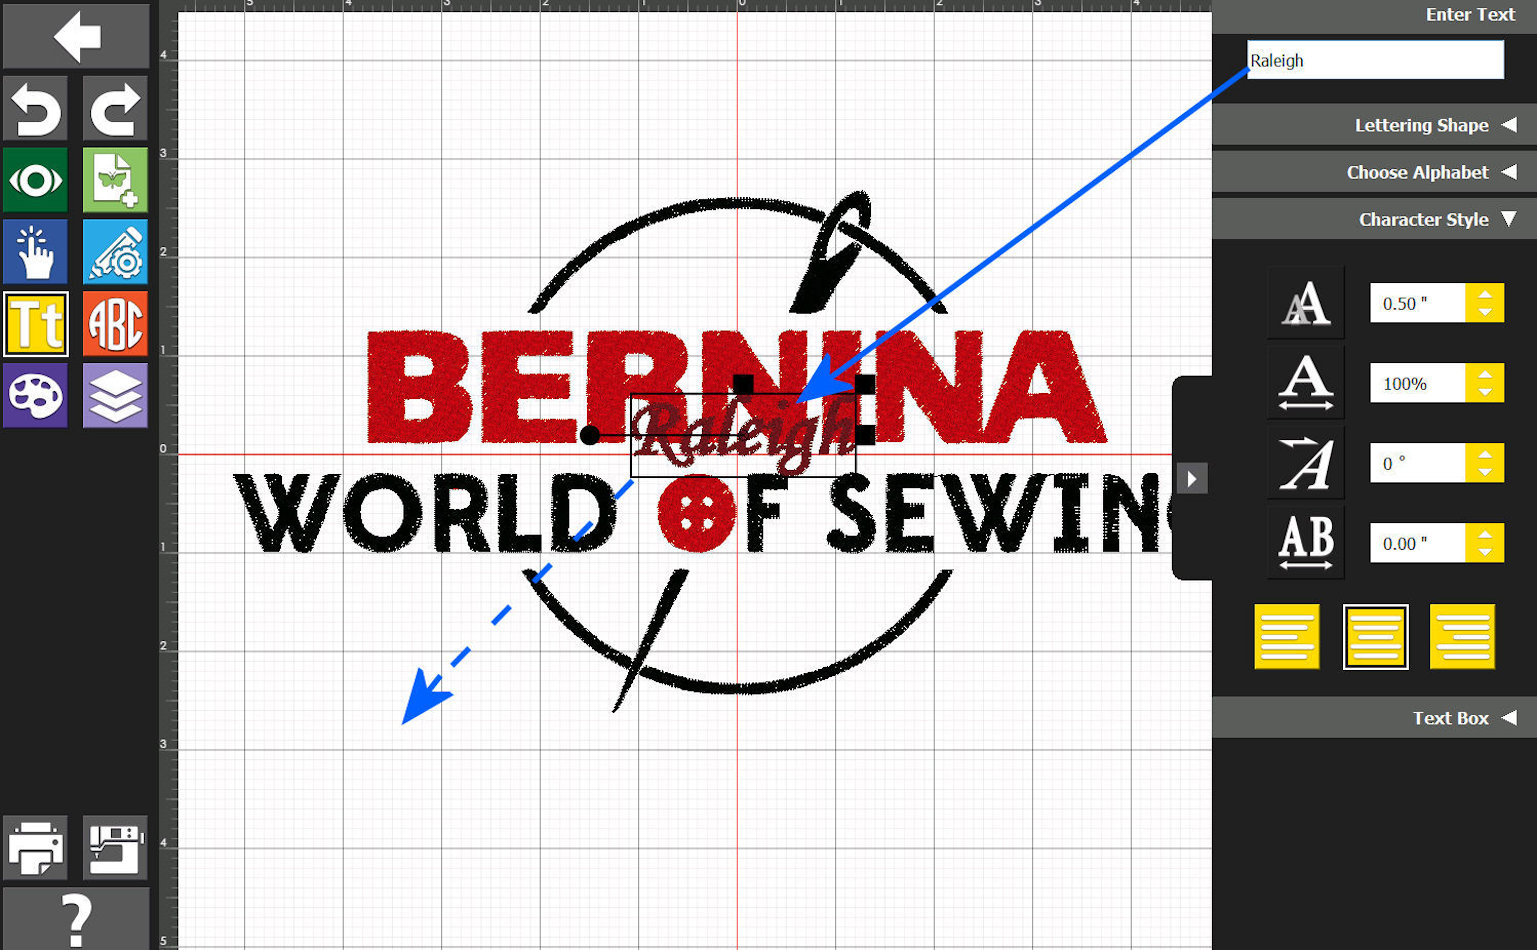
Then, using the computer mouse: We place the letters where we wanted them to be within the shown-design (as shown on the next-shown image).
|
Looks good -- and, we can use the Toolbox "grid" to assist in placing our text. I say looks good" - although, from a color-thread point of view we want to change the shown-color. We click, as shown above to do this. Doing this will be used later-on when the EXP and its associated "Info" file will be passed onto the embroidery machine/user.
|
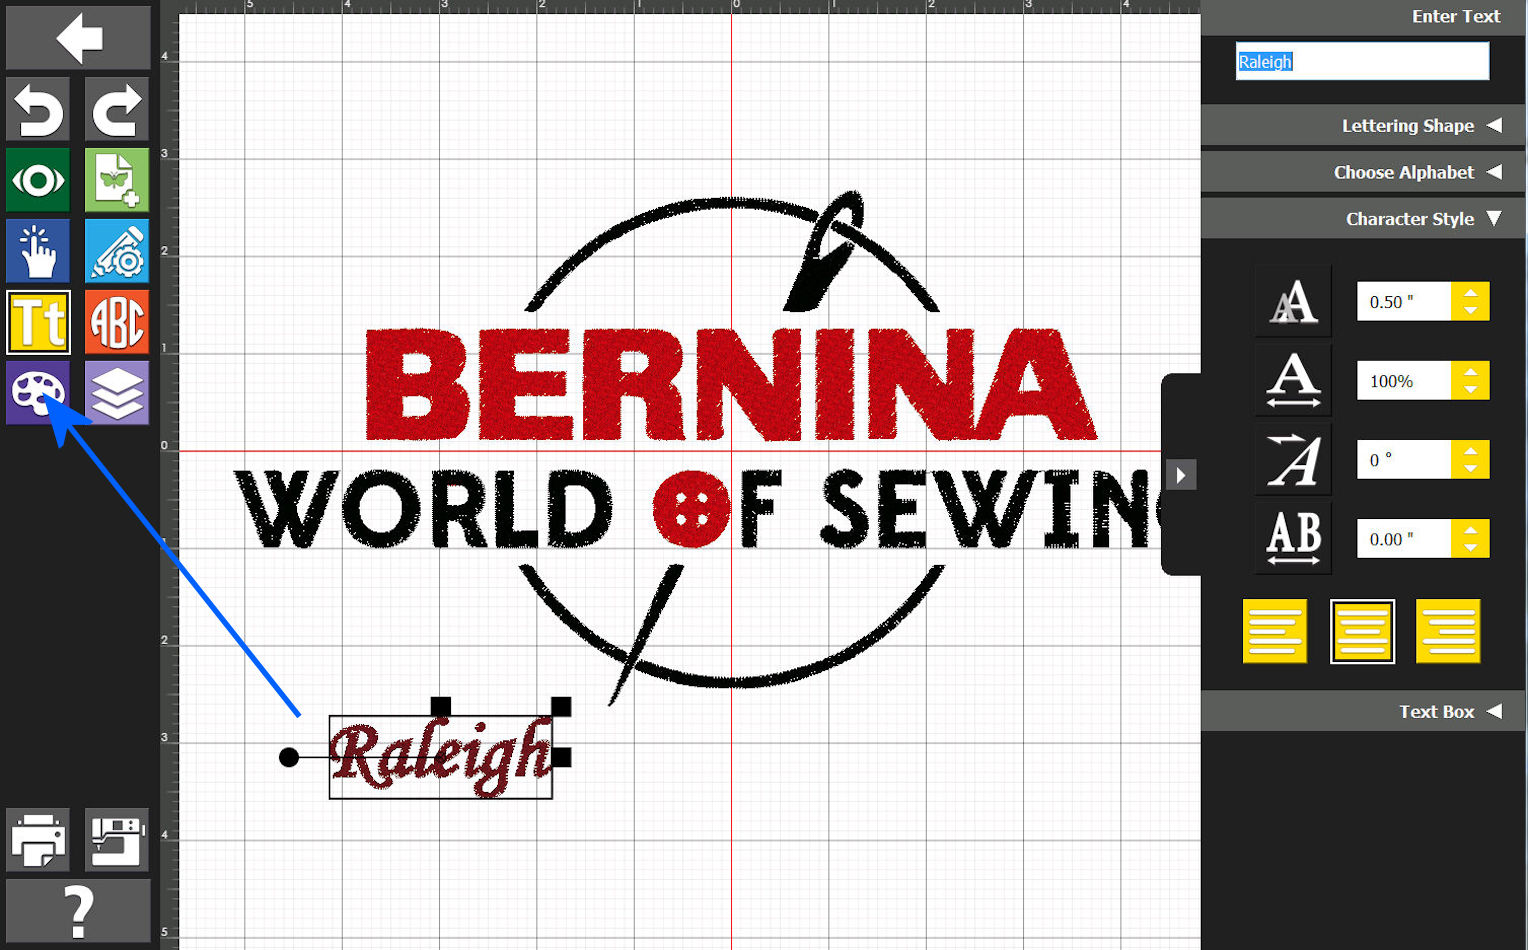
The color of our clicked-upon text area characters needs to be changed; so, we click on the shown-color's "art" palette - and:
|
Toolbox shows us another "pull down" set of options. We will scroll down looking for what we want to use.
|

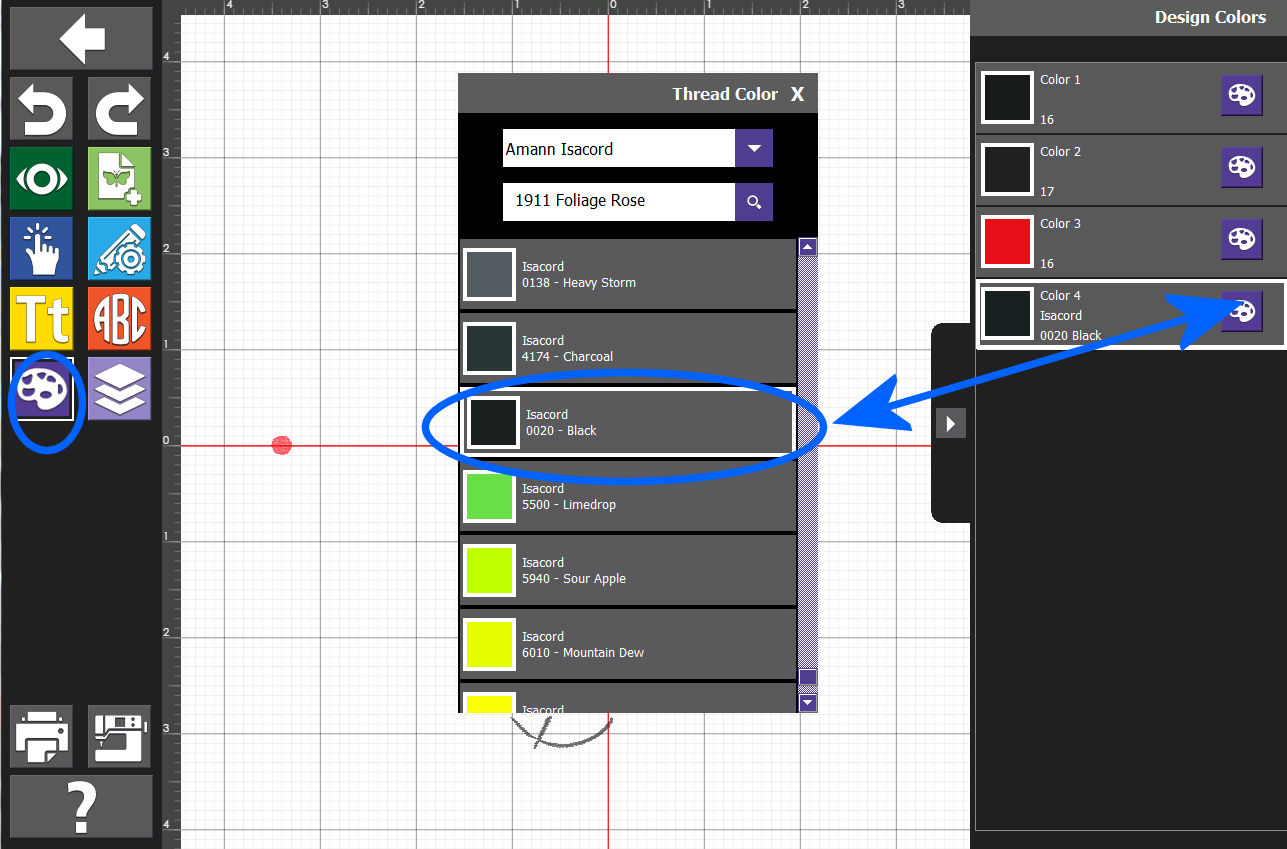
Success: We found a Black we want to use.
|
We are all set! The "Raleigh"-entered Toolbox letters are positioned, are shown with a desired color -- and, we can move to another Text.
|
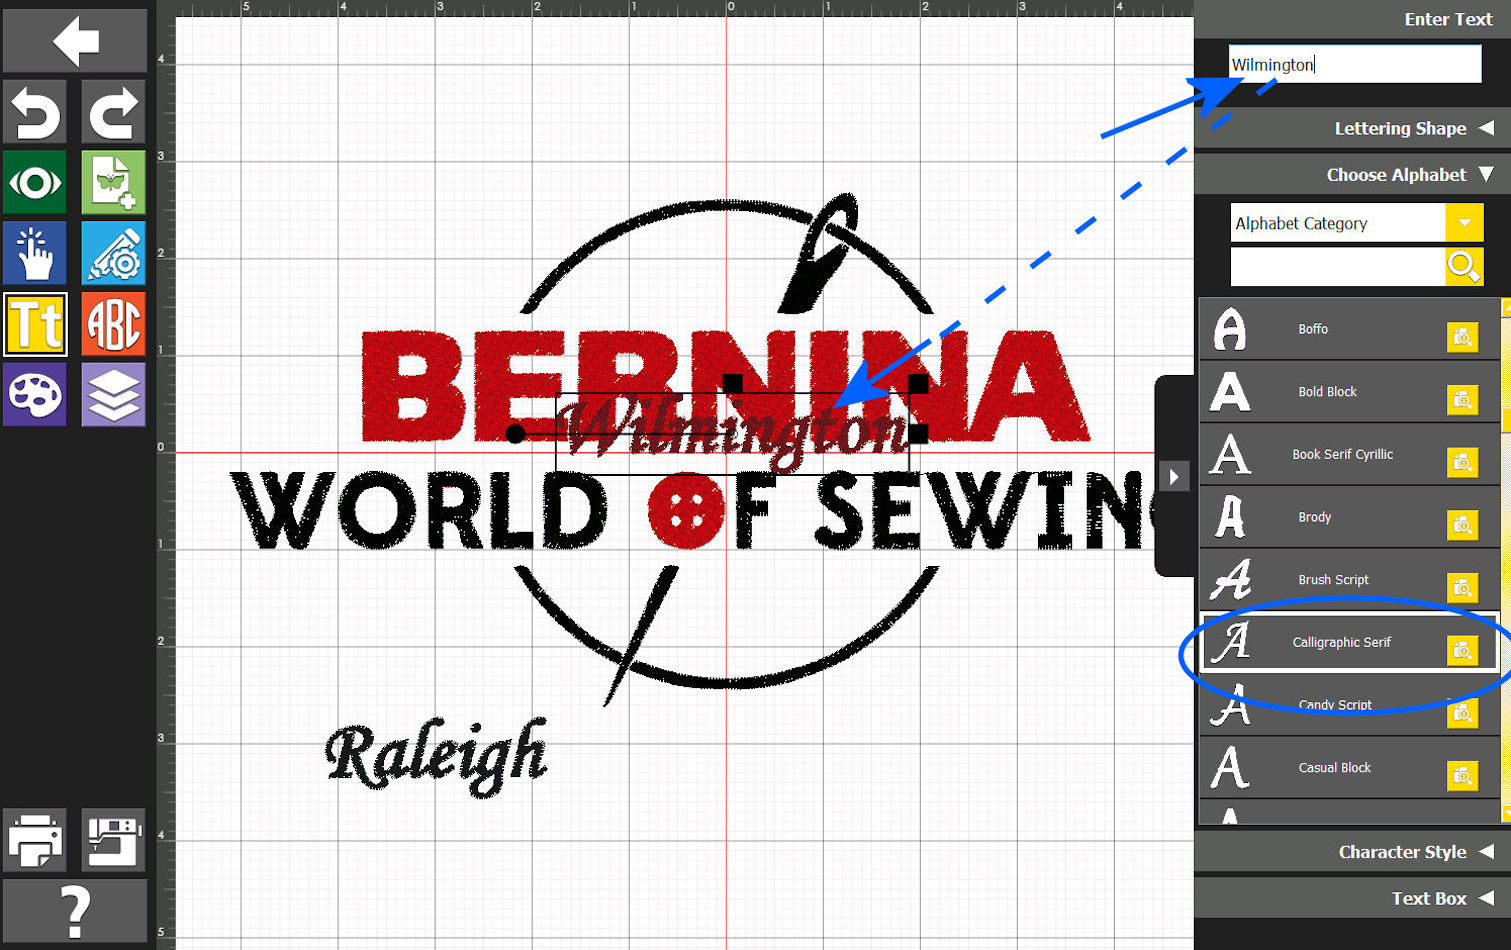
We opt to use the same font as we used just-previously with Toolbox. Enter our new text - and:
|

Position our new text: - and change its color.
|
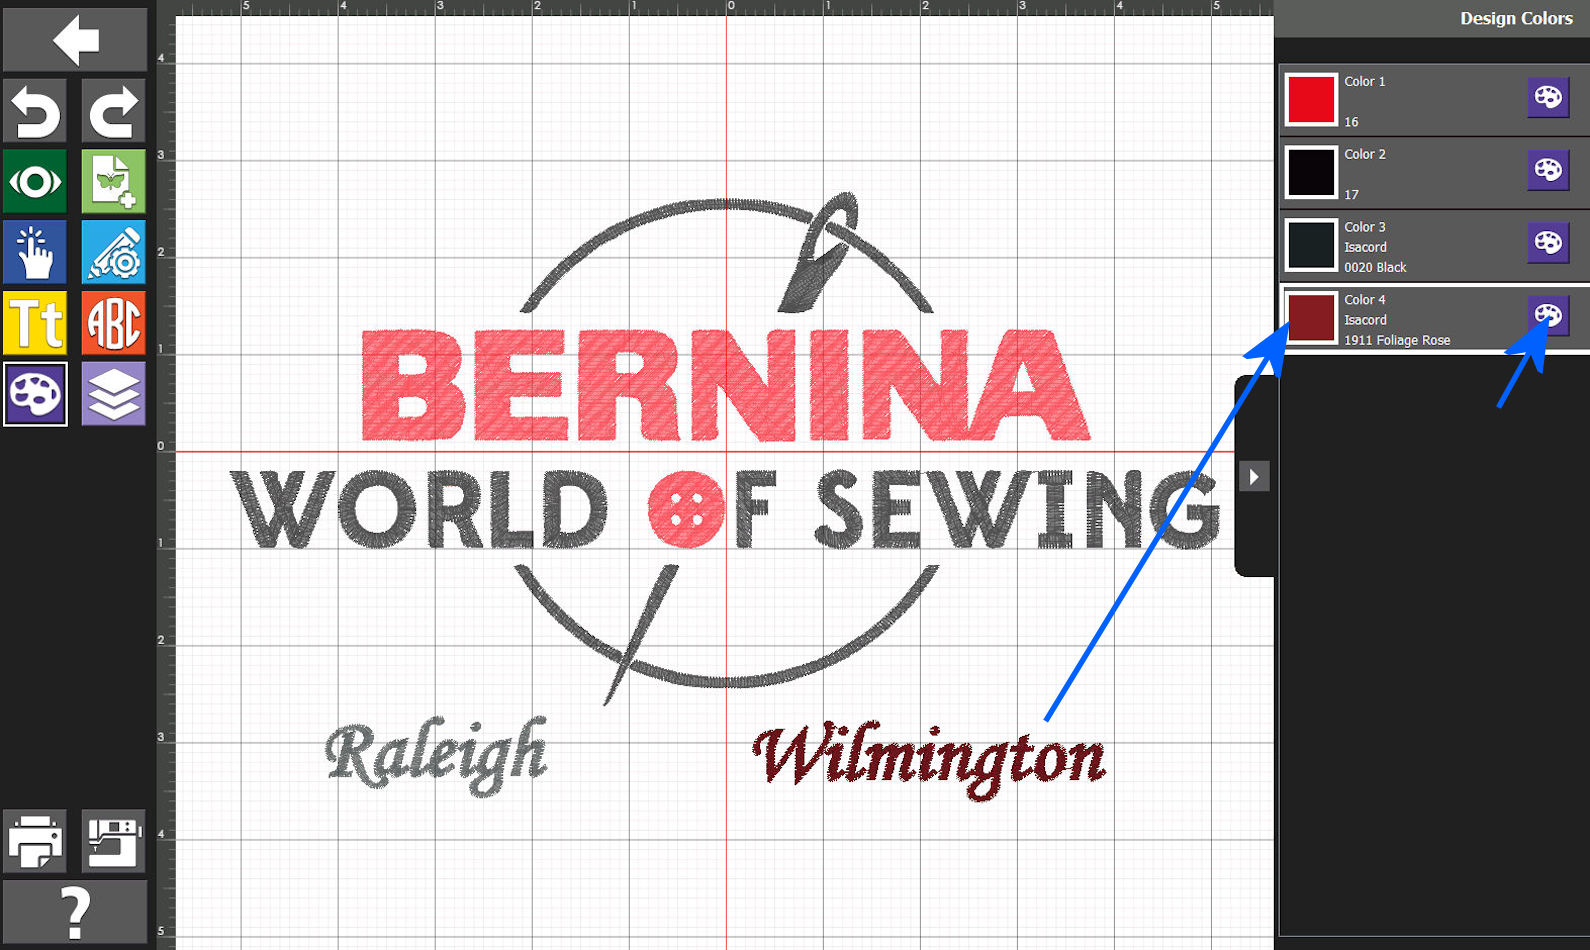
Change its color... (see also the next-shown image)
|
Scrolling - and:
|
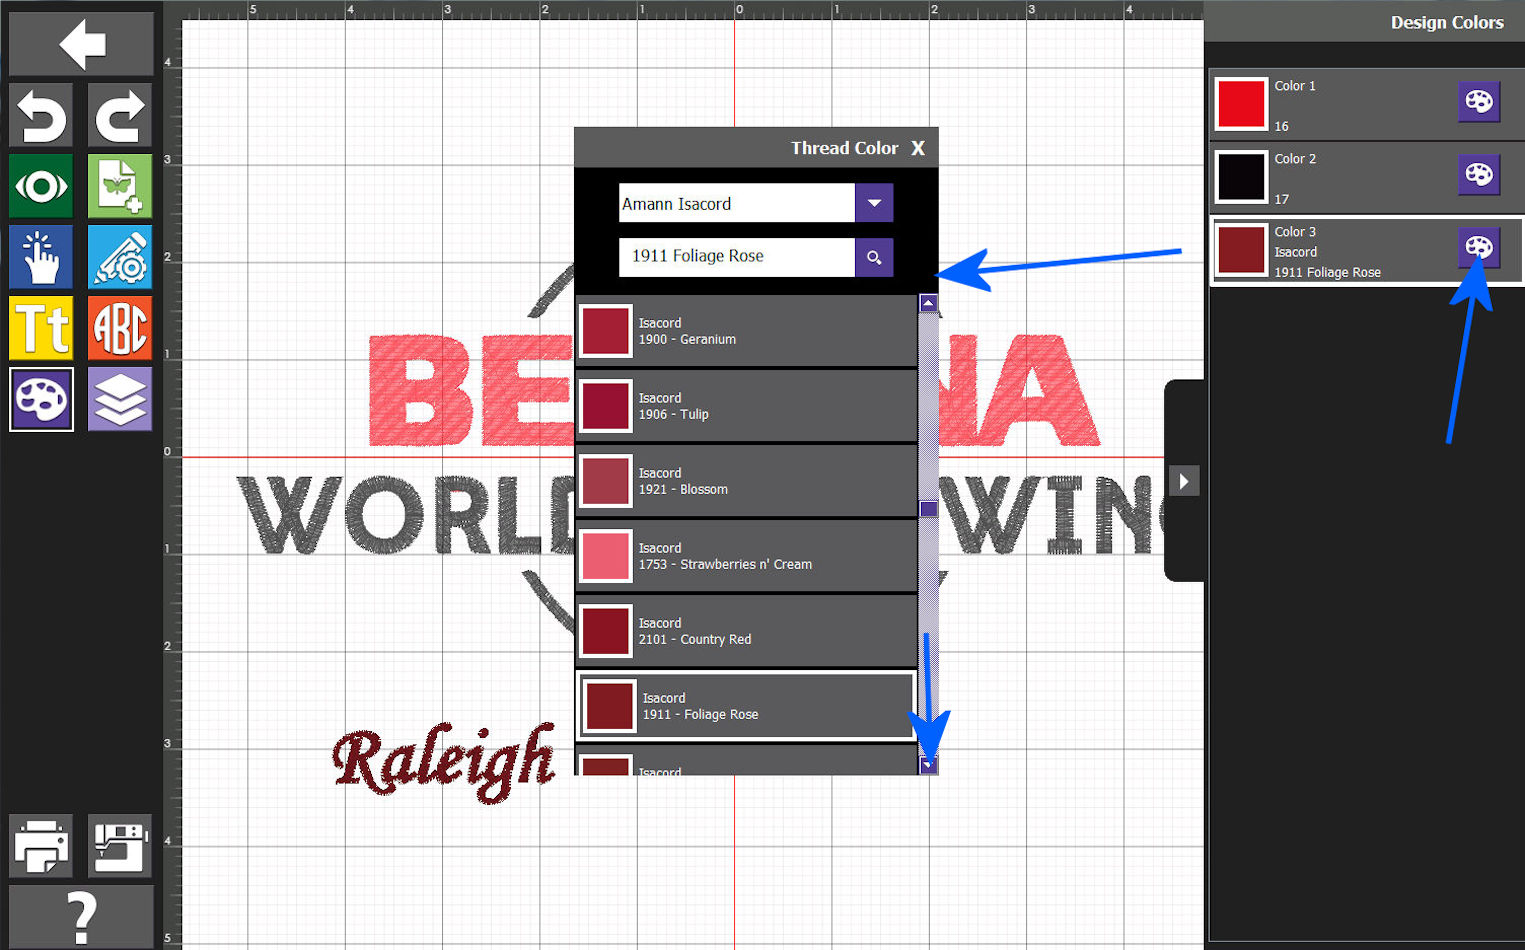
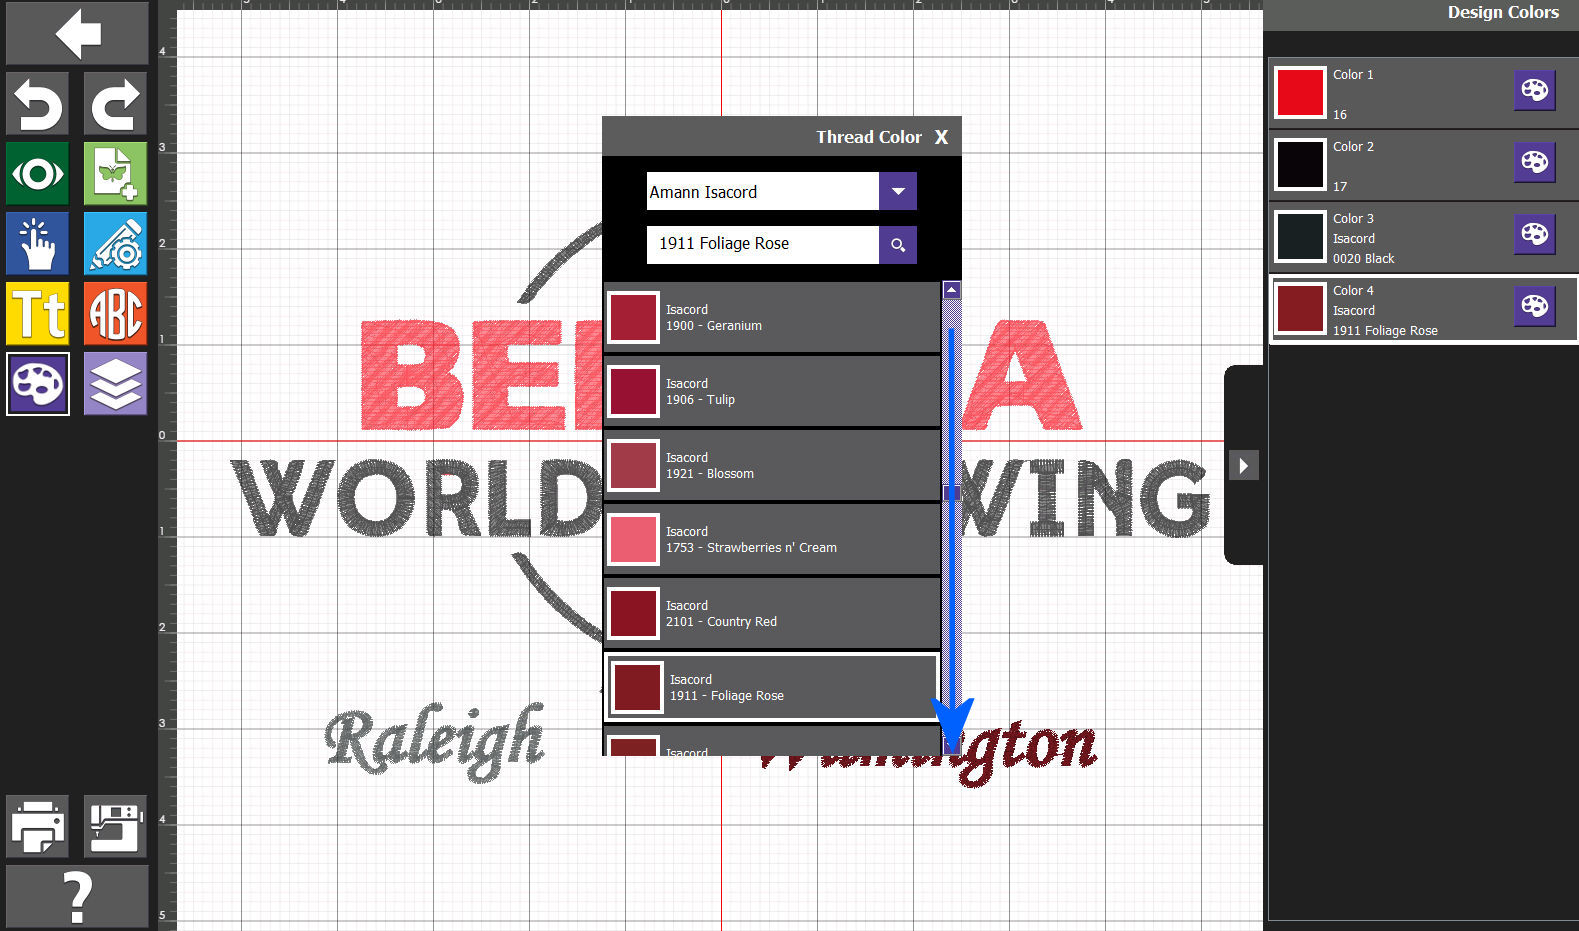
Once again, find the color that we want Toolbox to use as it passes information on via the EXP (later).
|
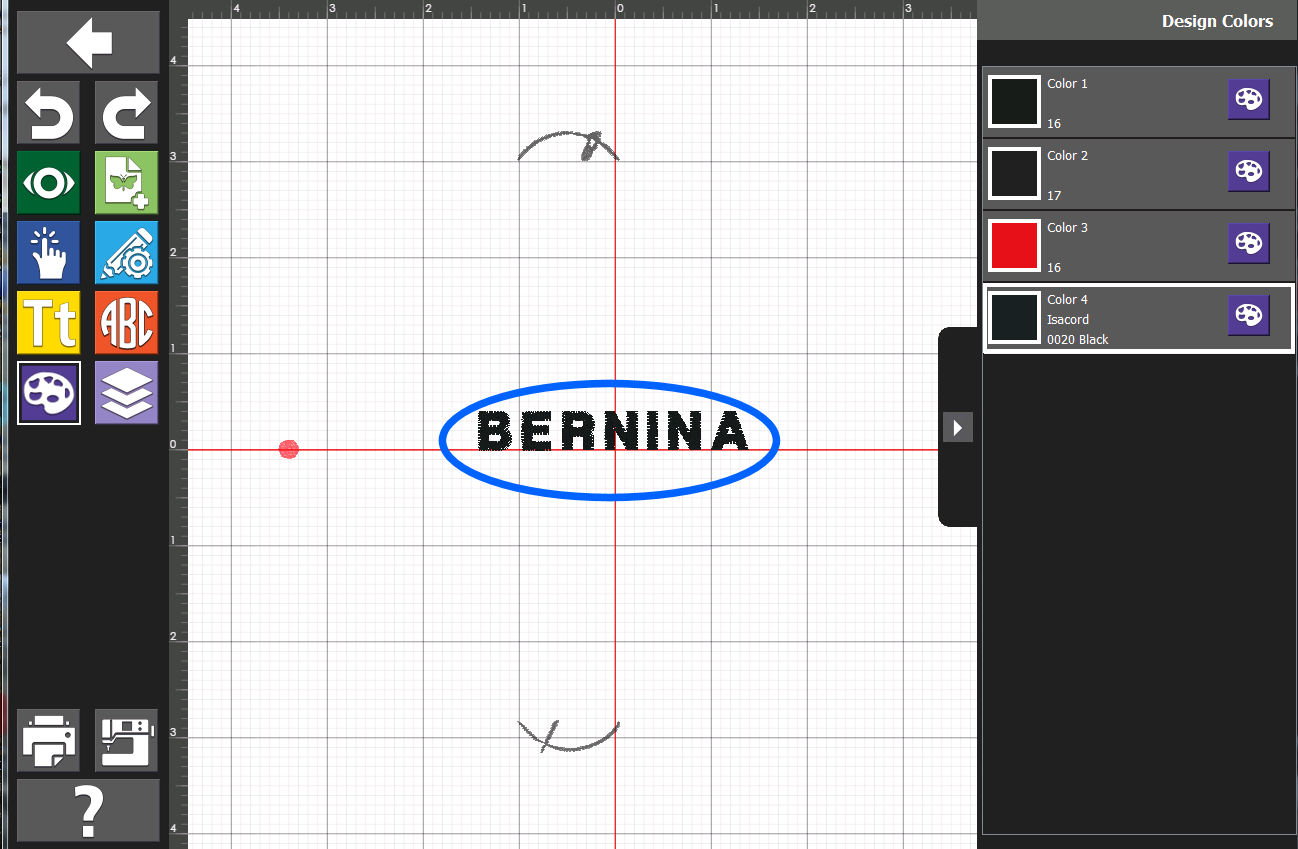
We take one final look at the design and we (for now) agree that the color information to be passed on via the EXP INFO file (that will be input to the embroidery machine/user) is OK. In fact, we could (of course) find where the colors are within the shown-design and modify as we desire. Also, the stitching order (not shown in this part of the example) could easily be changed via the Toolbox so that the EXP INFO information was convenient for actual machine thread/bottom color handling. We discuss this later in this example, when we examine the smaller-design for the shirt's monogram.
|
Before we leave the Toolbox Editing, we Save the Toolbox design onto our computer as we have seen done in previous examples. This action will result in the EXP file and its associated INFO file (which will include the information we talked about above for color, character spacing, stitching sequence and so forth.
|
Finally, we use the "Back" button to Save the Toolbox design in its current form with Toolbox.
|
|
|
This example: Third Part - Using Toolbox in a number of ways as we created our smaller-sized design for use on our shirt as a monogram.
Ok... I had the large "logo" / design in good shape. It stitched out fine and would work perfectly for the front of an apron, the back of a shirt - or, in my case: Just as a hanging-decoration in my work area. All good.
However, when I started this project I was looking for a way to put the logo onto the front-upper part of a shirt: As a "monogram".
10.2" x 5.88"
The large-sized design would have to be reduced in size. To what final size?
I had never made a "logo" -- so, searching on existing shirts and measuring such, I decided upon a logo of something a bit less than 4" wide. In fact, as the exercise moved forward: My final design (for my shirt) seemed OK at 3.78" x 2.08".
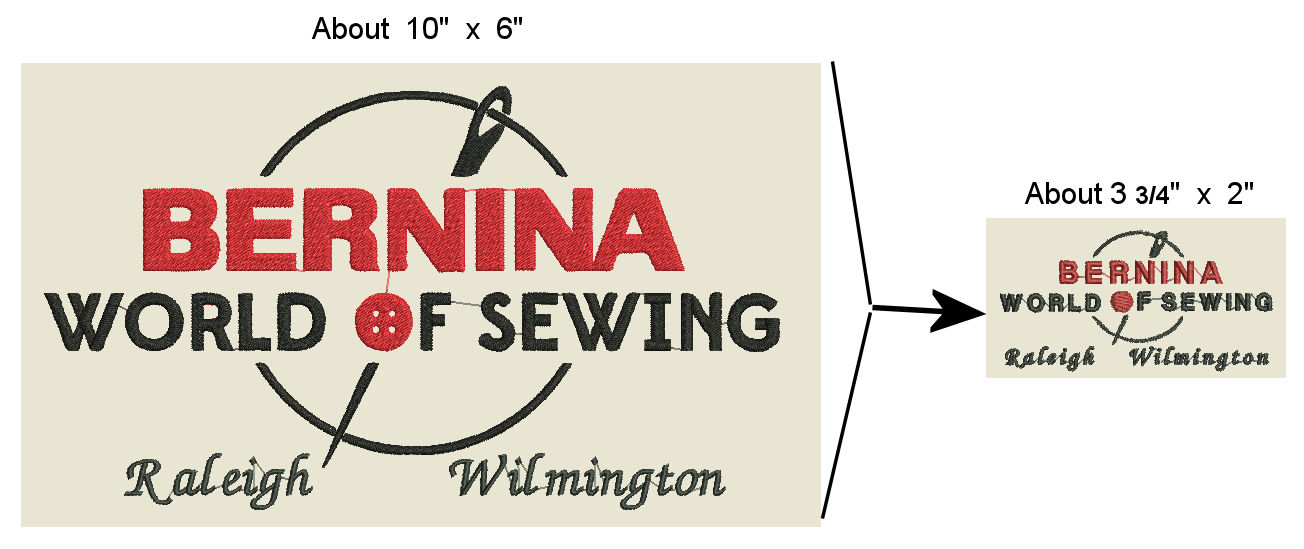
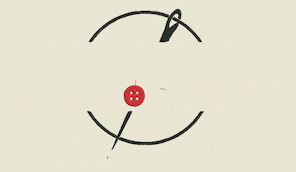
Well... what would be a workable approach to reduce the available large-sized design? The reduction would be 63% - giving me a final logo-design size 37% of the original (yes, I am quite good at Math, while even not being very good / experienced with embroidery!). The embroidery experts and the Toolbox software told me: Not recommended to try to reduce by 63%. Being a trustworthy person (trusting of embroidery experts) I could see some of the very-apparent challenges trying such a reduction (63%). The following figure shows some challenging aspects that would come with "straight" reducing - even if doing so WAS ok:
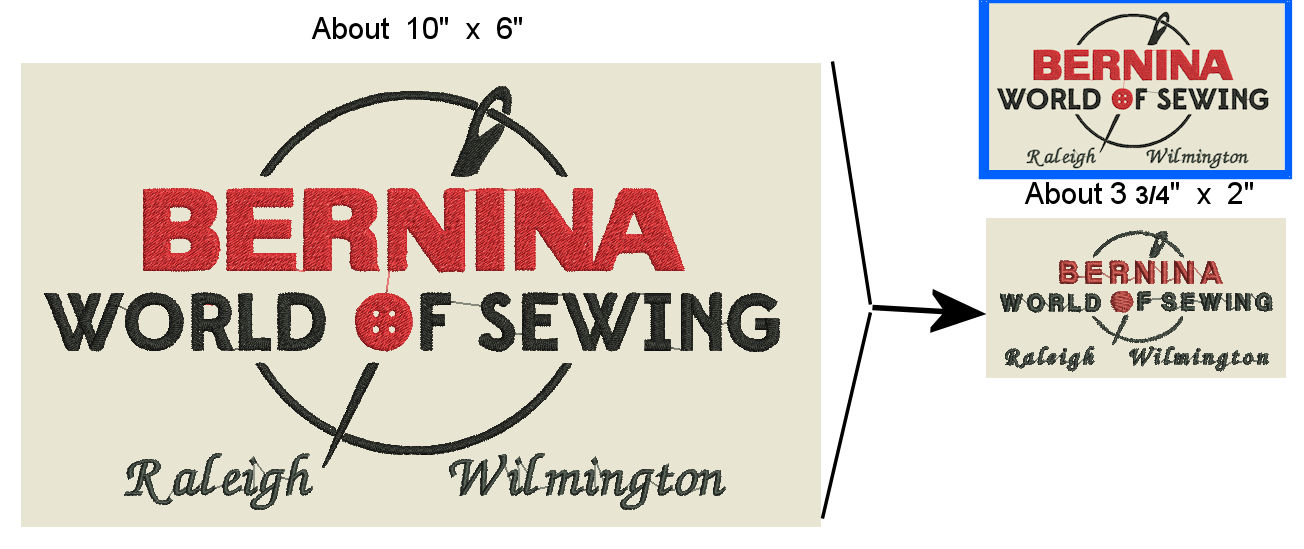
(The design framed in blue is an attempt at showing a straight 63% reduction... if that would be recommended/practical.
- The lettering would be not-very readable and would not "stand out".
- The individual letters would be very close to each other... A stitching challenge I could envision.
- The "button" (holes) would be reduced by 67% and (probably) end up being just "red stitches".
I decided to live with the button matter -- perhaps a very-small embroidery button creation-of will someday be attacked. For now, I just lived with a "solid" button appearance.
- The "curves" and "connected" Needle would be 67% and be less visible.
I also decided to live with this matter. I opted to REMOVE the two "curve/Needle" parts of the design and digitize each of the two parts (and the button) after reducing the original design by 75% (ok... I would have used 67% if I had known the answer at digitization-time: I was guessing when I did the digitization.
Also, if you ever look closely at this examples design (such as ask me for the EXP) you will see that i was not very good at digitization of the two "curves". Remember... I am NOT an embroidery expert: by ANY means.
So, I started the smaller design, using the BERNINA Toolbox software, with the two "curved" designs and the "quite solid" button -- and then used Toolbox to enter the lettering.
Top Part Curve/Needle
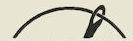
|
Lower Part Curve/Needle
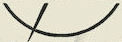
|
Button

|
Letters Will Be Filled In Using Toolbox
|
Following, shows what we did:
|
|

Now, we ae going to start with New design. The design we want is not already in our Toolbox.
|
We will, though, make use of the three "parts" that are digitized and already are in our Toolbox. use a different name: We want to "save" the original version.
|
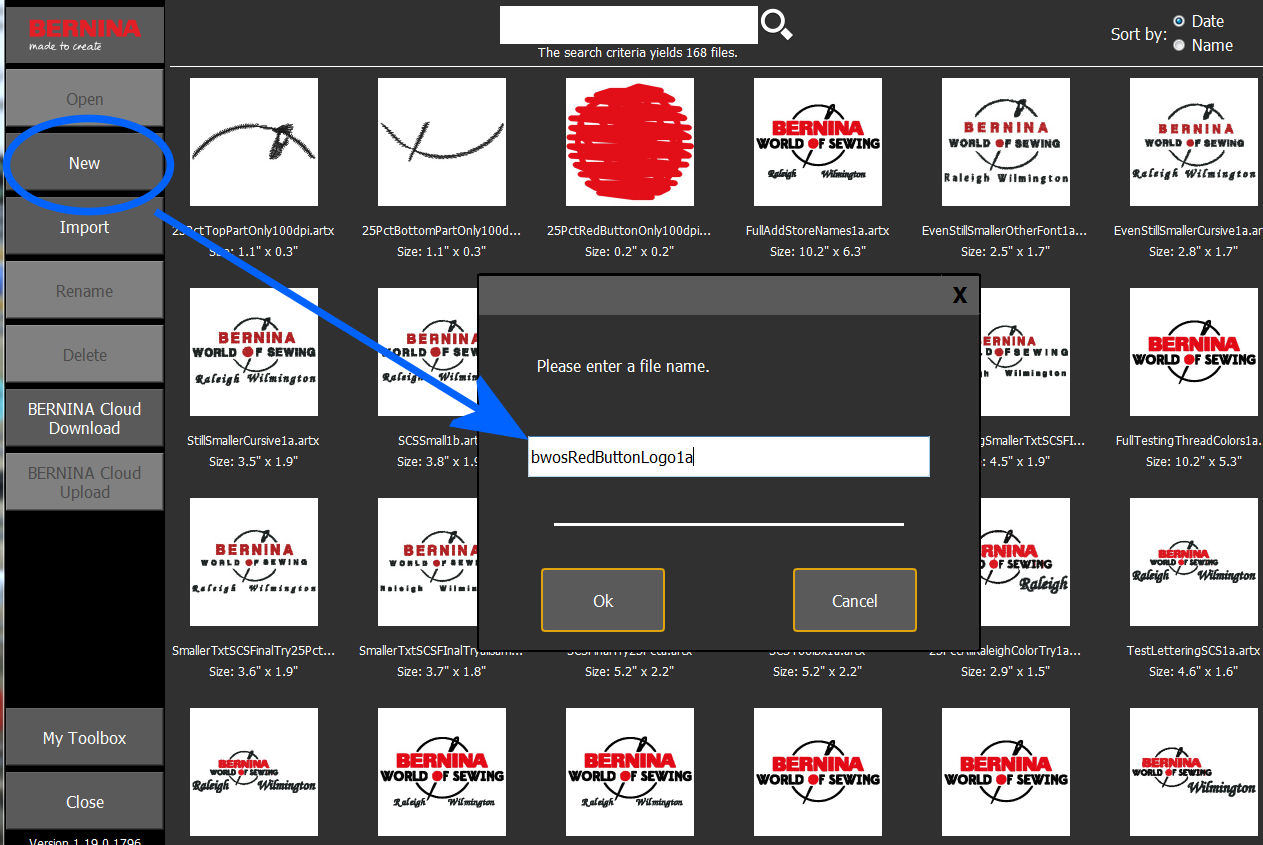
We click on New and we give the New design a "meaningful" name that we can refer to later. After we have completed our editing/etc. as shown next and we "return" to Toolbox our embroidery design will show up here with the entered-here name. We also, of course, will Export the design to our computer (as we have shown previously and show again later-on at the end of this example). The exported design will be in EXP format and (together with the exported / associated INF file) the EXP will include recommended stitch thread color and embroidery machine's stitching order when the EXP has been uploaded to an embroidery machine.
|
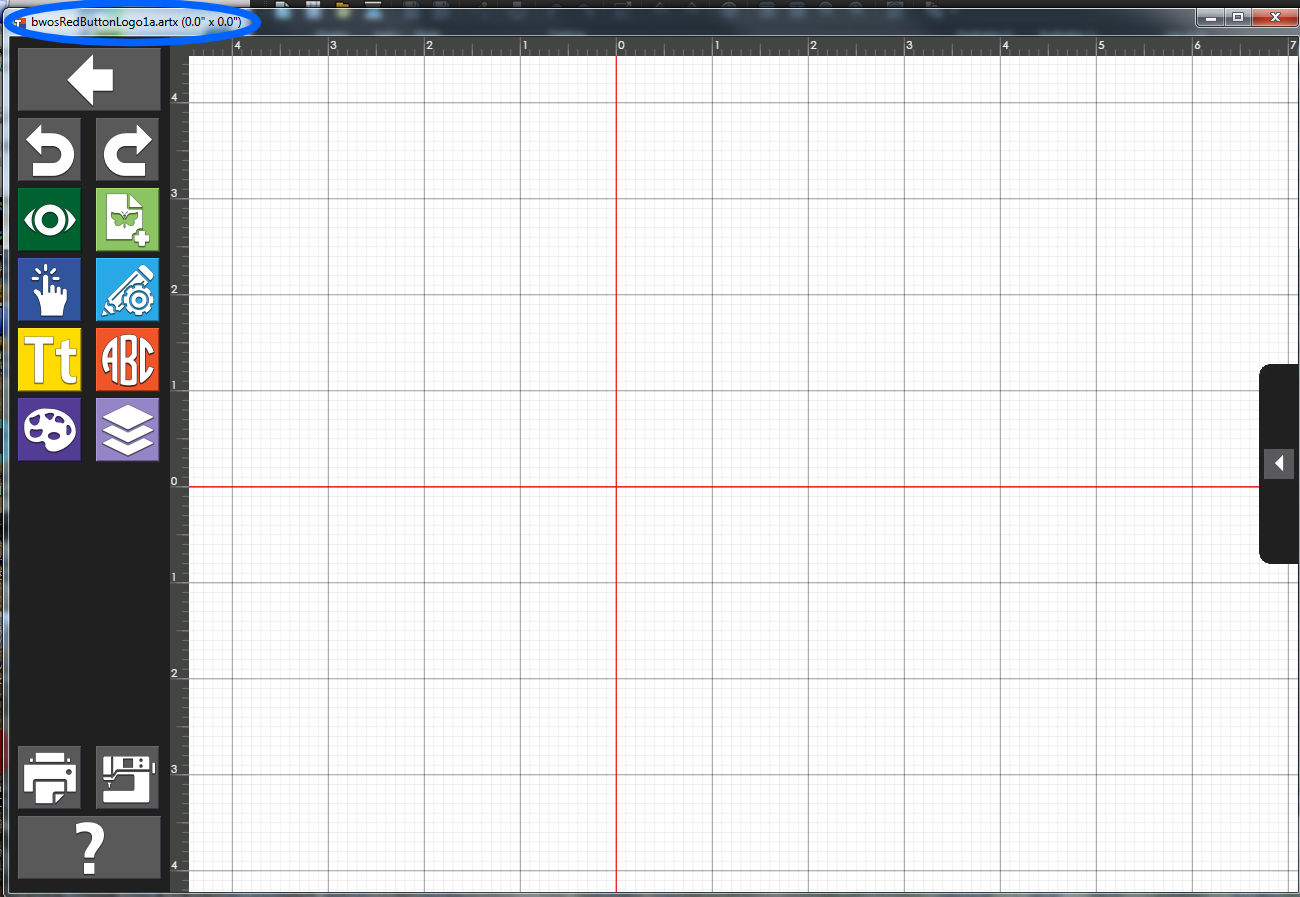
We have a "clean slate" to start our design.
|
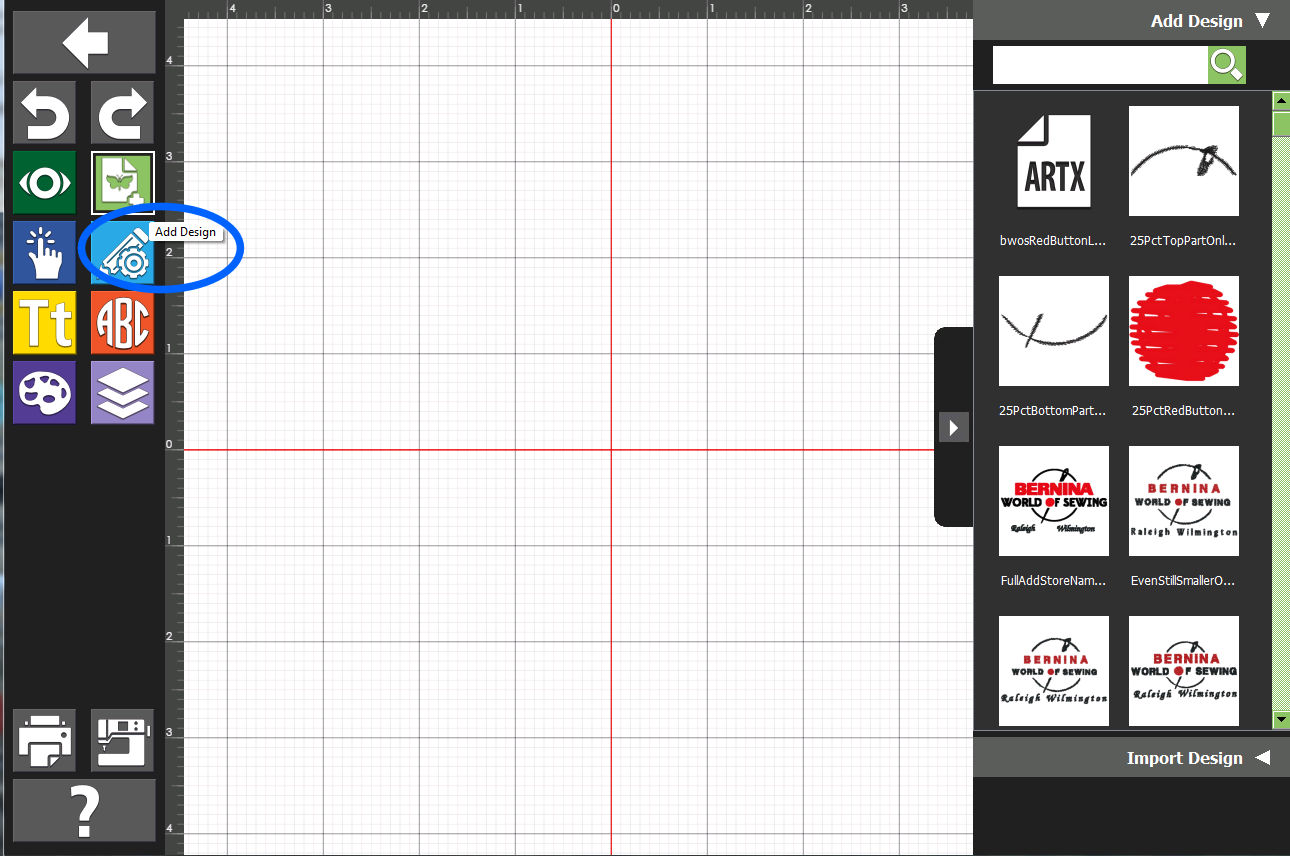
In this case, we decide to start firstly by "bringing into" our current design the previously-digitized three parts: The "upper curved/arrow part", the "button" and the "lower curved/arrow part".
|

We will start by bringing in the "upper curved/arrow part".
|
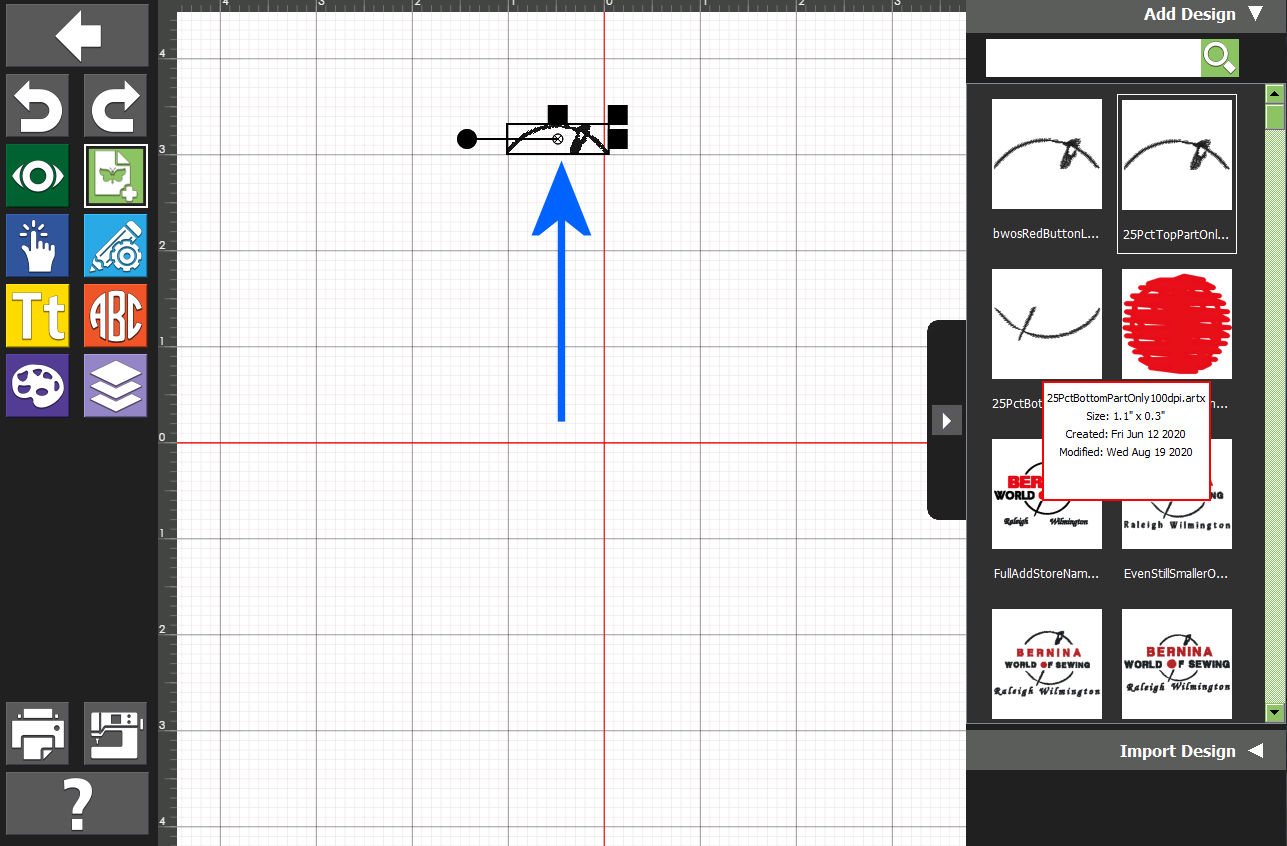
We move it a bit "out of the way". We will place it later, after we use Toolbox lettering to add our logo's text. Of course, we could have done the "bringing into" our design the parts in any order we choose to take.
|

We bring in the "lower curved/arrow part" and move that part out of the way (to be later-on positioned as we want it to be).
|
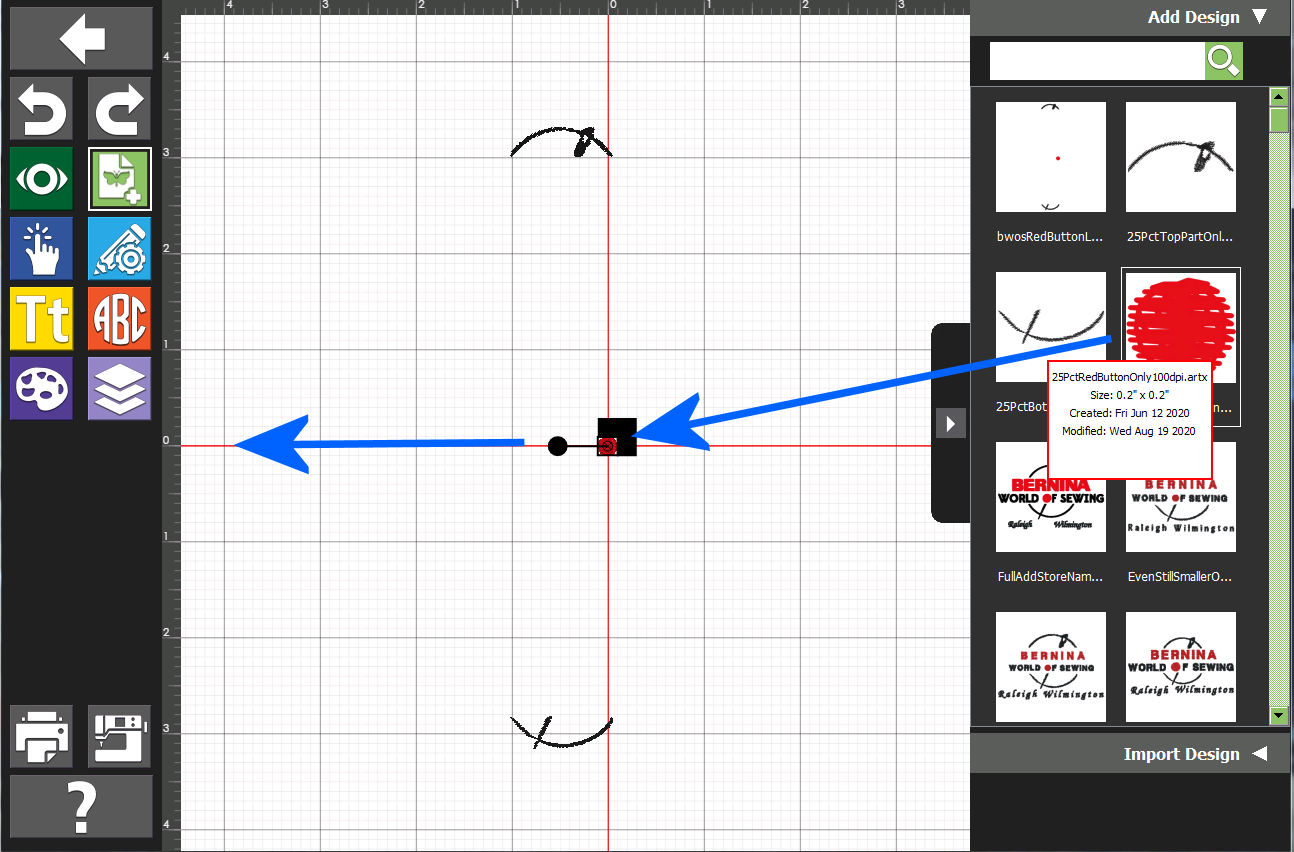
Same process for the Red Button.
Our "workarea" for the letters to be added is clear and ready-to-go.
|
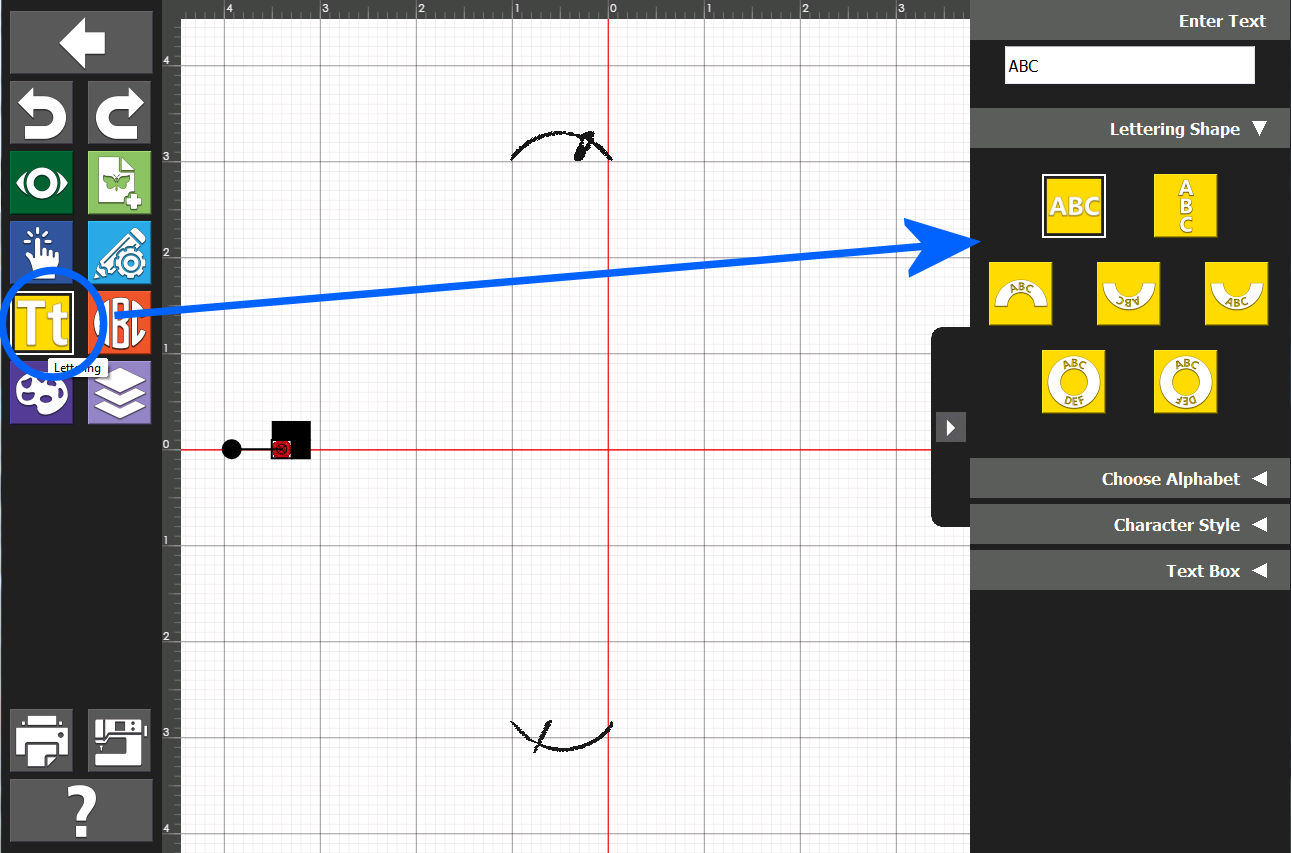
We are ready to use the Toolbox lettering support for our text.
|
Before we started this final-design for our logo, we had tested various lettering formats/etc. and we decided upon the above-shown options.
|
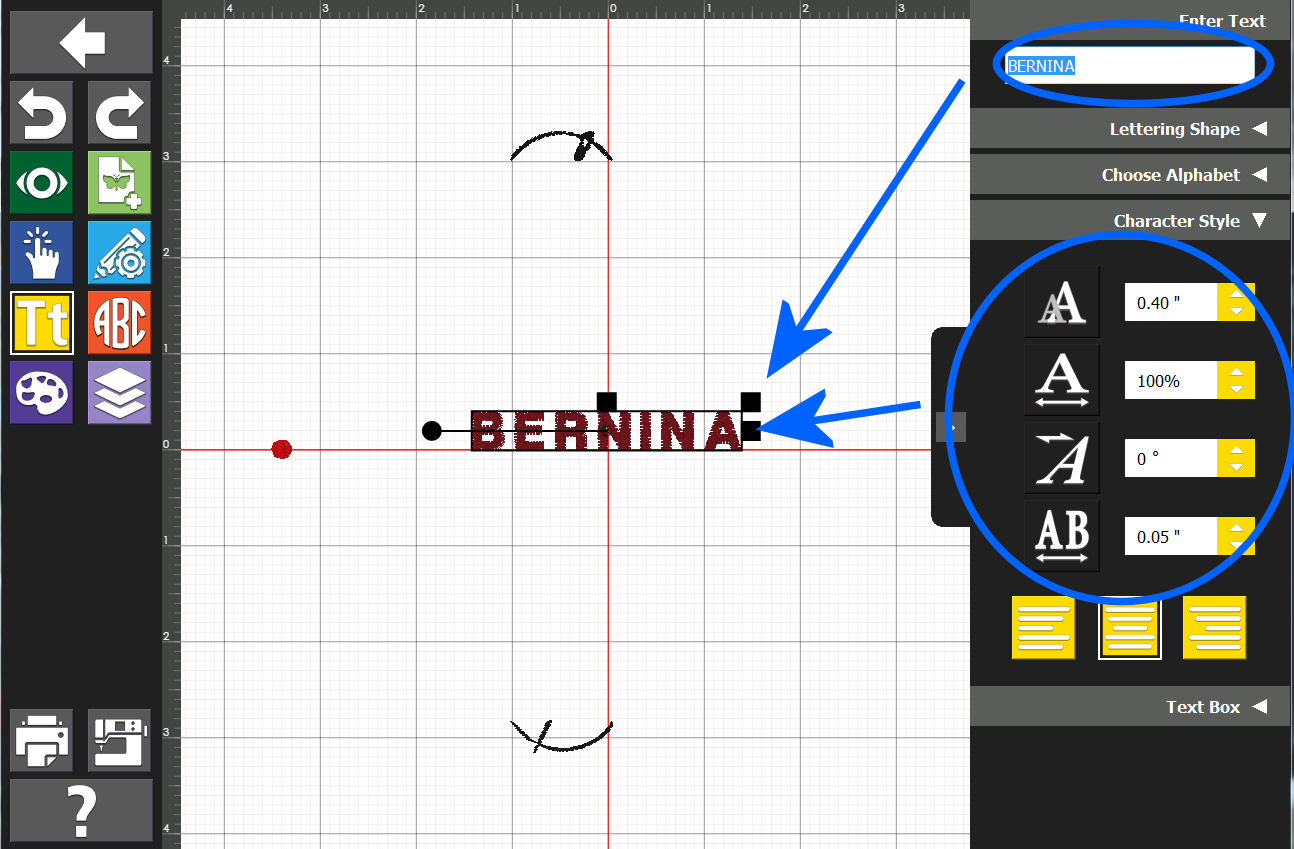
We start with the BERNINA while making sure the "Character Style" matches what we want.
|

The color is not what we want it to be (in fact, though... remember... the actual-stitched thread used is completely up to the person at machine-stitch-out time).
We click on the current-color's symbol for the entered BERNINA text and...
|
We will find the one we want: Isacord 0020 - Black and use that.
|
Looks good.
|
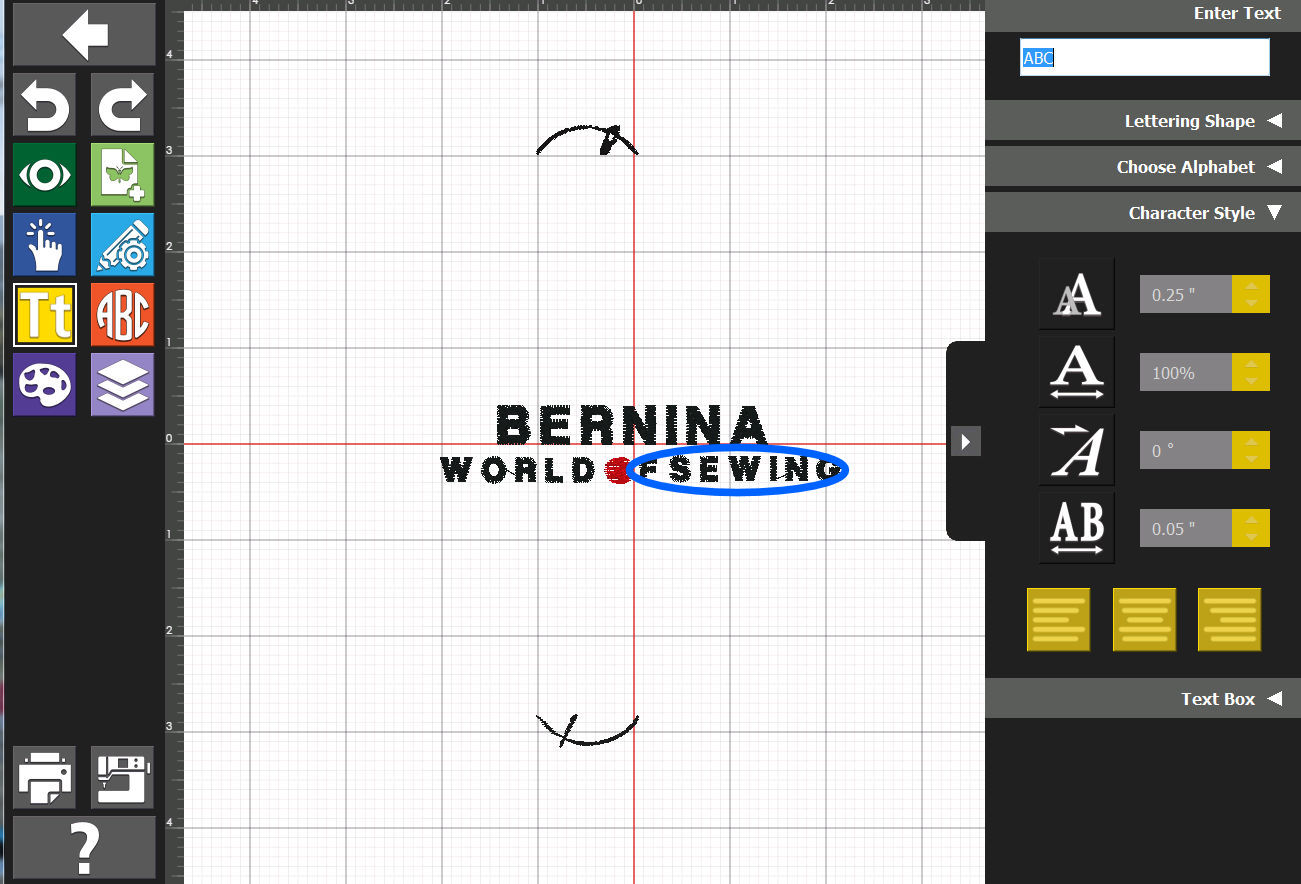
Do the same with the next text: WORLD
|
Now we move the "Red Button" in place of the letter "O" (for "of") in our design. And...
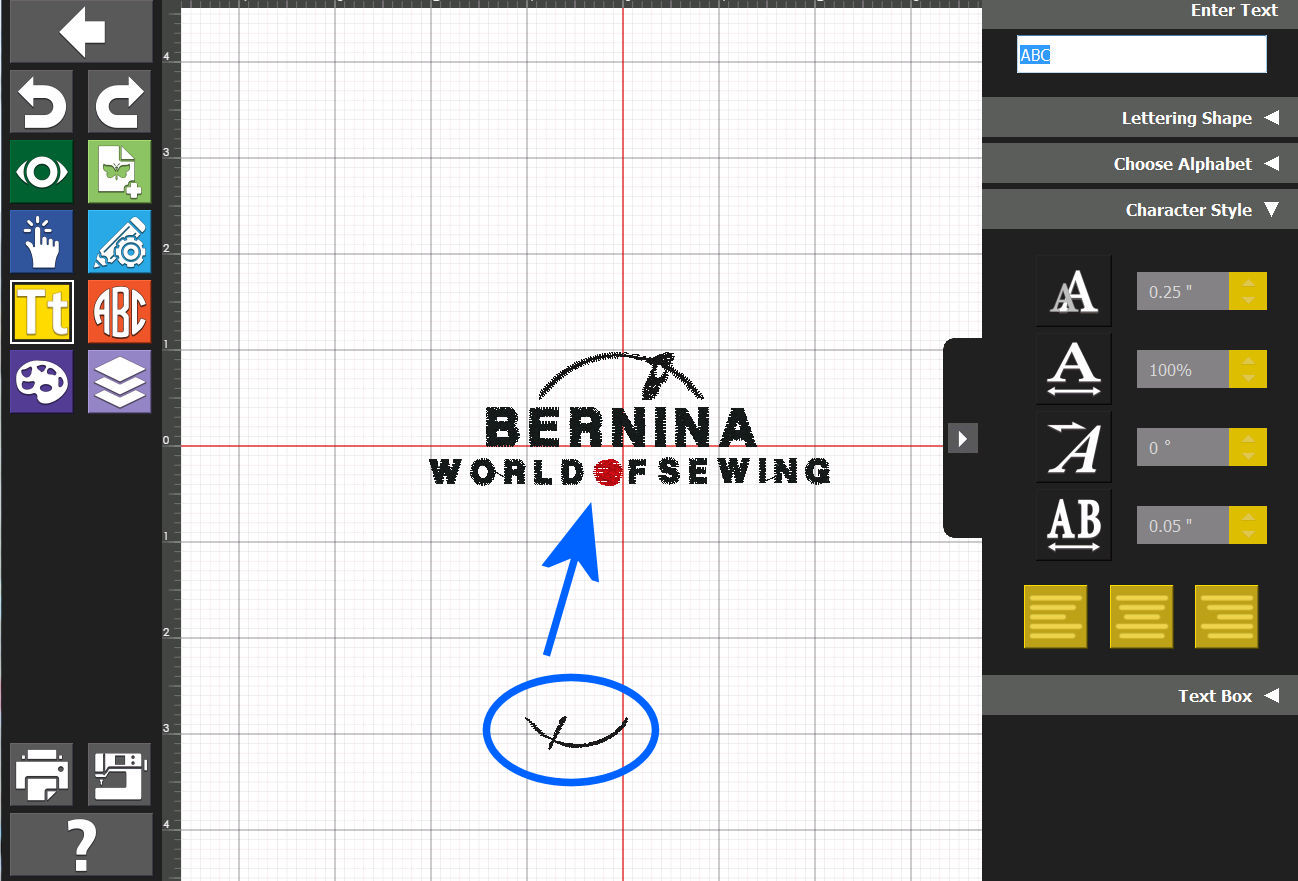
|

We pull the selected area's (the red Button) outer "handle" (upper right works well) and re-size it to fit the lettering within the design. Place it where we want it -- And...
|
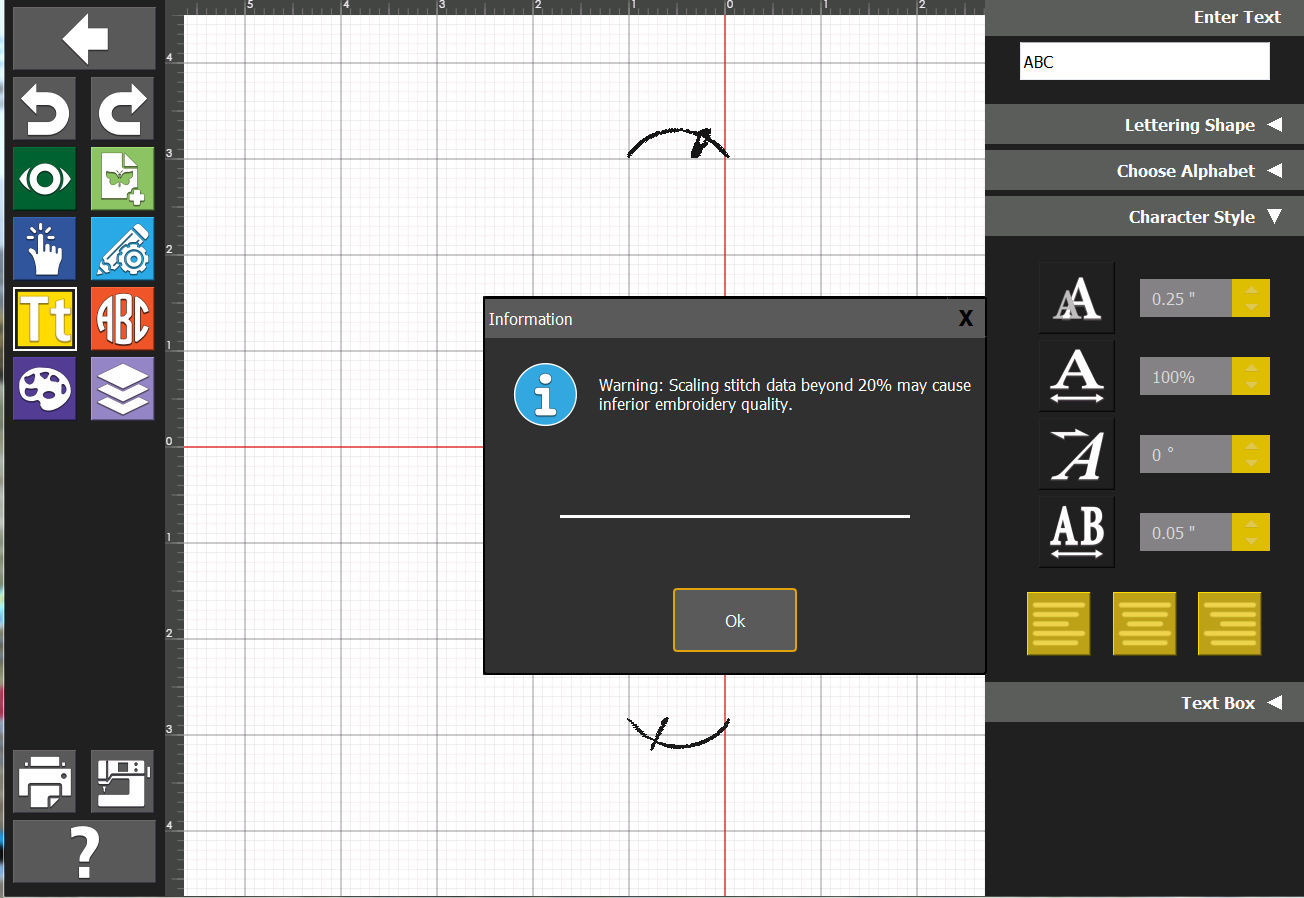
Get the warning about re-sizing recommendations. We ignore it, in this case.
|

Looks good! We next attack the text "F" of the "of" and the SEWING text.
|
Looks good -- We were successful with the placement of the text "blocks" ("F" and "SEWING").
|
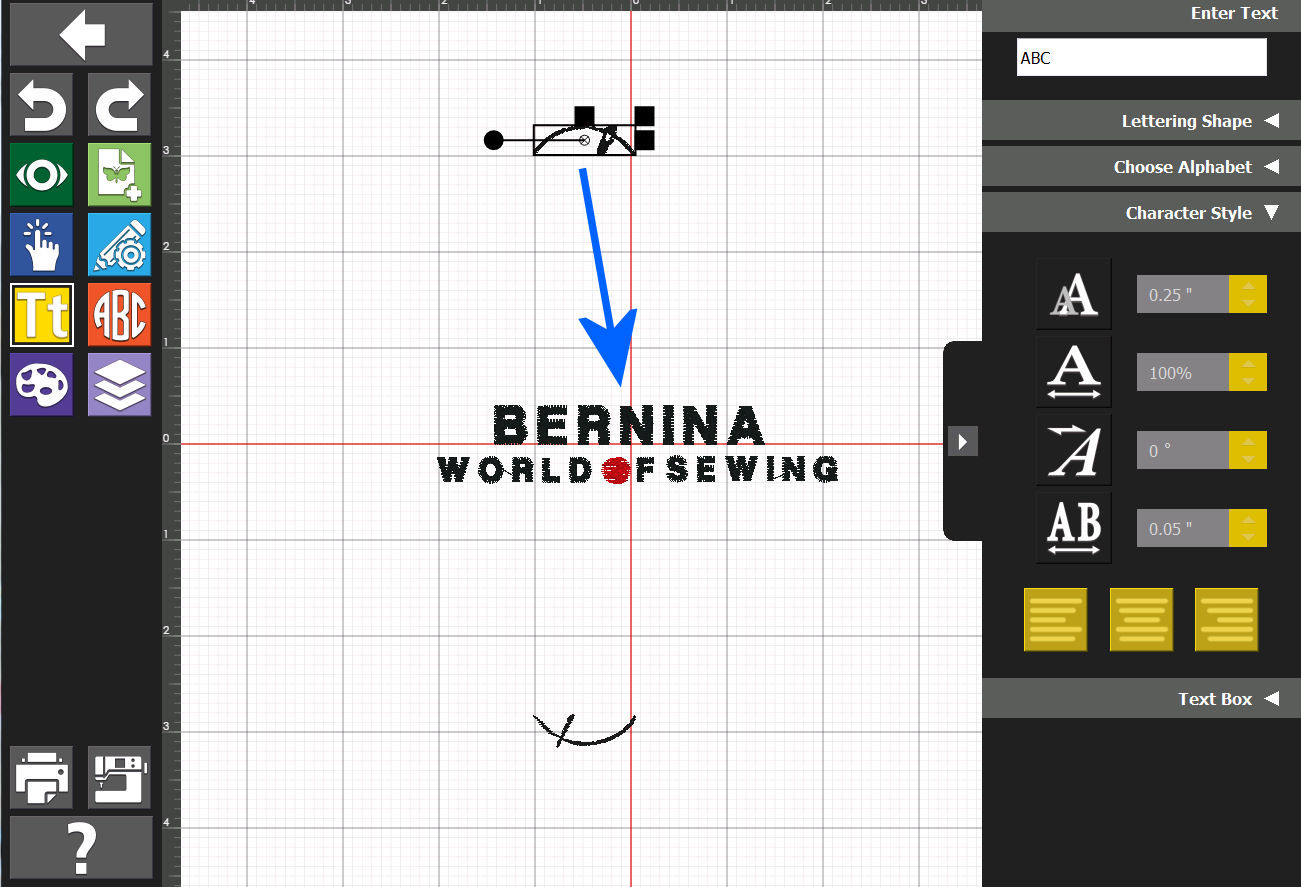
Now, we attack the placement-of and the re-sizing-of the "upper curved/arrow part".
|
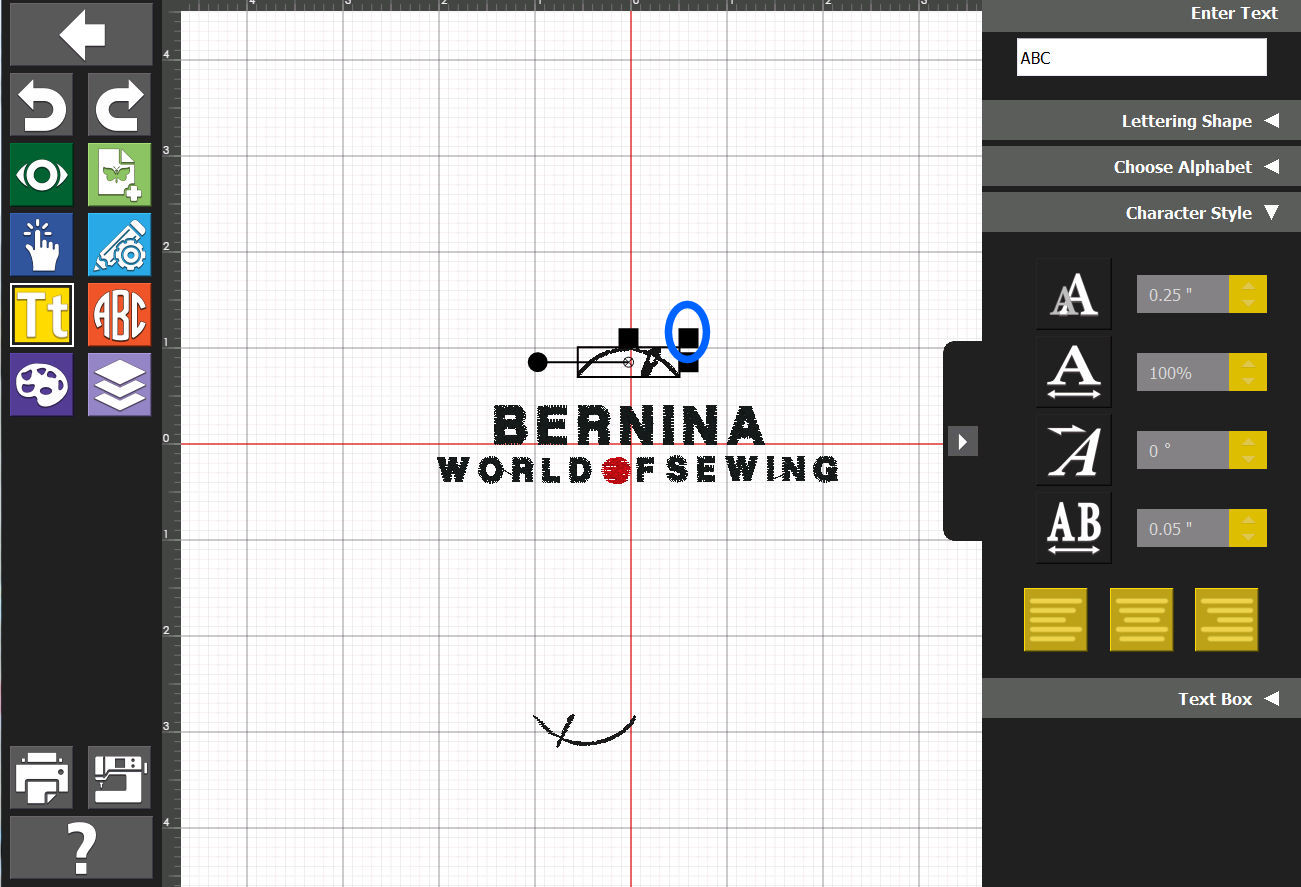
We move it into place, grab the upper-right "handle" and re-size it to fit our needs.
|

Get the warning about re-sizing recommendations. Again, we ignore it, in this case.
|
Ok! Now we position the "lower curved/arrow part", re-size it and...
|
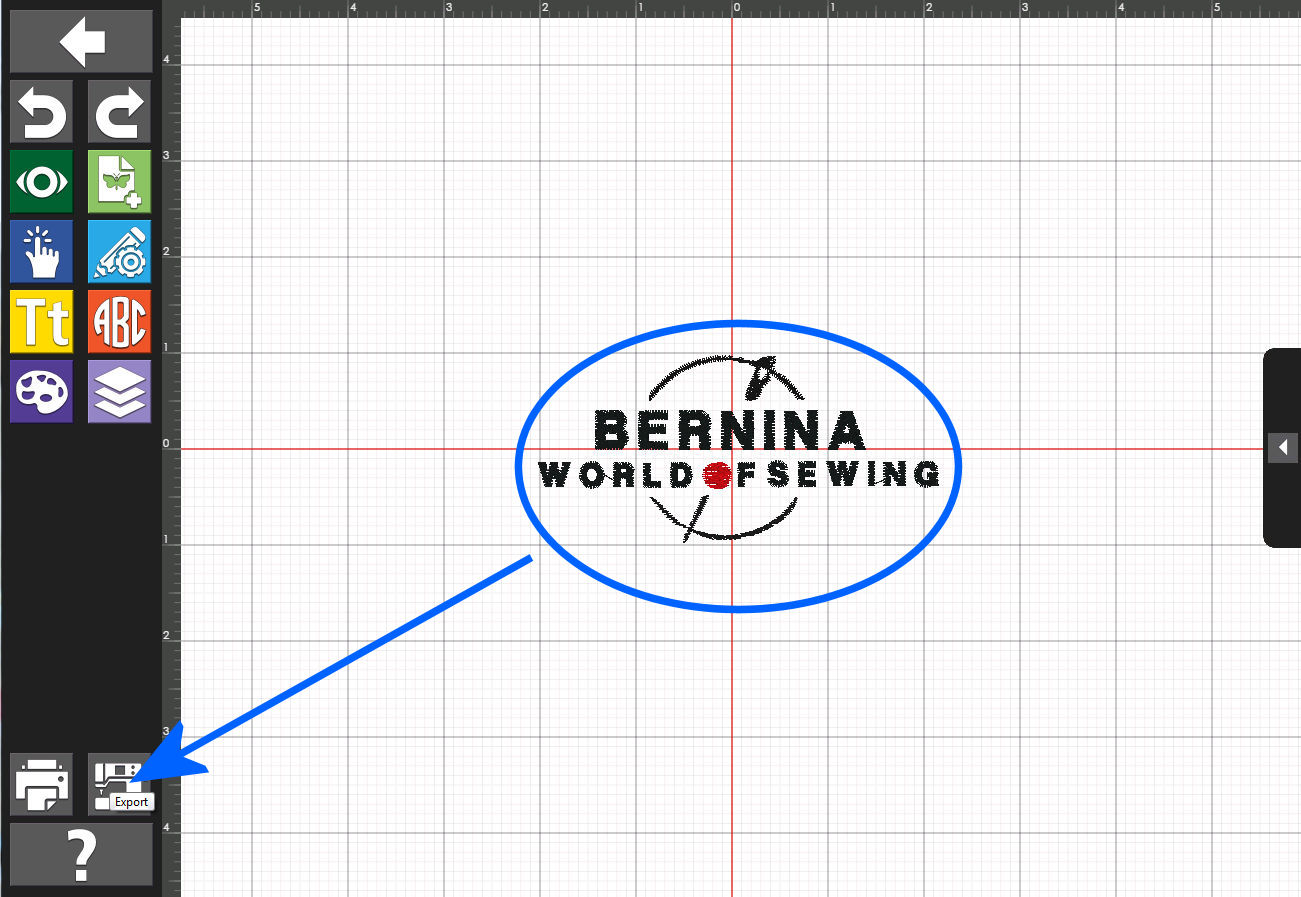
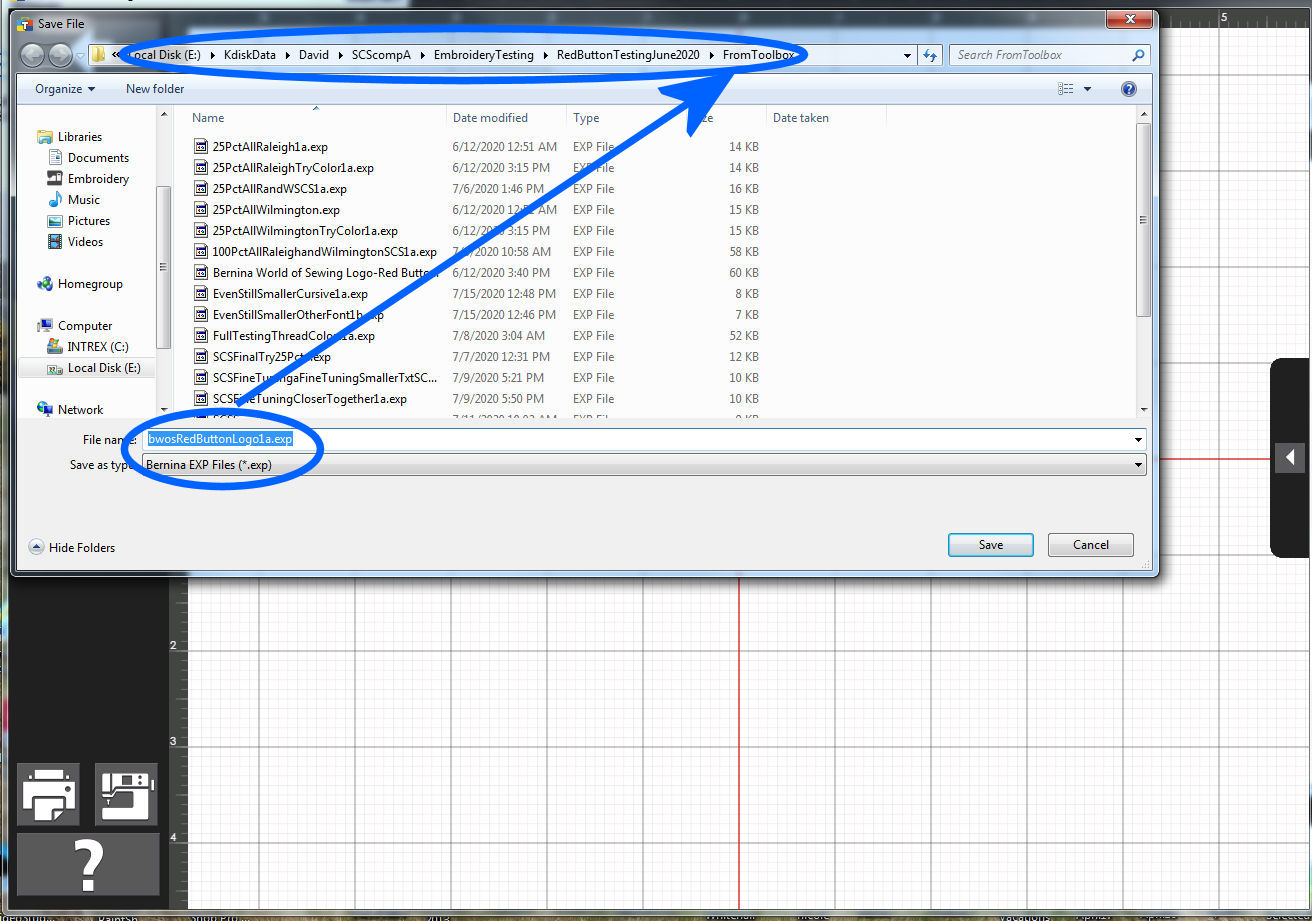
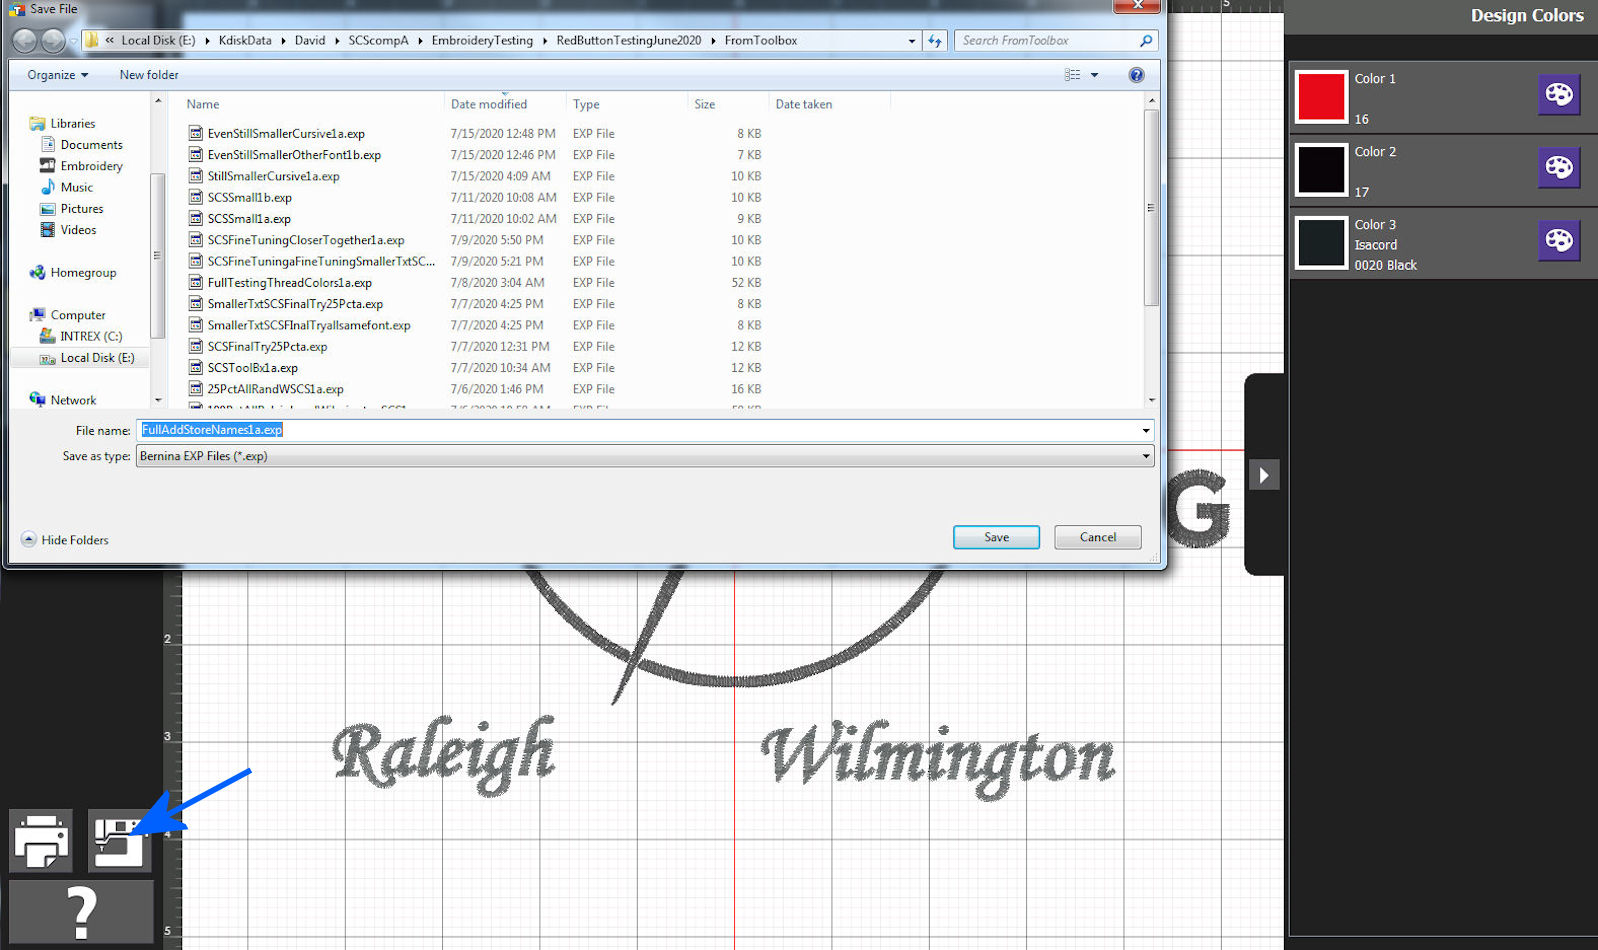
Confirm all looks OK. Let's save it ("Export") , in its current form. on the Computer.
|

Making sure we put it into a Folder/place on the Computer that we can later-on easily find it - and, in turn (probably) place it on a USB-stick for use on our embroidery machine.
|
|
|
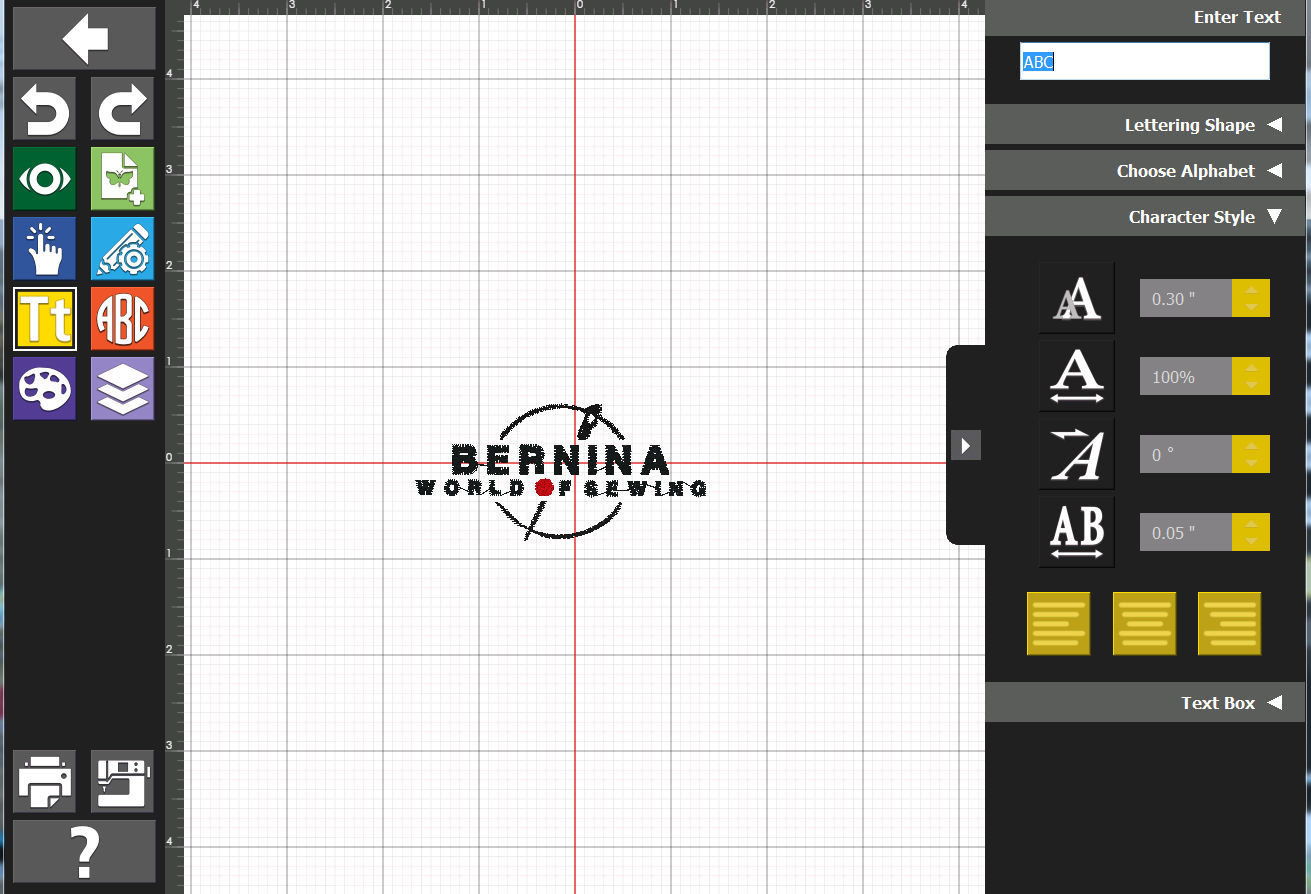
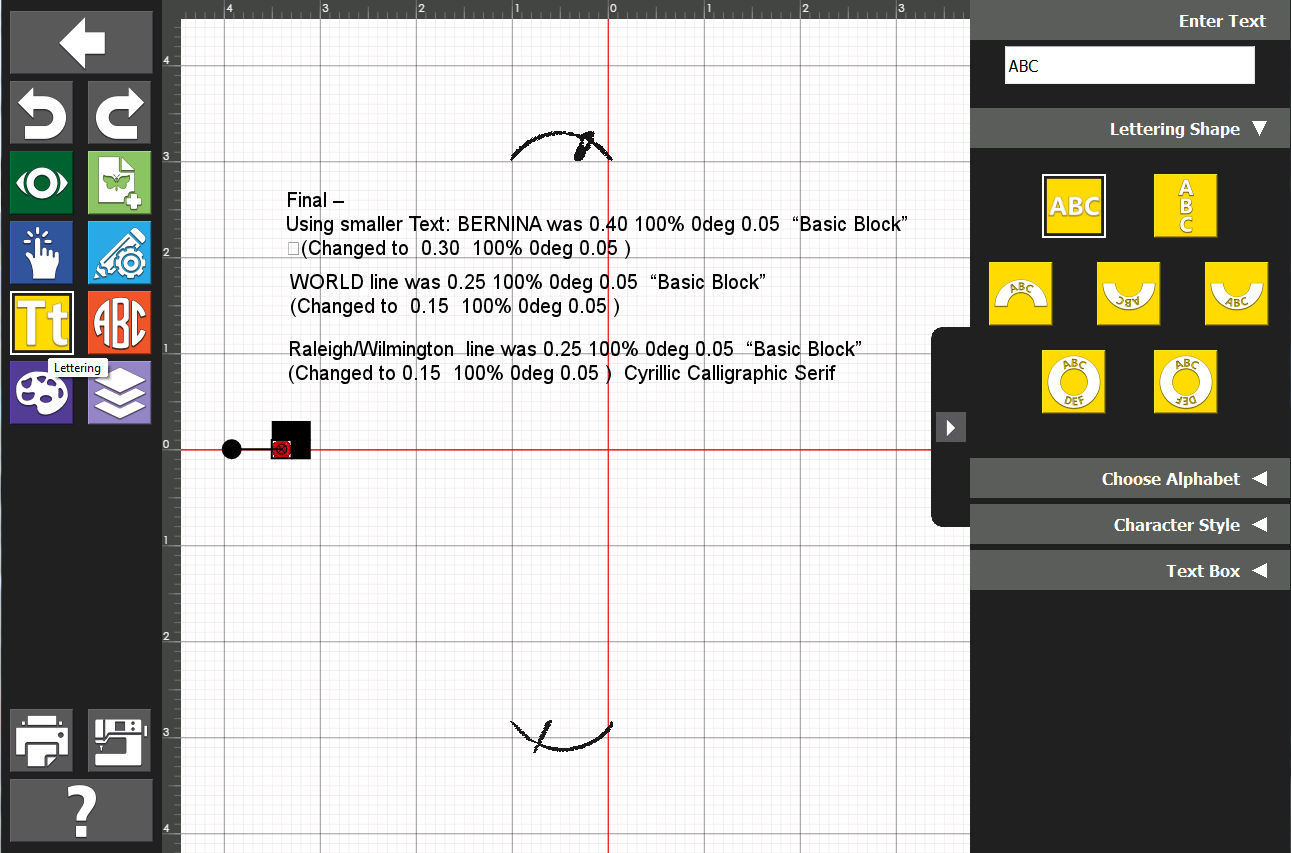
This is what we have now and what we just uploaded ("Export"ed) to the Computer.
The last text character's used are shown in the text-options' area.
I decided to make the "WORLD" line Including the Red "O") smaller-sized...
|
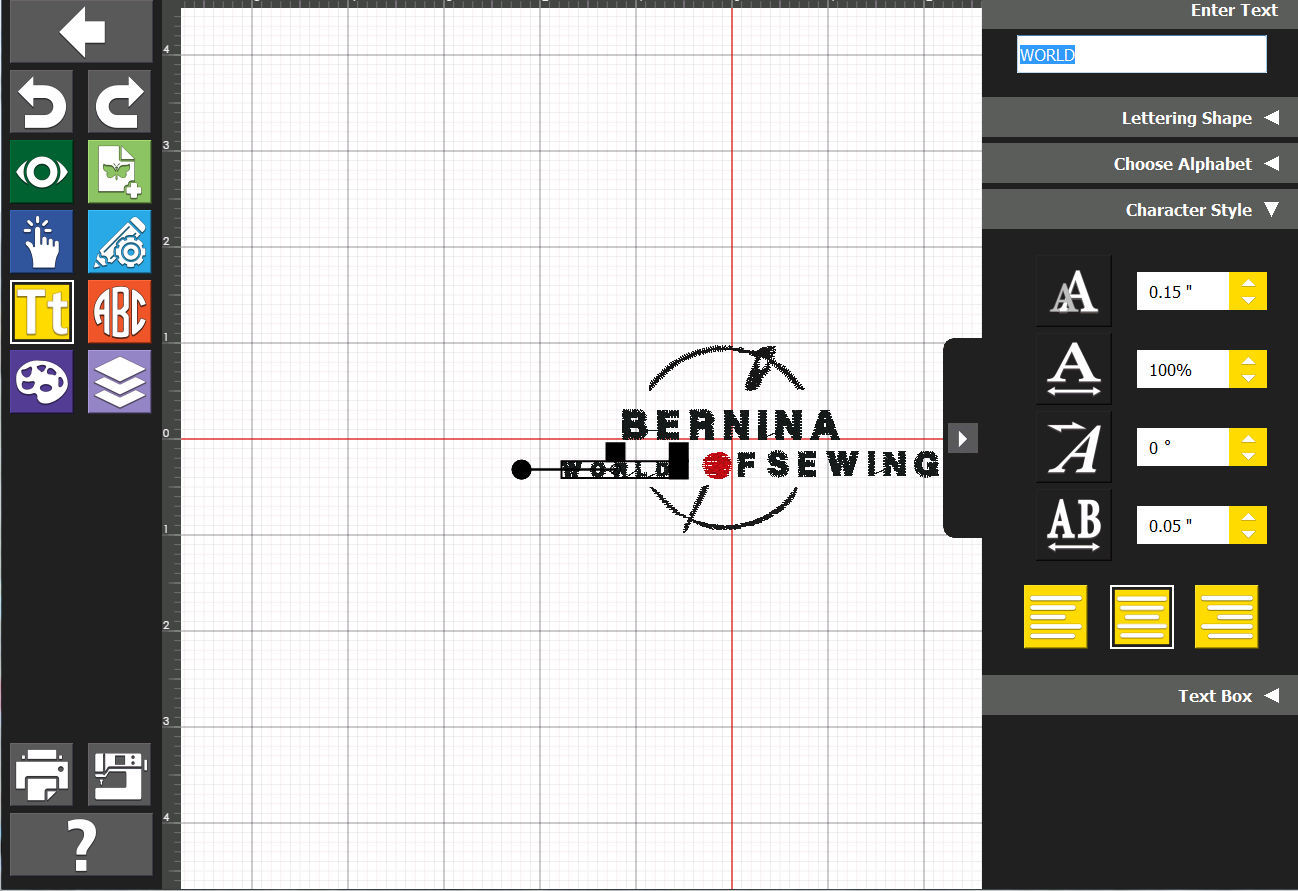
Changing the line's text height to be 0.15".
|
Now we have what we want - and we will add a line at the bottom of the logo: "Raleigh Wilmington".
using a different font: Calligraphic Serif
...
|
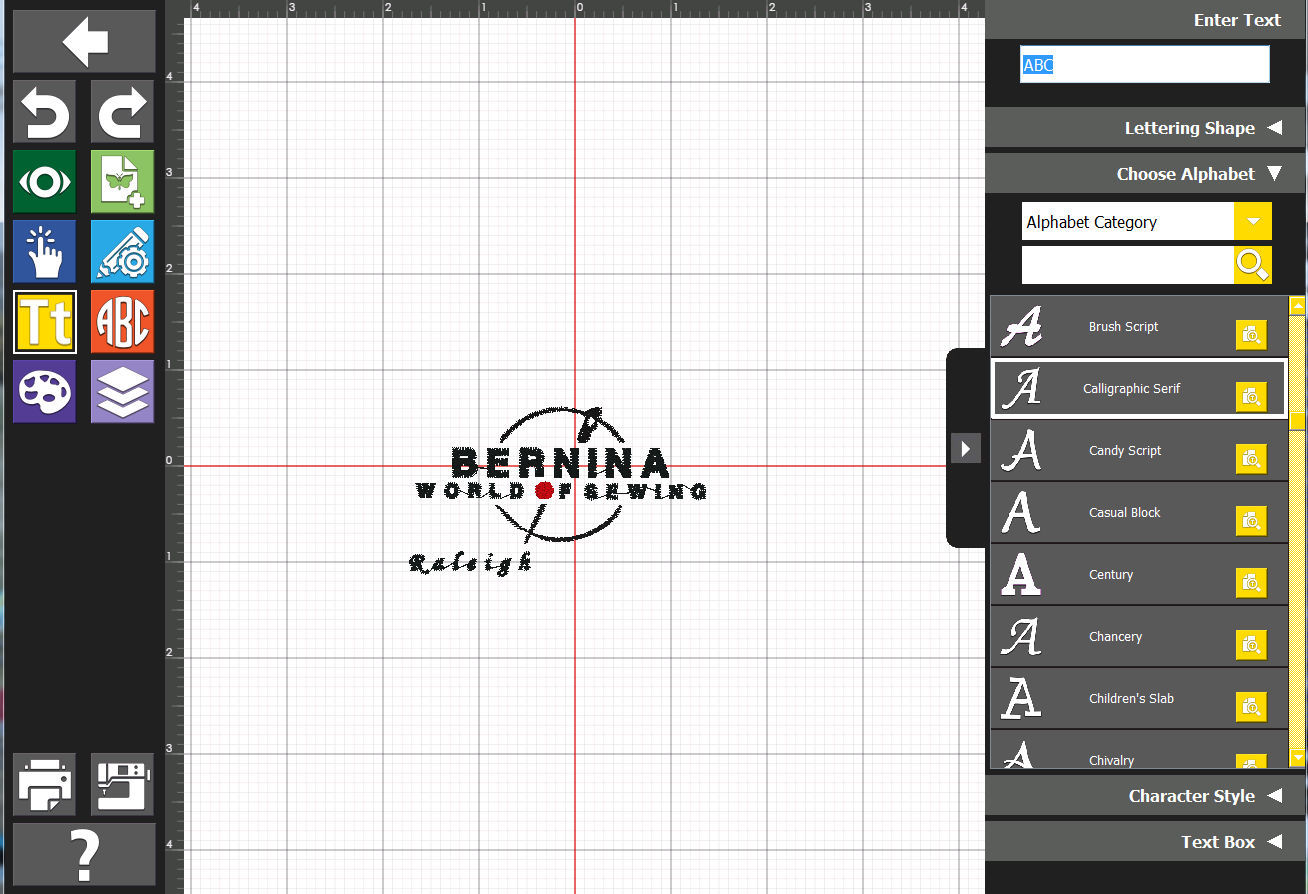
Raleigh is all set.
|

We add Wilmington, using the same font/etc.
|

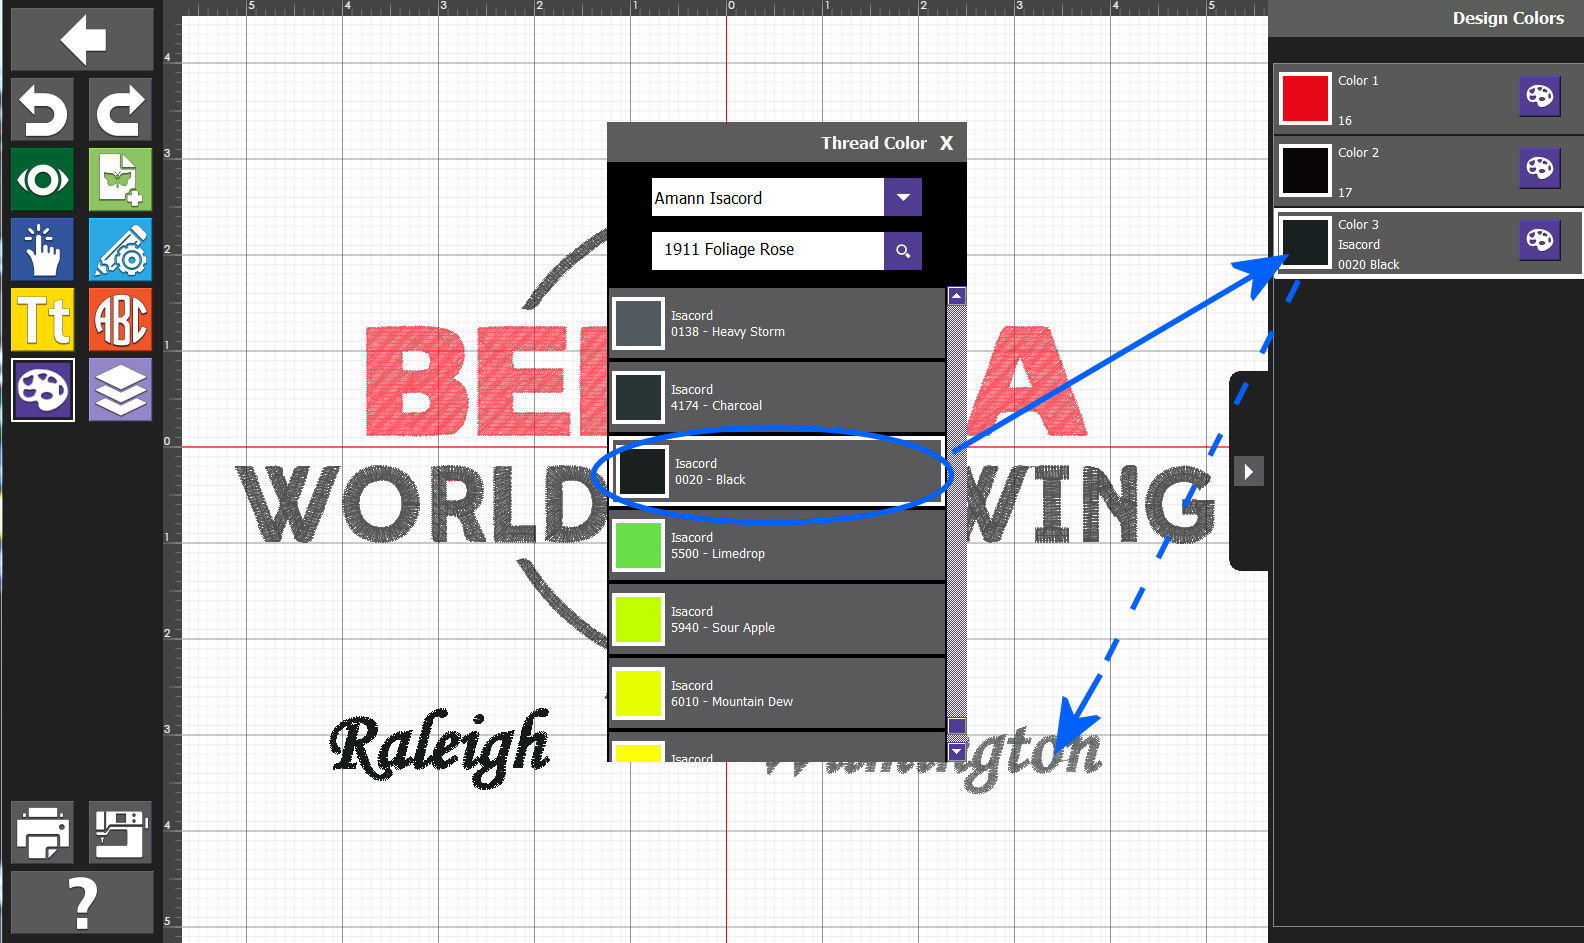
The bottom line is there - and, now we fix up the Toolbox-suggested thread colors. We will change to just one of the black color-numbers....
|
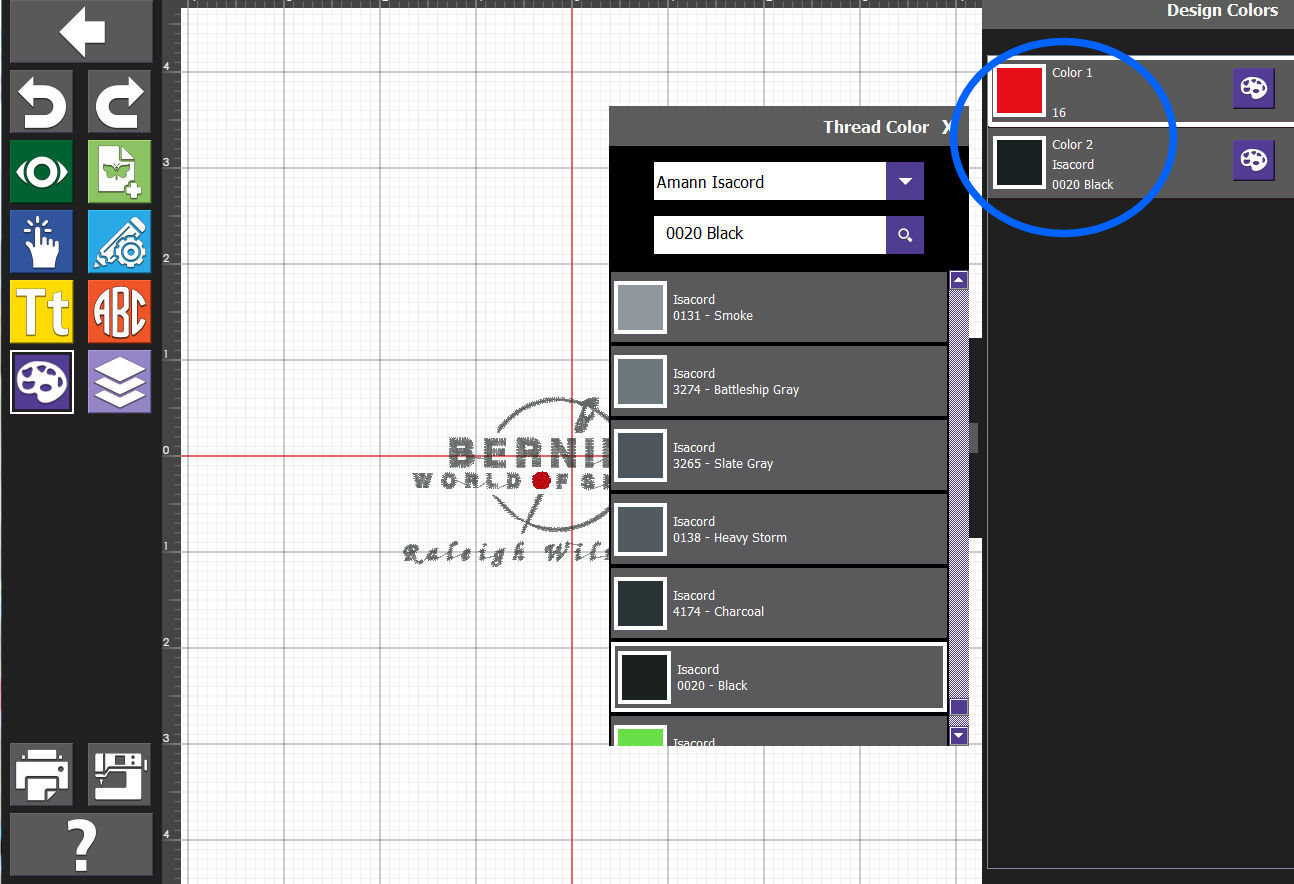
Ok! Now, the suggested-threads are looking good.
|
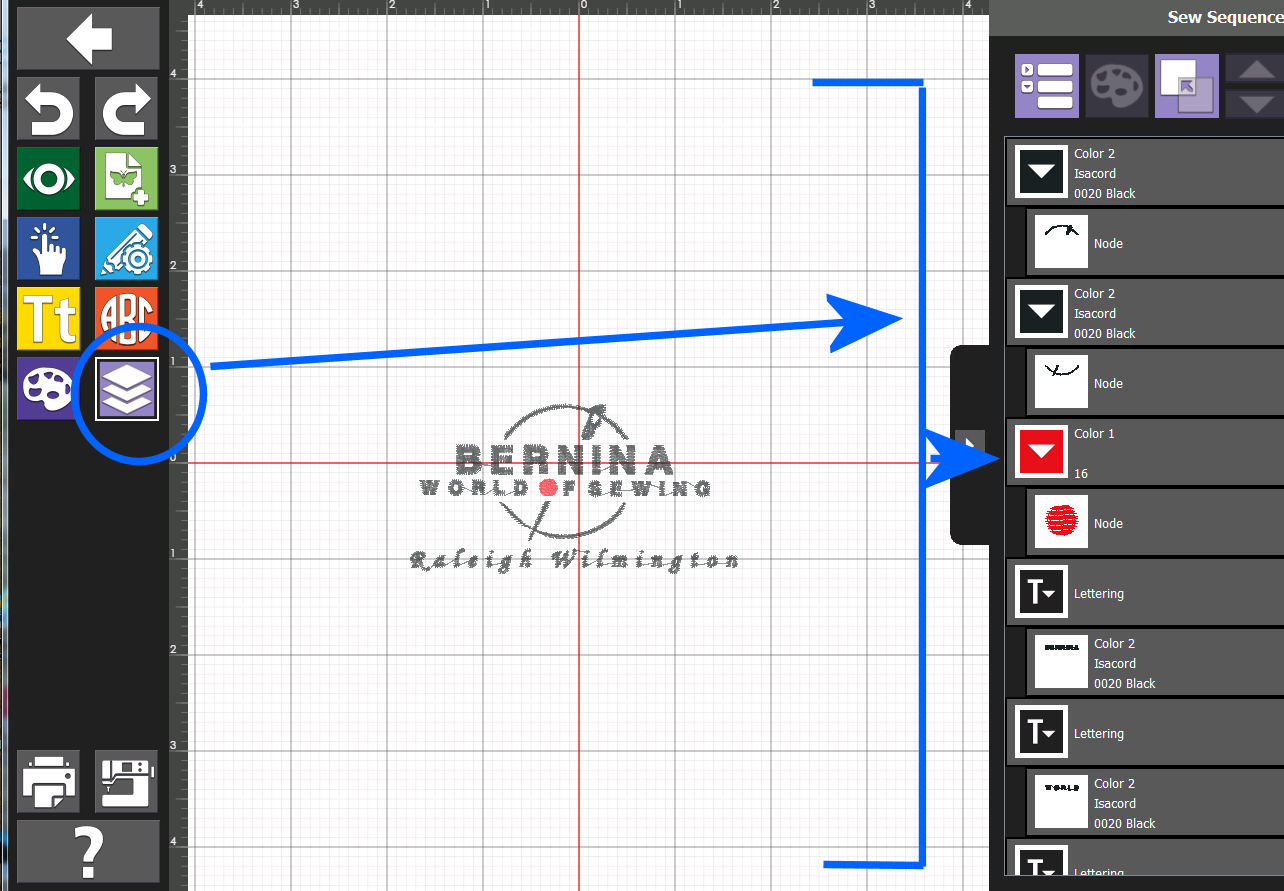
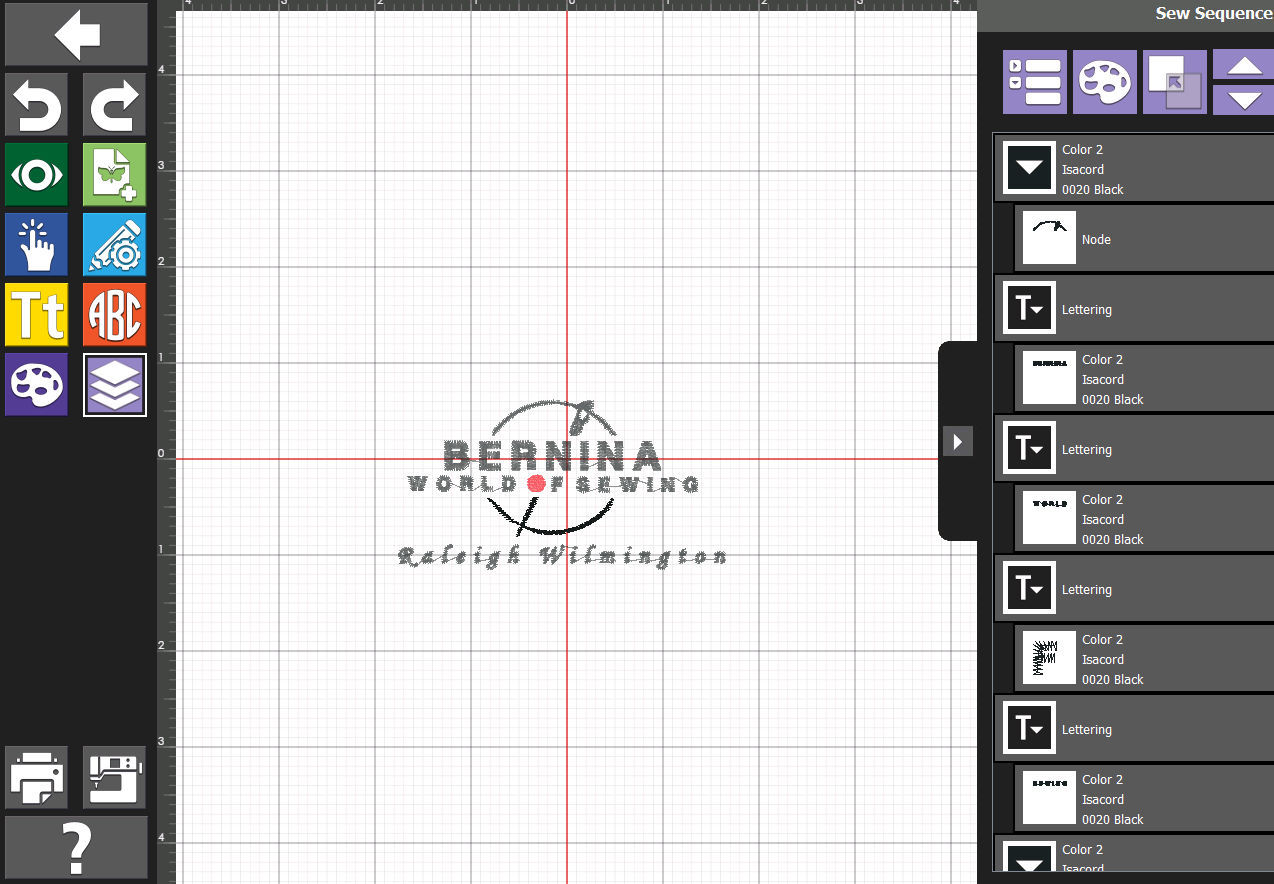
Next, lets fix up the Toolbox-suggest stitching sequence.
We want to move all the Black colors in the design Top to Bottom order and - Move the Red button to be the last to be stitched.
We don't show the Toolbox panels to do such -- we leave that for a future Example.
|
The black colors are set up fine, suggested stitching order wise and...
|
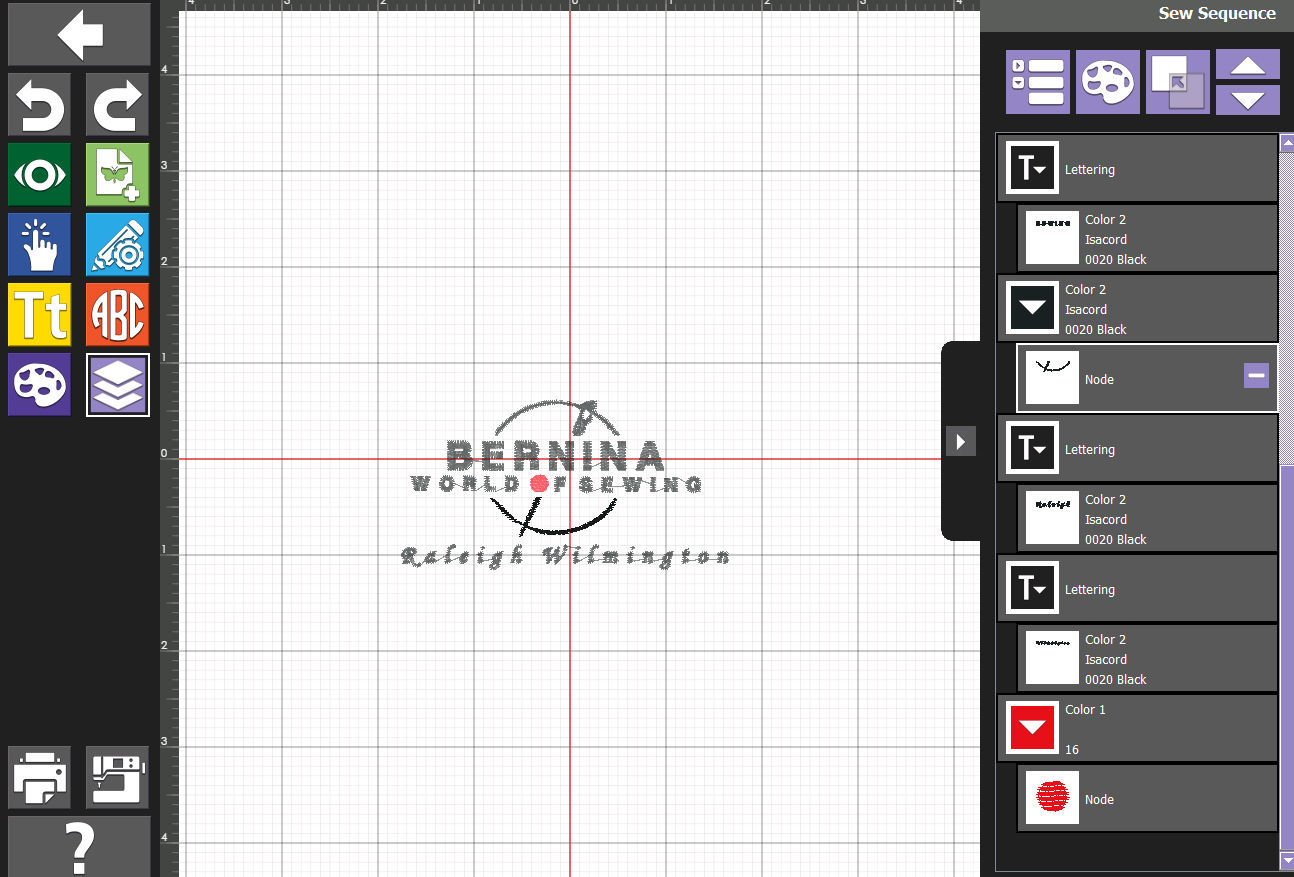
The Red button "O" will be last-stitched.
|
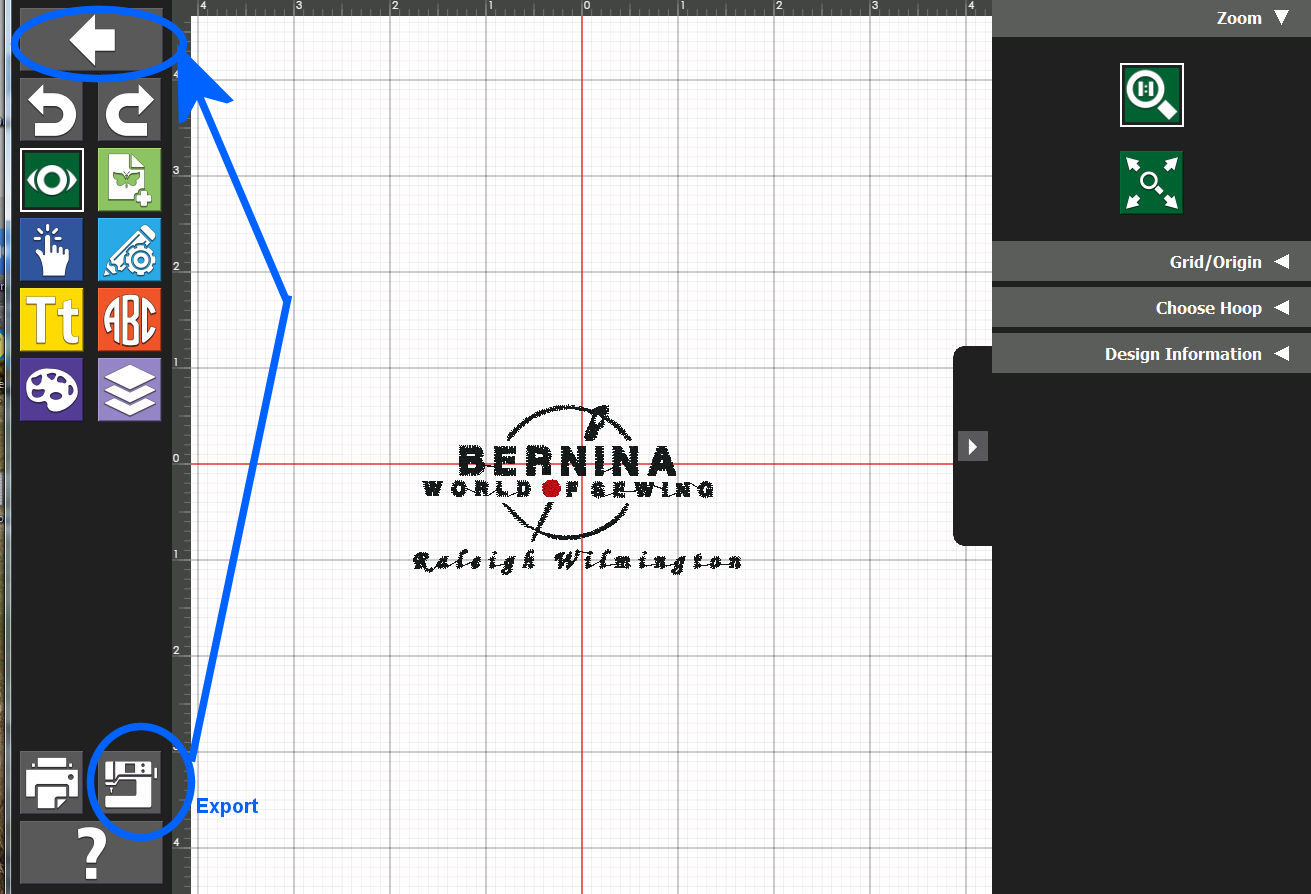
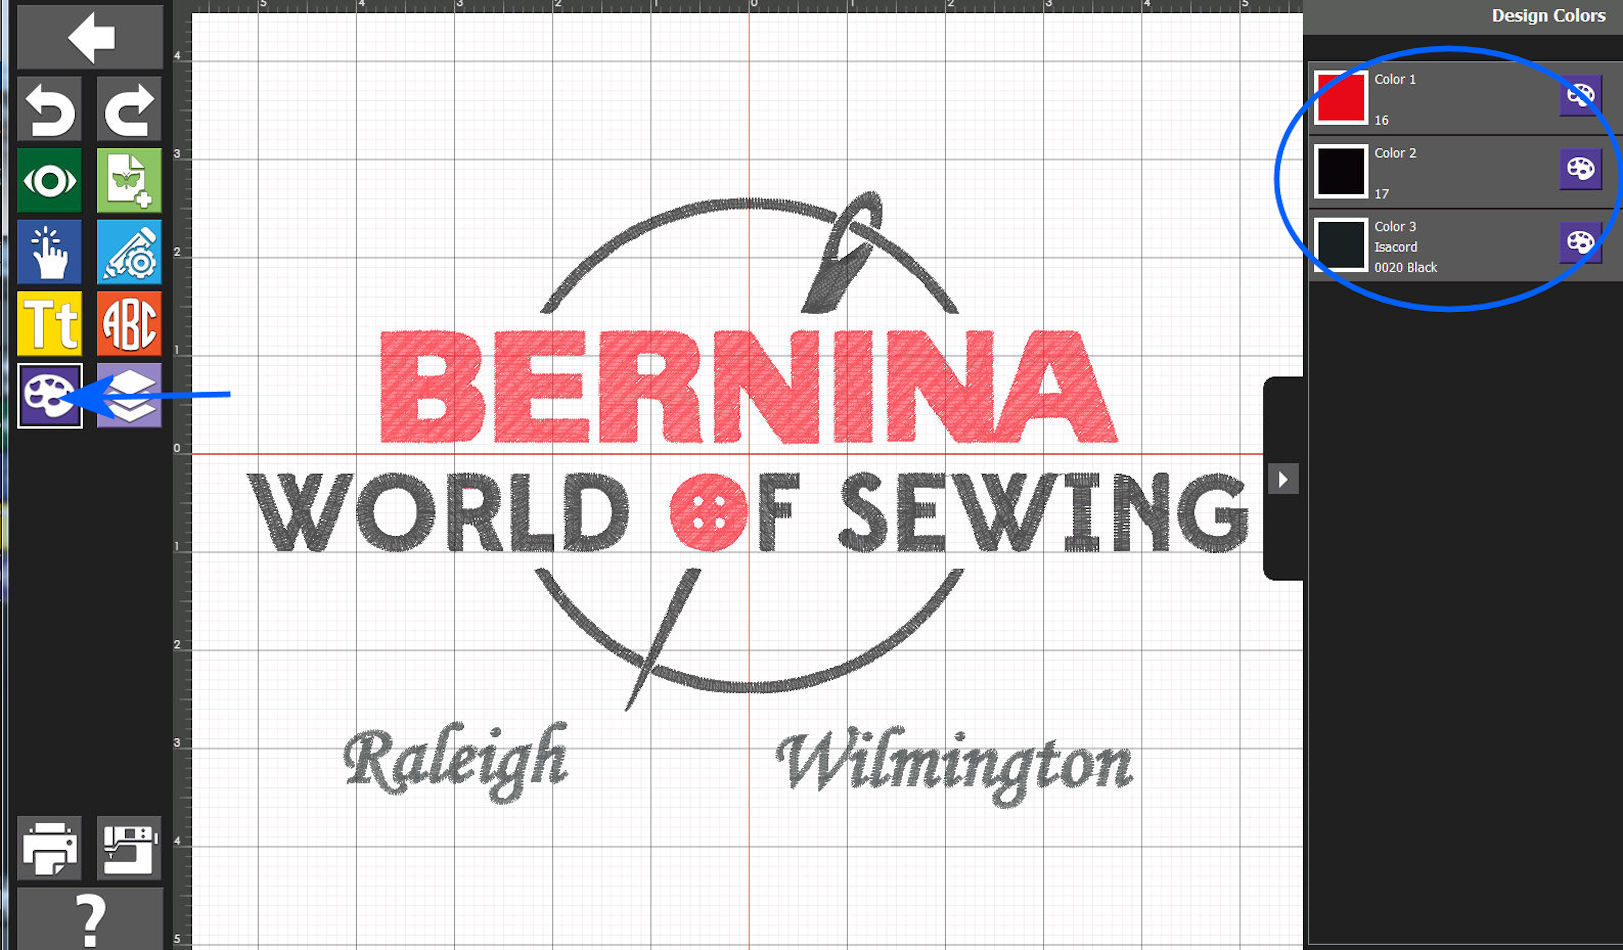
Ok! Now, the suggested-threads are looking good. One final "export" and, then, save via the "Back to Home" button of the Toolbox.
|

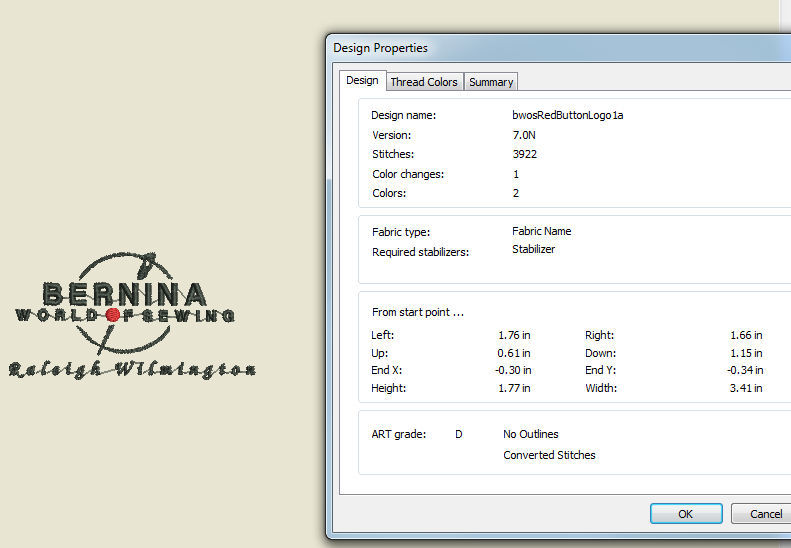
Safely saved onto the Computer in EXP format for use on a USNB and, then, onto the embroidery machine.
|

Saved in the Toolbox.
|
Shown via ARTLINK - While in the Computer.
|
|
|
If you have any comments or otherwise, please:
send mail to: BWOSToolbox at Bernina World of Sewing
If you wish to see the previous examples "published" as part of this topic:
|
|
|
 Bernina World of Sewing